
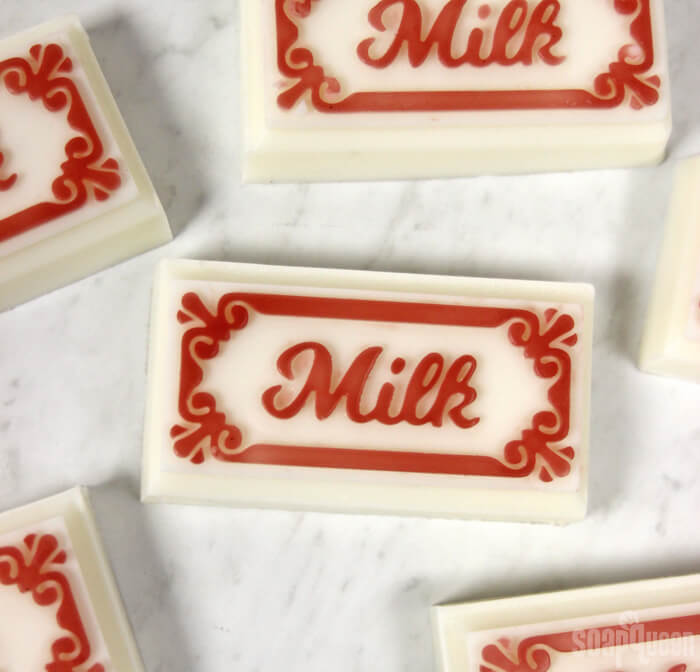
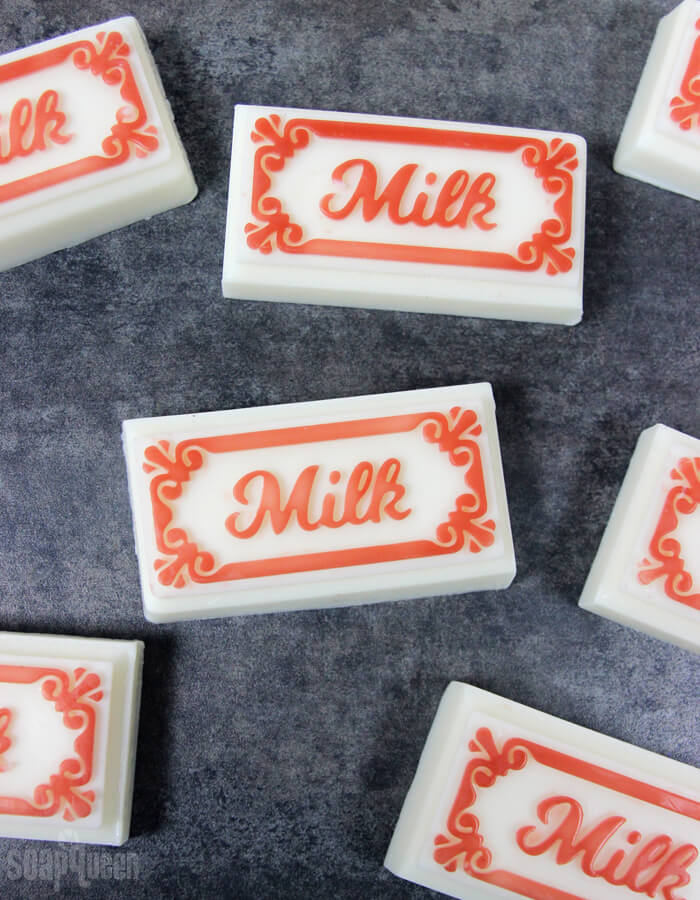
Goat milk is known for its skin-nourishing properties. In cold process soap, some soapers replace distilled water with goat milk to give soap extra creaminess. If you’d like to bring those properties to melt and pour soap, the Goat Milk Melt and Pour Base is made with a full 10% of liquid goat milk. For this recipe, the new Milk Soap Silicone Tray Mold really highlights the ingredients of the soap.
To help the details really pop, a small amount of Clear Melt and Pour Soap Base is mixed with rose clay and piped into the mold. The bars are scented with Dogwood and Ginger Blossom Fragrance Oil, which is a unique blend of floral, spice and citrus notes.
This project is suitable for beginners, but filling in the mold details can take a little bit of patience and a steady hand. The details in the mold were specially designed to be deep, which makes the process easier. A thermometer is recommended during this project. If the second layer of soap is poured into the mold while it’s still really hot, it can melt the details below.
What You’ll Need:
Milk Soap Silicone Tray Mold
32 oz. Goat Milk Melt and Pour Soap Base
4 oz. Clear Melt and Pour Soap Base
0.9 oz. Dogwood and Ginger Blossom Fragrance Oil
1 tsp. Rose Clay
99% Isopropyl Alcohol in 8 oz. Spray Bottle
Injector Tool
Clean Up Tool

Click here to add everything you need for this project to your Bramble Berry shopping cart!
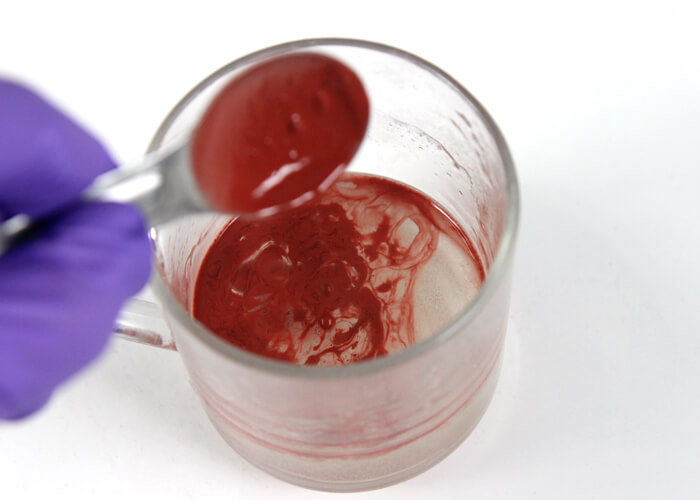
ONE: In a small container, mix 1 tsp. rose clay into 1 Tbsp. isopropyl alcohol. This will help the clay mix into the soap without clumping. Cut 4 oz. of Clear Melt and Pour into small, even pieces. Place the soap in a heat-safe container and melt on 5 second bursts. Using short bursts prevents the soap from burning. Add 1 Tbsp. of dispersed clay and mix to fully incorporate.
TWO: Cut a very small amount off the tip of the Injector Tool. You still want the hole of the Injector Tool to be small, but making it slightly larger helps prevent it from clogging. Fill a small cup with very hot water. Have the hot water nearby while you fill in the details of the mold with white soap. Use it to clear the Injector Tool if the soap begins to cool and harden in the tool.
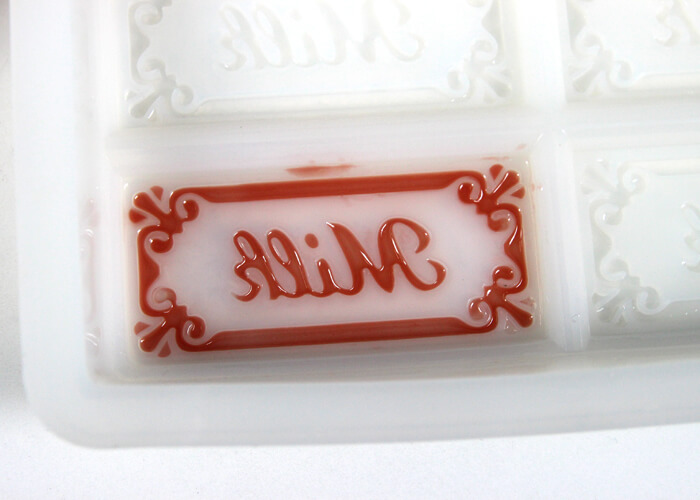
THREE: Spritz 99% isopropyl alcohol into the mold details. This will help the soap flow into the details more smoothly. Using the Injector Tool, begin piping the soap into the border and “milk” lettering. Have a cup of hot water nearby to clear out the Injector Tool during this process. If the soap starts to harden while you’re filling in the details, pop it back into the microwave for 5 seconds. When the details are full of soap, spritz again with alcohol to get rid of bubbles. The details are small, so soap may go outside of the lines. Don’t worry – you can clean that up later. You will have a few ounces of leftover red soap. Pour any excess soap into a separate mold.
FOUR: When the soap is firm – after about 5-10 minutes – use the Clean Up Tool to remove any spills.

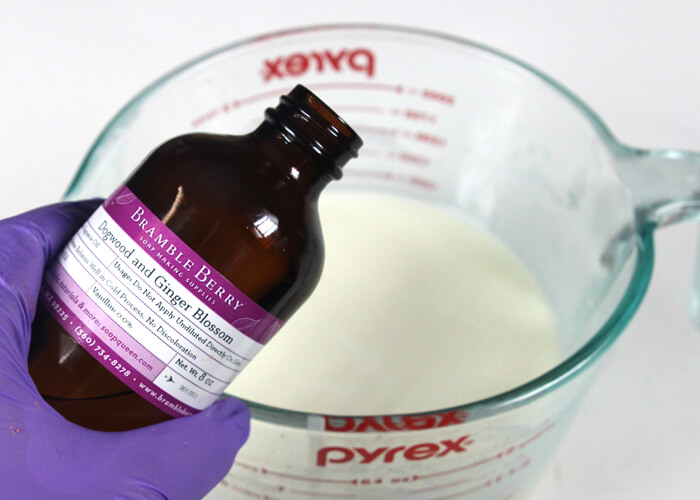
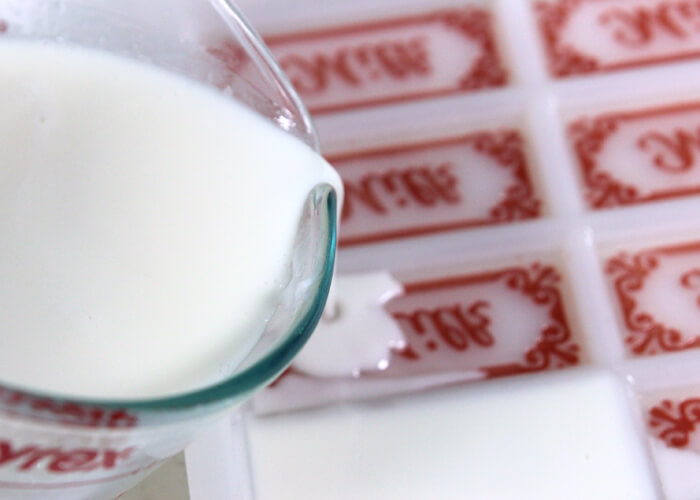
FIVE: Cut 32 oz. of Goat Milk Melt and Pour into small, even pieces. In a large heat-safe container, melt the soap on 30 second bursts. Add 0.9 oz. of Dogwood and Ginger Blossom Fragrance Oil and stir to fully incorporate. Wait until the soap is around 125-130 ° F so it won’t melt the red soap below.
SIX: Then, spritz the red soap with 99% isopropyl alcohol to help the layers stick. Slowly and carefully pour the white soap in the mold and spritz with alcohol to pop any bubbles. Let the soap harden for 4 hours or overnight. Unmold, cut into 8 bars along the score marks and enjoy! To avoid glycerin dew, wrap them immediately in plastic wrap or another airtight packaging option.

Rose Clay Milk Melt & Pour Soap
Ingredients
- Milk Soap Silicone Tray Mold
- 32 oz. Goat Milk Melt and Pour Soap Base
- 4 oz. Clear Melt and Pour Soap Base
- 0.9 oz. Dogwood and Ginger Blossom Fragrance Oil
- 1 tsp. Rose Clay
- 99 % Isopropyl Alcohol in 8 oz. Spray Bottle
- Injector Tool
- Clean Up Tool
Instructions
- In a small container, mix 1 tsp. rose clay into 1 Tbsp. isopropyl alcohol. This will help the clay mix into the soap without clumping. Cut 4 oz. of Clear Melt and Pour into small, even pieces. Place the soap in a heat-safe container and melt on 5 second bursts. Using short bursts prevents the soap from burning. Add 1 Tbsp. of dispersed clay and mix to fully incorporate.
- Cut a very small amount off the tip of the Injector Tool. You still want the hole of the Injector Tool to be small, but making it slightly larger helps prevent it from clogging. Fill a small cup with very hot water. Have the hot water nearby while you fill in the details of the mold with white soap. Use it to clear the Injector Tool if the soap begins to cool and harden in the tool.
- Spritz 99% isopropyl alcohol into the mold details. This will help the soap flow into the details more smoothly. Using the Injector Tool, begin piping the soap into the border and “milk” lettering. Have a cup of hot water nearby to clear out the Injector Tool during this process. If the soap starts to harden while you’re filling in the details, pop it back into the microwave for 5 seconds. When they’re done, spritz again with alcohol to get rid of bubbles. The details are small so soap will go outside of the lines. Don’t worry – you can clean that up later. You will have a few ounces of leftover red soap. Pour any excess soap into a separate mold.
- When the soap is firm – after about 5-10 minutes – use the Clean Up Tool to remove any spills.
- Cut 32 oz. of Goat Milk Melt and Pour into small, even pieces. In a large heat-safe container, melt the soap on 30 second bursts. Add 0.9 oz. of Dogwood and Ginger Blossom Fragrance Oil and stir to fully incorporate. Wait until the soap is around 125-130 ° F so it won’t melt the red soap.
- Then, spritz the red soap with alcohol to help the layers stick. Slowly and carefully pour the white soap into the mold and spritz with 99% isopropyl alcohol to pop any bubbles. Let the soap harden for 4 hours or overnight. Unmold, cut into 8 bars along the score marks and enjoy! To avoid glycerin dew, wrap them immediately in plastic wrap or another airtight packaging option.