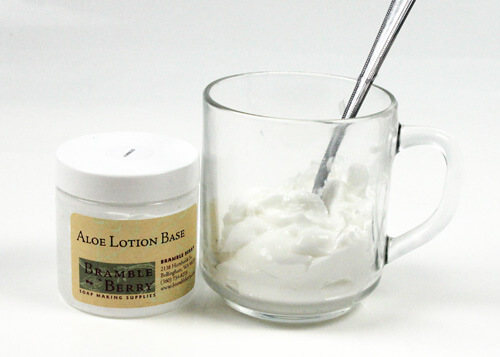
Adding oils and butters to melt and pour bases can be tricky. Extra oils can cause the melt and pour to not set up correctly, or may inhibit lather. After a bit of testing, we found a way to add the skin-loving Aloe Lotion Base to the Shea Melt and Pour to create an extra creamy, firm bar. Adding the Aloe Lotion Base gives your soap additional aloe vera juice, rice bran oil and soothing oat extract. The key is to heat the lotion before mixing it into the melt and pour. Without this step, the lotion and melt and pour may separate.
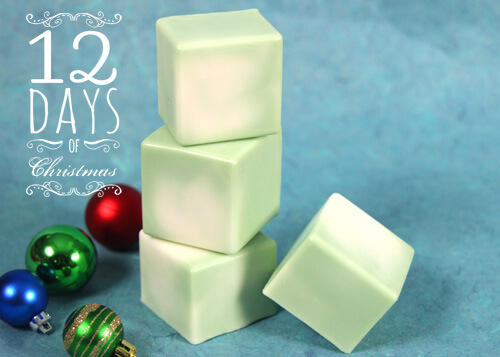
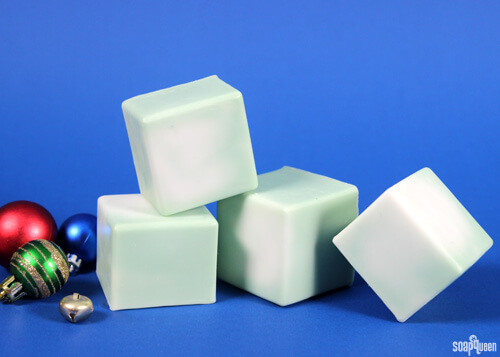
These melt and pour cubes are made with the creamy and delicious Cream Cheese Frosting Fragrance Oil. Colored with Emerald Green LabColor, these soaps are wonderfully festive and cheery. Don’t forget to add the Vanilla Color Stabilizer, otherwise the Cream Cheese Frosting Fragrance Oil will discolor the soap a deep brown.
What You’ll Need:
9 Bar Silicone Cube Mold
32 oz. Shea Melt and Pour
4 oz (by volume) Aloe Lotion Base
1 oz. Cream Cheese Frosting Fragrance Oil
1 oz. Vanilla Color Stabilizer
4 mL Emerald Green LabColor

Note: Once the lotion is heated the preservative in the lotion is no longer effective, and the product should not be used as a lotion.
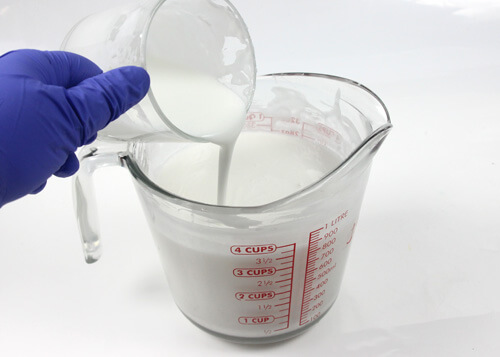
 TWO: Cut and melt 32 oz. of Shea Melt and Pour in the microwave using 30 second bursts. Once the soap is fully melted and has reached a temperature of about 130 °F, pour the hot liquid lotion into the soap and stir thoroughly until fully combined.
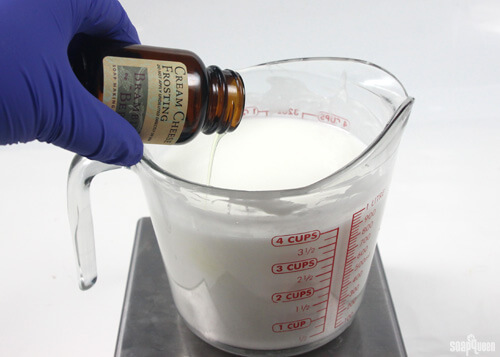
 THREE: Add 1 oz. of the Cream Cheese Frosting Fragrance Oil, and 1 oz. of the Vanilla Color Stabilizer. Stir until both are thoroughly combined.
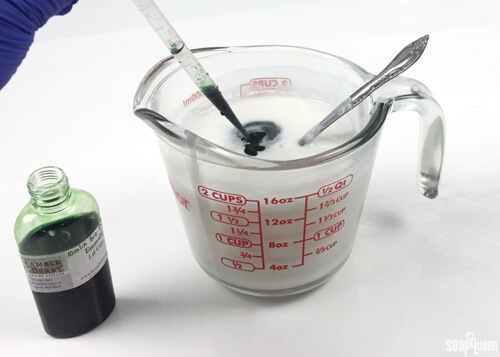
 FOUR: Split the soap into two equal containers, about 2 cups each. Add 4mL of diluted Emerald Green Lab Color to one container and stir to combine. If you’ve never used LabColors before, check out this Diluting Bramble Berry LabColors post.
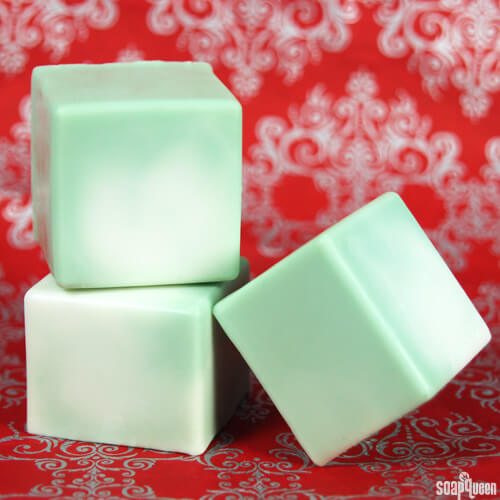
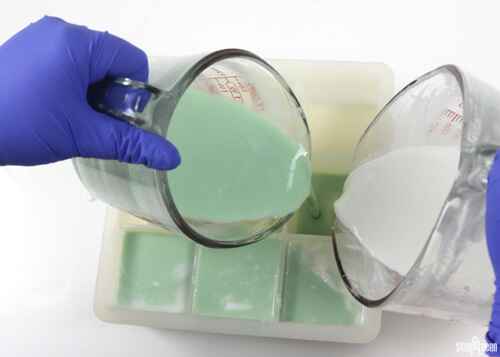
 FIVE: Pour both containers of soap into each cavity at the same time, allowing the colors to swirl and mix while pouring. Fill each cavity about 3/4 of the way. After each pour, spray with 99% isopropyl or rubbing alcohol to disperse any bubbles. Continue pouring until all the cavities are filled. Allow to fully cool and harden, and enjoy!
Do you have any tips or tricks to adding oils, butter or lotion to melt and pour base?