• June 11, 2015


Ginger Patchouli Melt and Pour Tutorial

Patchouli is one of my all-time favorite scents. I love the rich earthy notes, and I use it in my soap frequently. I know not everybody feels this way about patchouli…some even hate it. If you’re not typically a fan of the scent, the new Ginger Patchouli Fragrance Oil might sway you. It features notes of fresh satsuma, sweet herbs and bright ginger. These notes help soften some of the deeper earthy notes, resulting in a balanced fragrance. It’s also the sample of the month! Click here to get some Ginger Patchouli blending ideas.

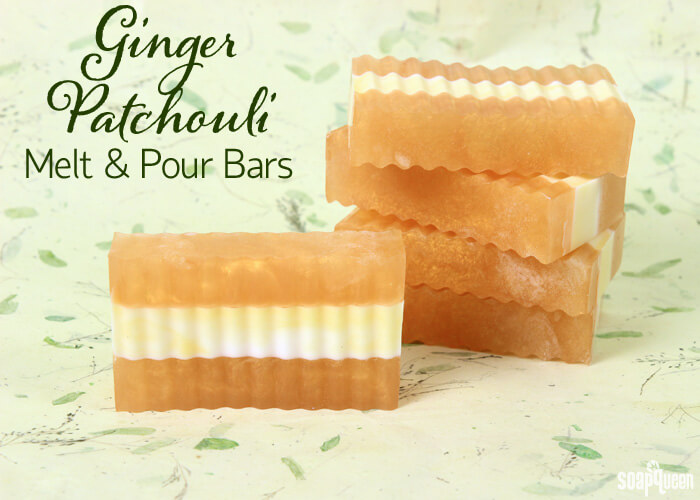
These Ginger Patchouli Melt & Pour Bars were inspired by the bright notes in the new fragrance. With layers of shimmery gold and yellow, these bars look bright and cheery. I used a crinkle cutter to give a rustic look. The inside layer features a swirl of yellow and white; click here to learn how to swirl melt and pour.

Ginger Patchouli Melt and Pour DIY


What You’ll Need:

32 oz. Honey Melt and Pour Base
16 oz. White Melt and Pour Base
King’s Gold Mica
Shimmer Buttercup Color Block
1.3 oz. Ginger Patchouli Fragrance Oil
10″ Silicone Loaf Mold
16 oz. Isopropyl Alcohol (99%)
Crinkle Cutter


Click here
to add everything you need for this project to your Bramble Berry shopping cart!


COLOR PREP: Disperse 1 teaspoon of King’s Gold Mica into 1 tablespoon of 99% isopropyl alcohol. Use a mini mixer to get the clumps of color worked out smoothly. Dispersing the colorant in alcohol helps the color mix into the soap easily, and also helps prevent speckling.

ONE: Chop 32 oz. of Honey Melt and Pour Base into small, even-sized pieces. In a heat-safe container, melt the soap in the microwave using 30-second bursts. Using short bursts prevents the soap from scorching. Read more about burnt melt and pour and how to prevent it here.

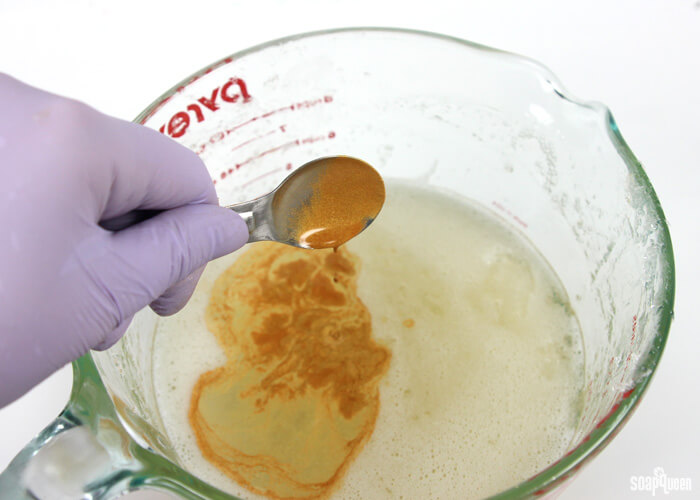
TWO: Add 1.5 teaspoons of the dispersed King’s Gold Mica and mix well.

ONE
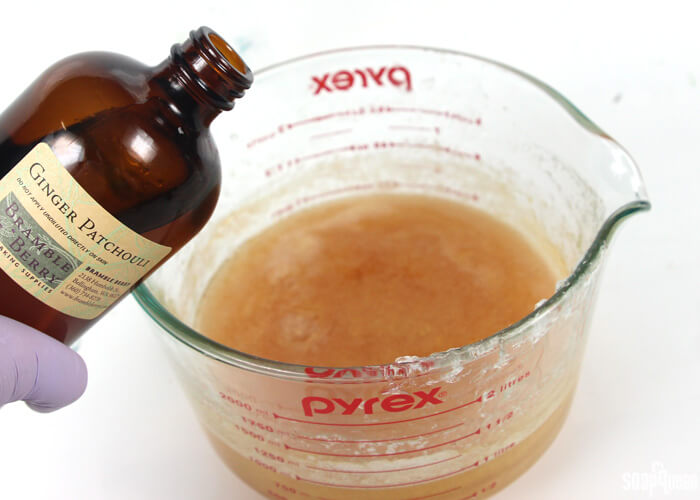
THREE: Add 0.8 oz. of Ginger Patchouli Fragrance Oil and stir until fully incorporated.

TWO
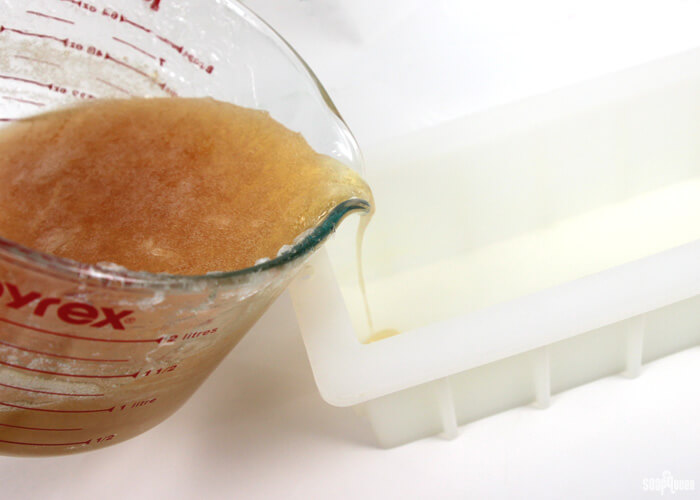
FOUR: Pour half (16 oz.) of the melted soap into the mold and spritz with alcohol to disperse any bubbles. You can use a scale to measure the soap, or just eyeball it. Let the soap fully cool and harden.
THREE

FIVE: Chop 16 oz. of White Melt and Pour Base in small, even-sized pieces and melt in the microwave on 20-second bursts. When the soap is fully melted, add 0.5 oz. of Ginger Patchouli Fragrance Oil and stir well.

SIX:
Pour half (8 oz.) of the white soap into a separate heat-safe container. To one of the containers, add shavings of the Shimmer Buttercup Color Block until you get a pastel yellow color. Then, add 1/4 tsp. of the dispersed King’s Gold Mica and mix well.

FIVE

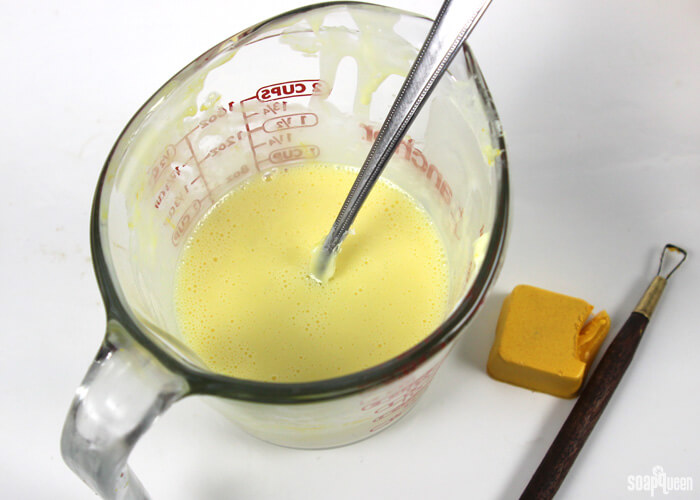
SEVEN: Check the temperature of both containers of soap. To get a swirl effect,  the containers need to be at 130-135°F.

EIGHT: Spritz the gold layer with alcohol to help the layers stick together. Pour 1/3rd of the white soap into the mold in a random pattern. Next, pour 1/3rd of the yellow soap in a random pattern. See this technique in the Swirling Melt and Pour episode of Soap Queen TV.

SIX
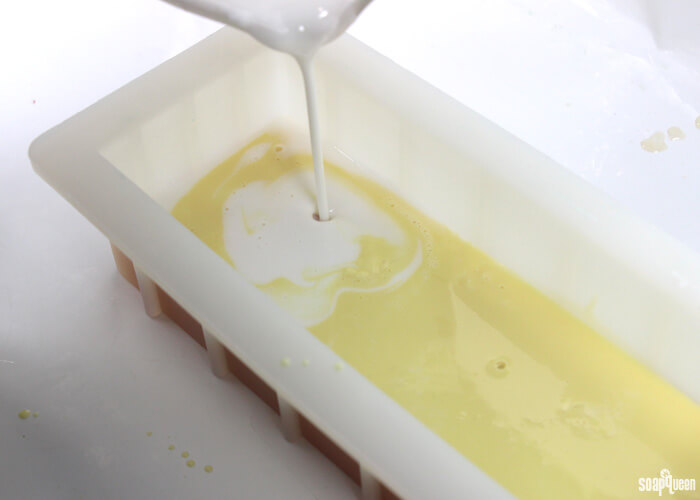
NINE: Continue alternating colors until both containers are empty. Then, run a spoon through the soap once to help it swirl more. Spritz with alcohol to disperse any bubbles, and let the layer fully cool and harden.

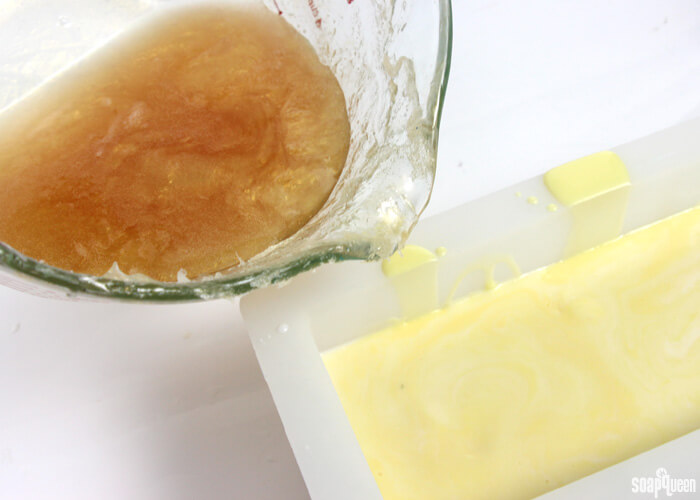
TEN: Remelt the rest of the gold soap in 15-second bursts. When the soap reaches 130°F, it’s time to pour. Make sure the soap is 130°F or cooler, otherwise it will melt the swirled layer. Then, spritz the yellow and white layer with alcohol to help the layers stick together and gently pour the gold soap on top. Spritz the gold soap with alcohol to disperse any bubbles.

SEVEN

ELEVEN: Allow the soap to fully cool and harden, and cut into bars. We used the crinkle cutter to get a fun shape. Once the soap is cut, it’s ready to use and enjoy!

Ginger Patchouli Melt and Pour

Are you a fan of patchouli scents? If not, do you enjoy it in blends?

Ginger Patchouli Melt & Pour Bars

Soap Queen
These melt and pour bars look fresh and bright, and are scented with the lovely Ginger Patchouli Fragrance Oil.
5 from 2 votes
Cook Time 2 hours
Total Time 2 hours
Recipe type Melt and Pour
Makes 3 pounds of soap

Ingredients
  

  • 32 oz. Honey Melt and Pour Base
  • 16 oz. White Melt and Pour Base
  • King's Gold Mica
  • Shimmer Buttercup Color Block
  • 1.3 oz. Ginger Patchouli Fragrance Oil
  • 10 " Silicone Loaf Mold
  • 16 oz. Isopropyl Alcohol 99%
  • Crinkle Cutter

Instructions
 

  • Disperse 1 teaspoon of King’s Gold Mica into 1 tablespoon of 99% isopropyl alcohol. Use a mini mixer to get the clumps of color worked out smoothly. Dispersing the colorant in alcohol helps the color mix into the soap easily and also helps prevent speckling.
  • Chop 32 oz. of Honey Melt and Pour Base into small, even-sized pieces. In a heat-safe container, melt the soap in the microwave using 30-second bursts. Using short bursts prevents the soap from scorching. Read more about burnt melt and pour and how to prevent it here.
  • dd 1.5 teaspoons of the dispersed King’s Gold Mica and mix well.
  • Add .8 oz. of Ginger Patchouli Fragrance Oil and stir until fully incorporated.
  • Pour half (16 oz.) of the melted soap into the mold and spritz with alcohol to disperse any bubbles. You can use a scale to measure the soap, or just eyeball it. Let the soap fully cool and harden.
  • Chop 16 oz. of White Melt and Pour Base in small, even-sized pieces and melt in the microwave on 20-second bursts. When the soap is fully melted, add 0.44 oz. of Ginger Patchouli Fragrance Oil and stir well.
  • Pour half (8 oz.) of the white soap into a separate heat-safe container. To one of the containers, add shavings of the Shimmer Buttercup Color Block until you get a pastel yellow color. Then, add 1/4 tsp. of the dispersed King’s Gold Mica and mix well.
  • Check the temperature of both containers of soap. To get a swirl effect, the containers need to be at 130-135 F.
  • Spritz the gold layer with alcohol to help the layers stick together. Pour 1/3rd of the white soap into the mold in a random pattern. Next, pour 1/3rd of the yellow soap in a random pattern. See this technique in the Swirling Melt and Pour episode of Soap Queen TV.
  • Continue alternating colors until both containers are empty. Then, run a spoon through the soap once to help it swirl more. Spritz with alcohol to disperse any bubbles, and let the layer fully cool and harden.
  • Remelt the rest of the gold soap in 15-second bursts. When the soap reaches 130 F, it’s time to pour. Make sure the soap is 130 F or cooler, otherwise it will melt the swirled layer. Then, spritz the yellow and white layer with alcohol to help the layers stick together and gently pour the gold soap on top. Spritz the gold soap with alcohol to disperse any bubbles.
  • Allow the soap to fully cool and harden, and cut into bars. We used the crinkle cutter to get a fun shape. Once the soap is cut, it’s ready to use and enjoy!
Tried this recipe?Let us know how it was!

You may also like these

Become an email subscriber

Enter your email address below and you will receive all our new posts directly in your email inbox.

  1. Can I use essential oils instead of the fragrance oils? I have patchouli and ginger! How much should I use?

    1. Hi Carla!

      Absolutely. You can always switch out the fragrance oils in any recipe for another, or for an essential oil instead. To find out how much to use, I recommend using our Fragrance Calculator. First, enter which kind of fragrance or essential oil you’d like to use. Then, let the calculator know what you’re making; in this case we are making melt and pour soap. Then enter how much you’re making. For this recipe, we broke it down into two batches. The first was 32 ounces of clear, then 16 ounces of white. I would recommend running those amounts into the calculator separately. The calculator will then give you a range of essential oil to use, depending on how strong you’d like it. I hope this helps! 🙂

      Fragrance Calculator: https://www.brambleberry.com/Pages/Fragrance-Calculator.aspx

      -Amanda with Bramble Berry

      1. Thanks, Amanda. Do you suggest using more ginger or more patchouli? It also converted it to ounces not drops. Is there anyway to calculate that?

        1. Hi Carla!

          Whether you add more ginger or more patchouli is personal preference! I would recommend mixing both at a 1:1 ratio and smelling that mixture. If you want it a bit more earthy, you can add more patchouli. For a spicier combination, you can add more ginger. 🙂

          Read more about blending essential oils here: https://soapqueen.com/bath-and-body-tutorials/tips-and-tricks/how-to-blend-essential-oils-safely/

          For measuring out fragrances, we recommend using weight measurements like ounces. Those are a bit more accurate! If you don’t have a scale on hand, you can convert the ounces to mililiters and use our droppers to measure them out. For instance, 1 ounce of essential oil is about 29 mL!

          Droppers: https://www.brambleberry.com/Droppers-With-Suction-Bulb-P3802.aspx

          This post has more information about weight vs. volume: https://soapqueen.com/bath-and-body-tutorials/tips-and-tricks/a-guide-to-weight-vs-volume/

          -Kelsey with Bramble Berry

  2. 5 stars
    This project was my second attempt at Melt and pour as a new soaper.
    After my epic fail with the Thai Tea project. Things seemed to go much smoother. The honey base melted beautifully, no problems like I experienced with melting a large amount of the clear base in the THai project. Mica mixed in wonderful. Layers seemed to set up. Swirl worked great no problems with temp this time. Everything LOOKED WONDERFUL. Unmolded, cut first piece…IT was beautiful! EREKA, I thought. Second cut, my layers started to separate, third cut. Same 🙁 :(. I did everything right, I followed the recipe to the T!!! What happened??? My first order from Brambleberry was an entire flop! 150 dollars later I basically have 1 bar of soap that came out right… 🙁 🙁
    Recipe is great. What the heck happened?

    1. Hi Lisa!

      I’m so sorry those layers separated on you! The good news is you can “glue” them back together with melt and pour. To do so, melt a small amount of soap in the microwave (about 2 ounces on 5 second bursts). Then, brush the melted soap on the soap and press the layers on. Let it set up for a couple hours and then you can use it! We’ve tried this technique with separated melt and pour and it works fairly well. You can also remelt the whole thing and pour it into your mold. Those colors will mix, but the melt and pour will still feel great on your skin. 🙂

      Alcohol is the key to getting those layers to stick together. Right before you pour the next melted layer, spritz the bottom with alcohol. You want the entire bottom layer covered, but not completely soaked. Also, make sure to spray right before you pour, otherwise the alcohol will evaporate.

      Read more about using alcohol here: https://soapqueen.com/bramble-berry-news/sunday-night-spotlight-99-isopropyl-alcohol/

      And working with melt and pour layers here: https://www.youtube.com/watch?v=5oyh1Bf3Gxo

      It can also help to cut the soap with a really sharp kitchen knife! I’ve had layers separate on me when I used a fairly dull knife. I think it has something to do with the rocking motion needed to get a dull knife through soap.

      If you have any other questions, let me know! 🙂

      -Kelsey with Bramble Berry

    2. 5 stars
      I had the same problem with the Clay and Charcoal Spa Bar. I saw a tutorial on YouTube from a Ukrainian soaper who scores the first layer with a toothpick, then spritzes the alcohol before pouring subsequent layers. So I remelted the solid layer, tried this method and it worked.

      For more recent layered soaps I watched the Soap Queen’s tutorials, watching temps carefully, and pouring when the thick skin forms, and it has worked.

      1. The scoring sounds like an interesting technique! We’ll definitely have to look into that. Thanks for sharing Carmen. 🙂

        -Kelsey with Bramble Berry

  3. Can I use a Shea butter melt and pour instead of the white melt and pour?

    Excited to try this!

  4. When I bought my first bottle of patchouli essential oil, I thought it smelled horrible. However, the more I smelled it, the more it grew on me 🙂 I like to use it in a blend with ylang ylang and lavender, or with ylang ylang, frankincense, and myrrh essential oils.
    -Cadence

  5. How cute! It’s a very simple project but it has such a luxurious look with the gold mica! I’m starting to run low on some colors and I may have to try the new micas as well!

    1. So glad you like it! It’s definitely easy and fun to make. Have fun trying out new micas! 🙂

      -Kelsey with Bramble Berry

  6. Those are such beautiful bars of soap! I love how the middle is just swirled. And the kings gold mica gives a pretty shimmery effect on the top and bottom layer. Soap queen is my favorite soap blog and Soap queen tv is my favorite soap youtube channel! You always have such beautiful soaps and your pictures and videos are always so professional and nice:)

Comments are closed.

{"email":"Email address invalid","url":"Website address invalid","required":"Required field missing"}

The Latest from Soap Queen TV

Inspired by Gems & Crystals

All About Essential Oils

The Power of Charcoal

Create Your Own Clay Face Mask

DIY Bath Bombs

Cold Process Soap Tips & Tricks

Learn the Basics of Cold Process Soapmaking

Learn the Basics of Melt & Pour Soapmaking

Want to Start Your Own Soap Business?

Soap Business Success Stories

Soap Queen TV Favorites

Ingredient Spotlight

Disclosure

Unless stated otherwise, all images are original material and are copyrighted. If you'd like to use an image, please be a friend and credit the photo and link back to Soap Queen. Feel free to share, tweet and pin to your hearts content.