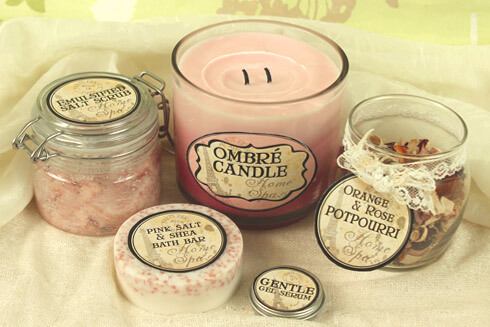
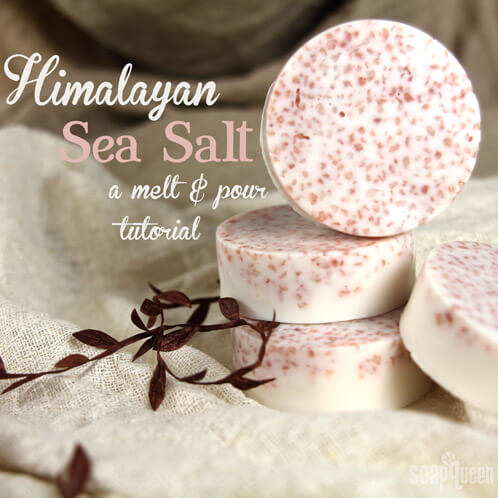
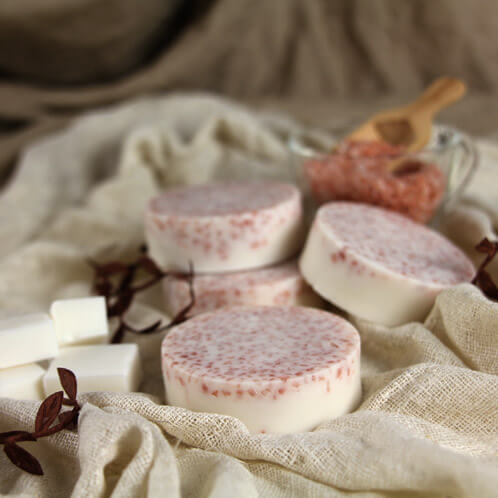
Transport yourself to the seaside of a breezy Mediterranean village with this #HomeSpa Pink Himalayan Sea Salt tutorial. Skin-loving Shea Melt and Pour base combines with scrubby Pink Himalayan Salt to create a bar that is both moisturizing and exfoliating. One thing to be aware of, this bar does not lather well because of the high amount of salt, but it is sensual and luxurious.
What You’ll Need:
32 oz. Shea Melt & Pour
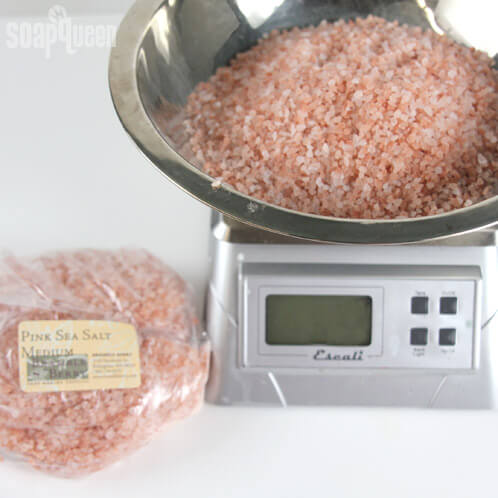
16 oz. Medium Pink Himalayan Sea Salt
Super Pearly White Color Block
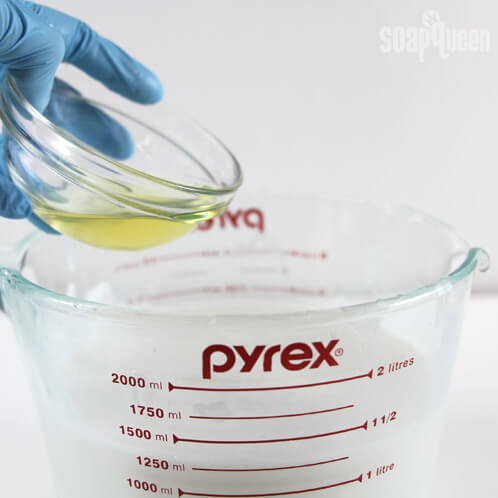
1.3 oz. of Spring Meadow Fragrance or Essential Oil Blend
Click here to add everything you need to make this project with the Spring Meadow Blend to your Bramble Berry shopping cart!

Click here to add everything you need to make this project with the Essential Oil Blend to your Bramble Berry shopping cart!
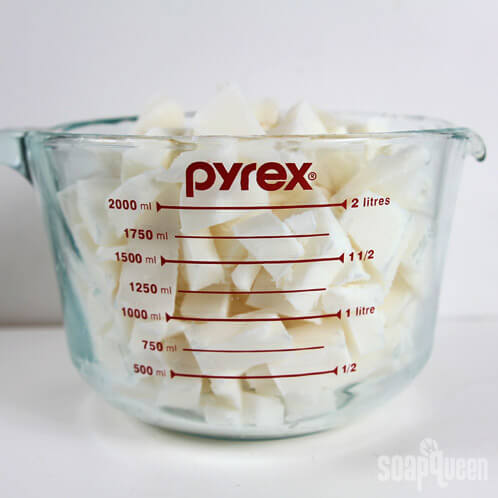
ONE: Cut the Shea Melt & Pour into 1 inch cubes and place in a heat safe container. Melt in the microwave on 30 second bursts, stirring between each heat.
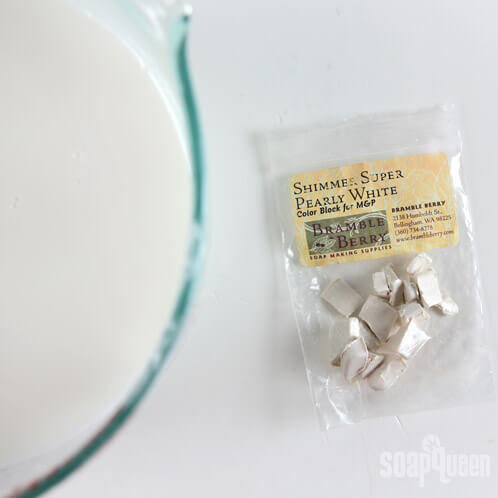
TWO: After the soap has been fully melted, shave off chunks of the Super Pearly White Color Block and stir vigorously to melt the color block into the soap. Since the soap is already white, the color block will add a slight shimmer to the soap.
THREE: Add the fragrance blend and stir with a whisk or spoon until the oil has been fully incorporated into the soap.
FOUR: Portion out the Medium Pink Himalayan Sea Salt and add it to the soap. The crystals will sink to the bottom of the soap. This is part of the design and is difficult to avoid because of the thin viscosity of the soap when melted versus the heavy grains of salt.

FIVE: Because the salts are heavy and will sink to to the bottom of the container, use a spoon to scoop 2 – 3 spoonfuls of sea salts into each mold cavity to enhance the evenness of the design. Yes, you are pulling the salts from the melted soap that you just put the salts into – reach your spoon all the way into the bottom of it to get a heaping spoonful. After you have an even coat of salts, pour the melted soap over the salts and spray with Isopropyl Alcohol to disperse bubbles. Repeat this process for each cavity. If the soap starts to harden, pop the mixture into the microwave for 15 seconds.

Allow the soaps to harden for 2 – 3 hours before unmolding!
Wrap in saran wrap (not sure how to do that? Watch Episode 11 of SoapQueen.TV), download the FREE label templates, print on label stock and stick onto your soap for a professional, finished look.