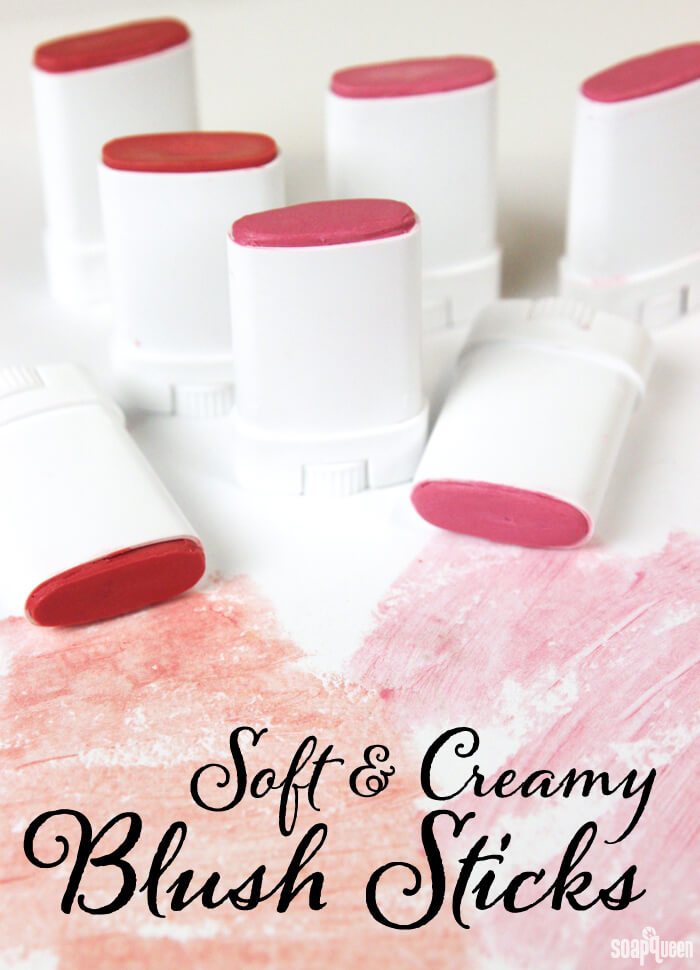
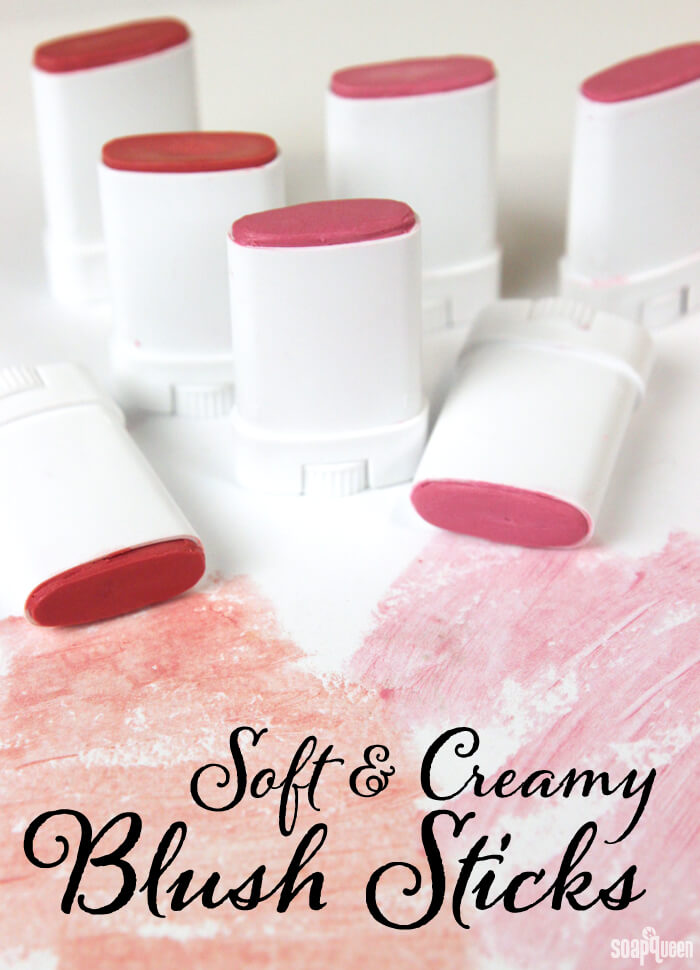
No makeup routine is complete without a touch of color on your cheeks. It adds a beautiful tint that makes your skin look bright and vibrant. While most blushes are in powder form, the Creamy Blush Sticks are full of skin-loving oils and waxes to add some moisture to your cheeks.
The cera bellina wax adds a smooth texture and shiny finish to the blush sticks, while cylomethicone helps them glide on smoothly. The combination of green tea seed oil and jojoba oil absorb quickly, leaving your cheeks moisturized and non-greasy. There are two shades to choose from – pink and coral – and both look great on a wide variety of skin tones. You can also customize a perfect shade for your skin. The sticks add a sheer tint, but the color can also be built up for a more dramatic shade. Scroll down to the bottom to see swatches of both colors.
What You’ll Need:
Base:
.5 oz. Green Tea Seed Oil
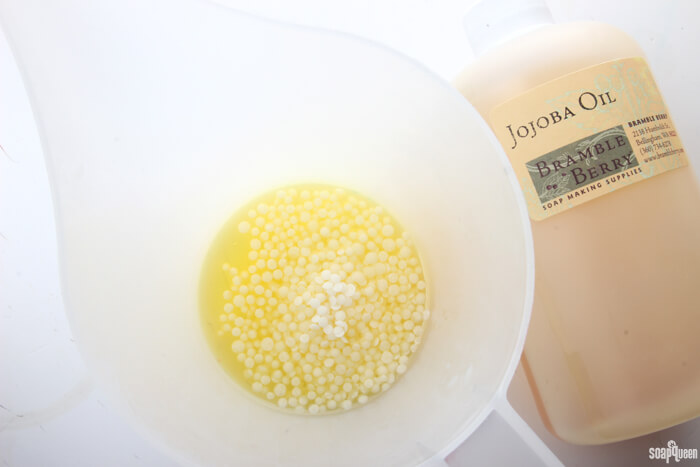
.4 oz. Jojoba Oil
.4 oz. Cera Bellina Wax
9 mL Cyclomethicone
4 Mini Deodorant Tubes
2 Easy Pour Mixing and Measuring Containers
Coral Shade:
.5 tsp Titanium Dioxide
.25 tsp. Cellini Red Mica
1.5 tsp. Coral Mica
Pink Shade:
1 tsp. Titanium Dioxide
.5 tsp. Cellini Red Mica
1 tsp. Rose Pearl

Click here to add everything you need for this project to your Bramble Berry shopping cart!
ONE: In a heat safe container, add the jojoba oil and cera bellina wax. Microwave on 30 second bursts until the wax is fully melted. Be careful when removing from the microwave, as the container will be very hot.
 TWO: In a separate container, measure out .5 oz. of green tea seed oil. If you’re making the coral shade, add the Titanium Dioxide, Cellini Red and Coral Mica to the oil and mix well. Use a mini mixer to get rid of any clumps. If you’re making the pink shade, add the Titanium Dioxide, Cellini Red and Rose Pearl Mica to the oil and mix well.
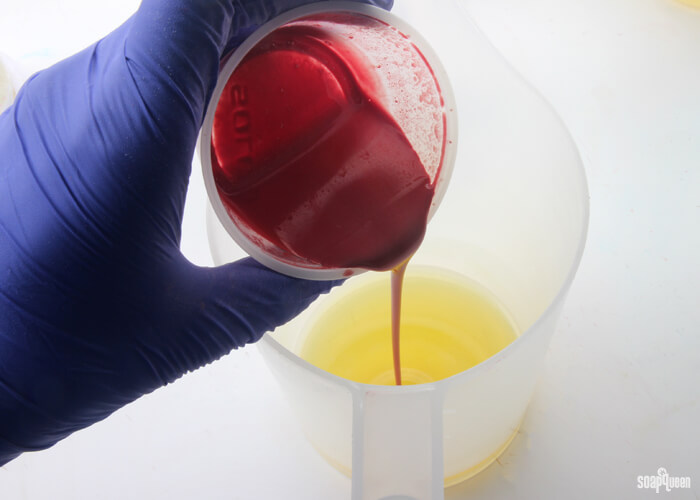
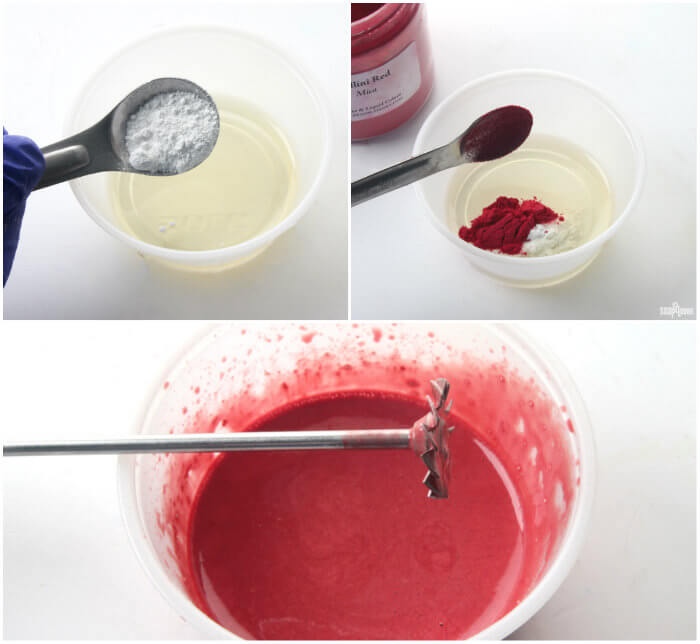 THREE: Add the color mixture to the oil and wax mixture and mix well.
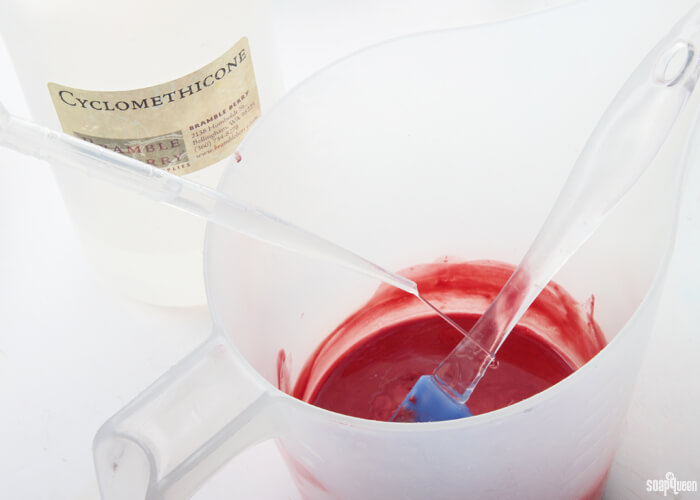
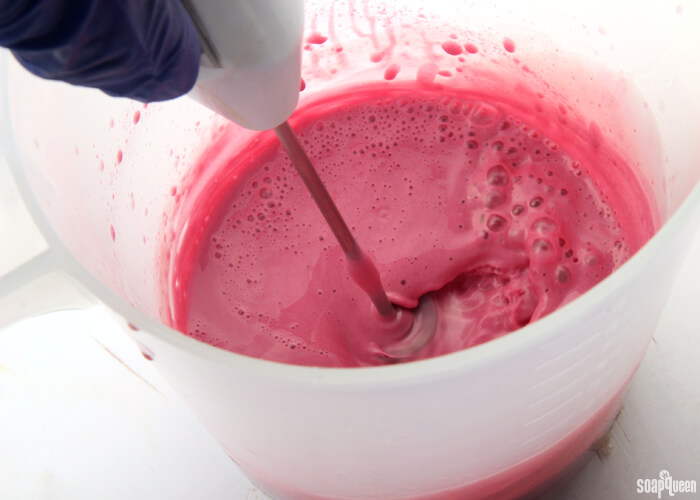
 FOUR: Once the mica is fully blended, add 9 mL of Cyclomethicone and stir well. If you notice the micas settling to the bottom, stir the mixture until it begins to cool. As the mixture cools and becomes thicker, the colors will be able to suspend evenly.
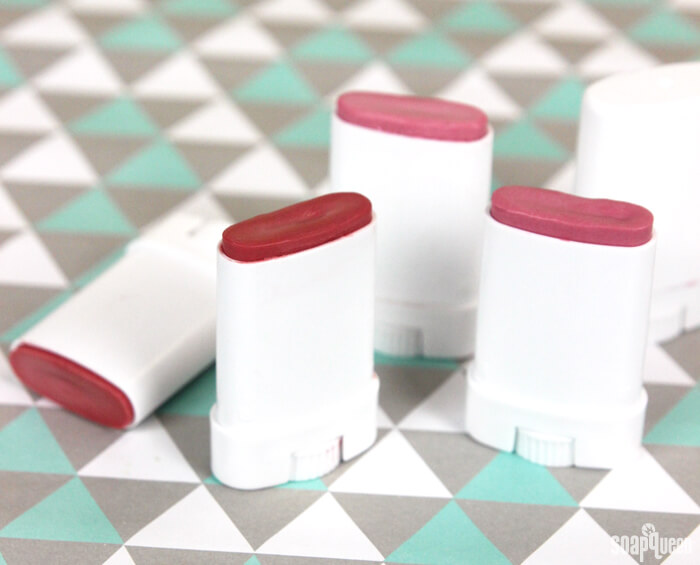
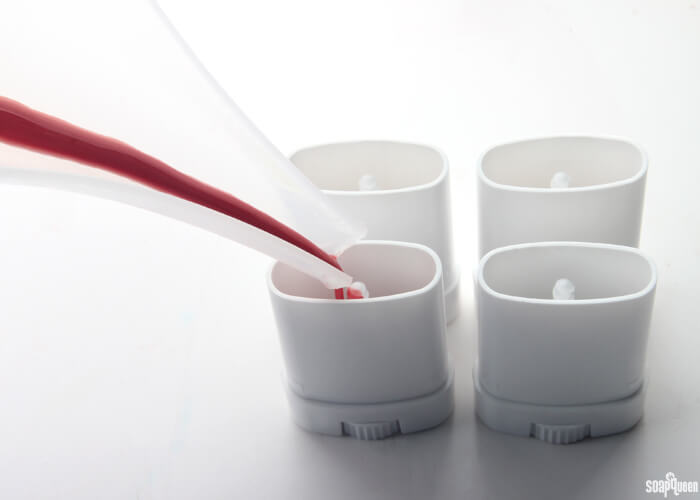
FIVE: Once the mixture has cooled slightly, carefully pour the mixture into the deodorant tubes. Let them cool fully and they’re ready to use!
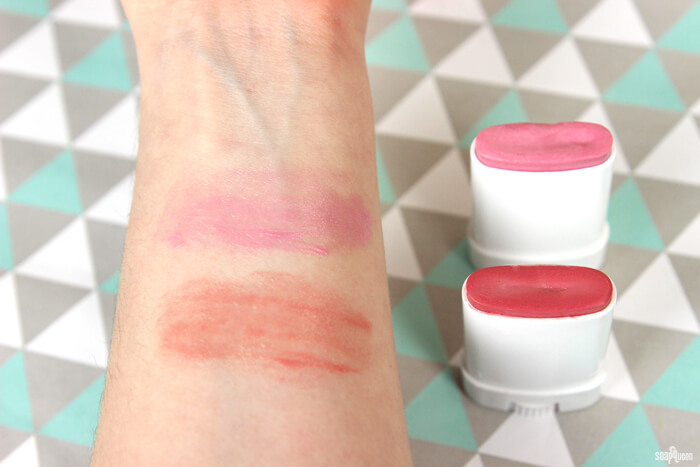
 Below is an example of how the color appear on skin. The pink tone is shown on top, and the coral tone is shown on the bottom. The more you apply, the more intense the color will appear.
Do you enjoy powder, or cream makeup? I love the ease of application that cream makeup provides!

Creamy Blush Sticks
Ingredients
- .5 oz. Green Tea Seed Oil
- .4 oz. Jojoba Oil
- .4 oz. Cera Bellina Wax
- 9 mL Cyclomethicone
- 4 Mini Deodorant Tubes
- 2 Easy Pour Mixing and Measuring Containers
Coral Shade:
- .5 tsp Titanium Dioxide
- .25 tsp. Cellini Red
- 1.5 tsp. Coral Mica
Pink Shade:
- 1 tsp. Titanium Dioxide
- .5 tsp. Cellini Red
- 1 tsp. Rose Pearl
Instructions
- In a heat safe glass container, add the jojoba oil and cera bellina wax. Microwave on 30-second bursts until the wax is fully melted. Be careful when removing from the microwave, as the container will be very hot.
- In a separate container, measure out .5 oz. of green tea seed oil. If you're making the coral shade, add the Titanium Dioxide, Cellini Red and Coral Mica and mix well. If you're making the pink shade, add the Titanium Dioxide, Cellini Red and Rose Pearl Mica.
- Add the color mixture to the oil and wax mixture and mix well.
- Once the mica is fully blended, add 9 mL of Cyclomethicone and stir well. If you notice the micas settling to the bottom, stir the mixture until it begins to cool. This will allow the colors to suspend evenly.
- Pour the mixture into the deodorant tubes. Let them cool fully and they're ready to use!