The holiday season will soon be upon us. With only 44 days until Christmas, now is the perfect time to start creating homemade gifts. Starting today, keep your eyes on the blog for 12 days of consecutive holiday inspired tutorials. All the projects are easy to make and even easier to give!
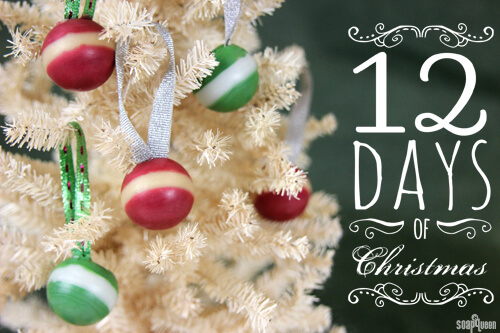
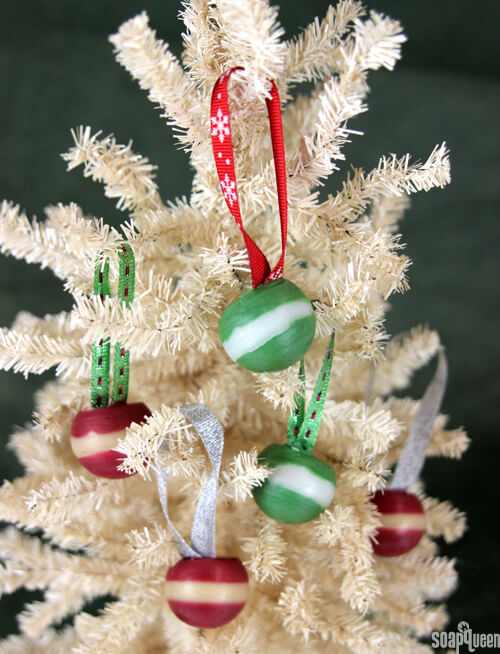
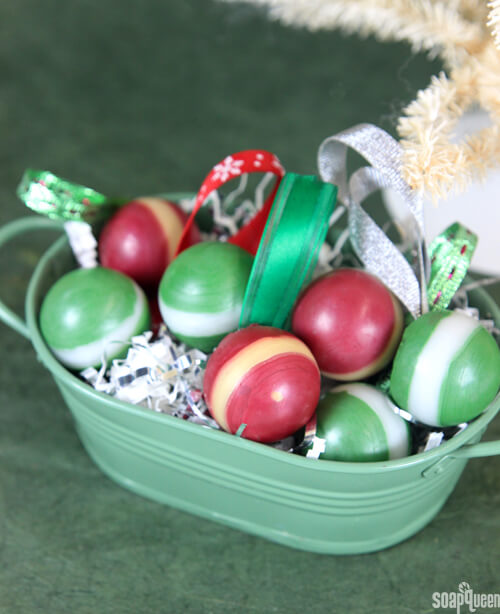
To kick things off, these Scented Beeswax Ornaments are the perfect addition to your Christmas tree. Scented with Woodland Elves Fragrance Oil, these ornaments smell like a fresh pine, clove and juniper. If you have a fake tree this year, these ornaments are a great way to bring the fresh Christmas tree scent inside!
What You’ll Need:
Medium 9 Ball Silicone Mold
16 oz. White Beeswax
4 oz. Woodland Elves Fragrance Oil
1/2 tsp. Merlot Mica
1/2 tsp. Super Pearly White Mica
1/2 tsp. Gold Sparkle Mica
1/2 tsp. Green Chrome Oxide
1/2 tsp. Cellini Red Mica
Droppers
Ribbon

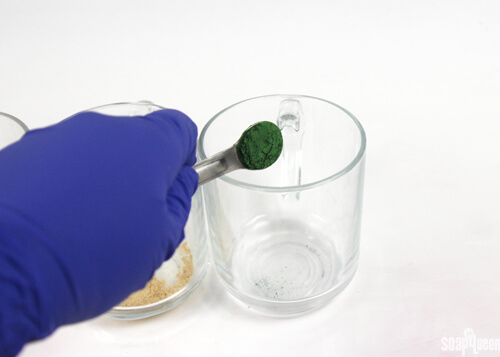
ONE: To a separate heat safe containers, add 1/2 tsp. of Super Pearly White Mica, Green Chrome Oxide, Gold Sparkle Mica, and Merlot Mica. To the container containing Merlot Mica, add 1/2 tsp. Cellini Red Mica.
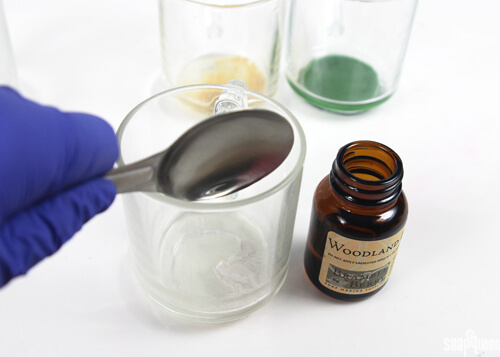
 TWO: To each container, add 2 tbs. of Woodland Elves Fragrance Oil and use a spoon to thoroughly mix.
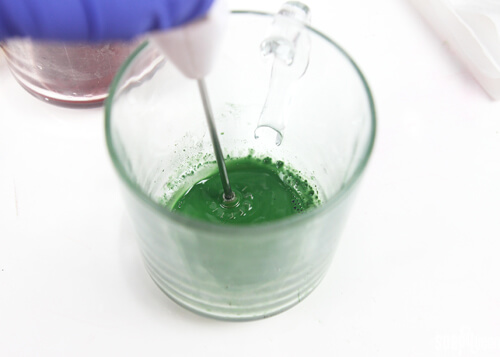
THREE: If necessary, use a mini mixer to get rid of any clumps.
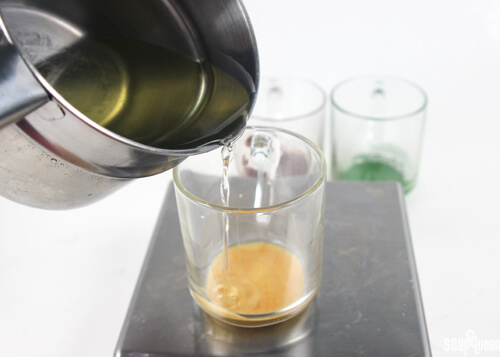
FOUR: Melt beeswax over a double boiler. If you’d like you can use the microwave, just be careful! Because beeswax has an extremely high melting point, the container can get very hot (and possibly explode) if microwaved too long. Pour the melted beeswax evenly into each container, about 4 ounces.
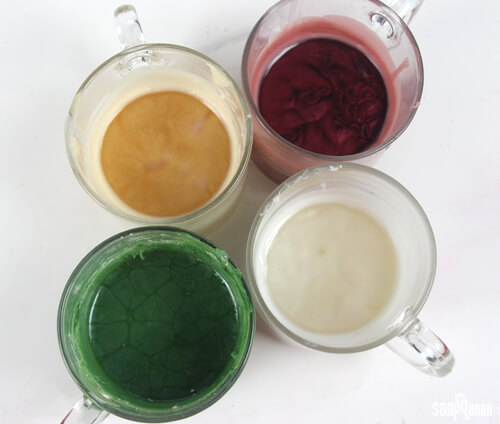
FIVE: Use a spoon to thoroughly mix the wax, fragrance and colorants.
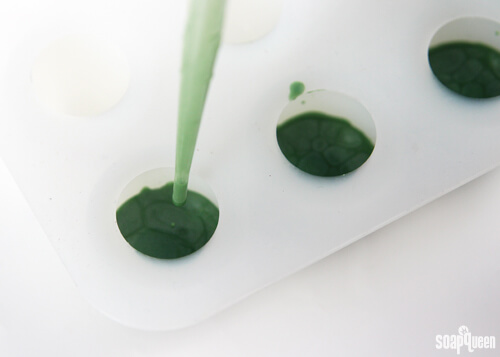
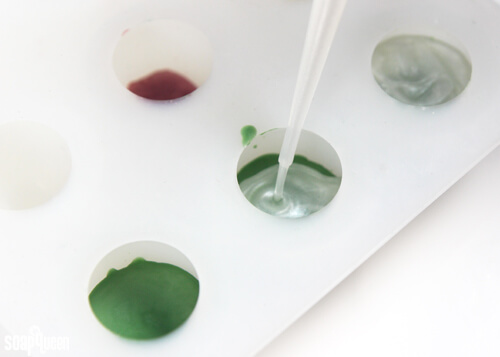
SIX: Using droppers, add 6 mL of wax into each cavity using various colors to complete the first layer. Allow to cool and harden. For our ornaments, we used a combination of red/gold and green/white, but you can use whatever color combinations you like!
Note: Work quickly, as the wax will harden in the droppers if it gets too cool.
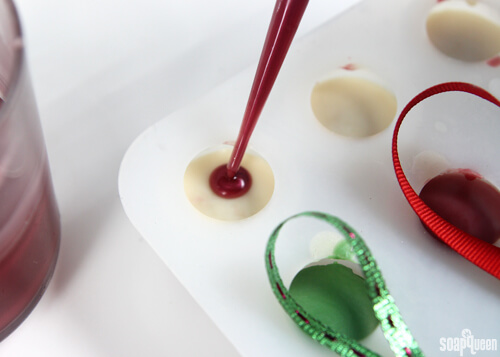
SEVEN: Using the droppers, add 6 mL of wax on top of the hardened first layer using a contrasting color. Allow to full cool and harden.
EIGHT: Continue layering colors until each cavity has three 6 mL layers of beeswax.
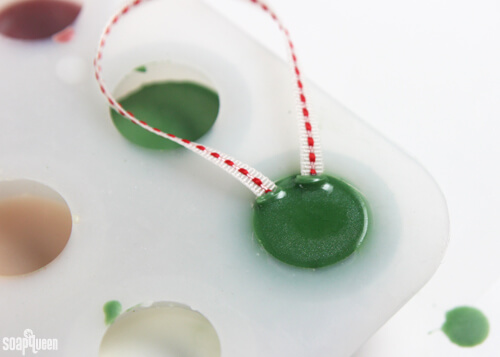
NINE: After pouring the last layer, place a ribbon on top of the melted wax, and hold for several seconds until the wax cools and is able to support the ribbon. Once the ornaments are fully cool, remove from the mold and enjoy!
What are you decorating your tree with this year? Have a fun color scheme?