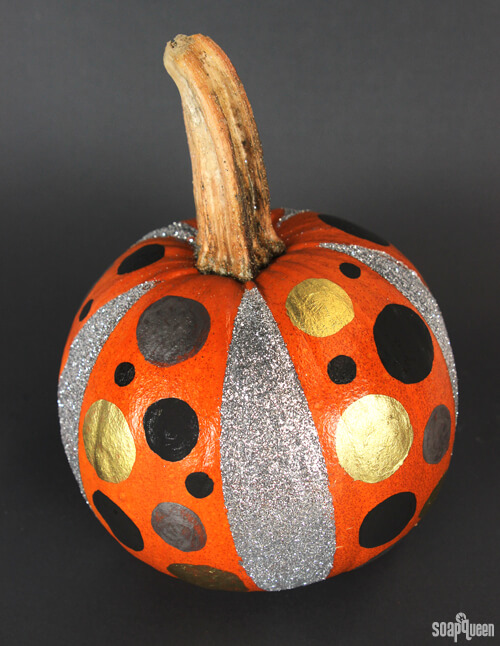
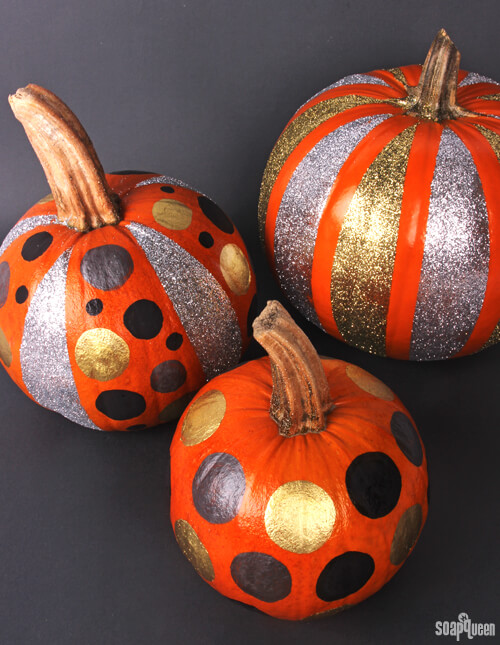
One of my favorite things about Halloween is the decorating. Yes, candy and costumes are fun, but Halloween decorations means crafting! If you are throwing a Halloween party (or even if you aren’t) these pumpkins covered in metallic glitter and mica really bring the wow factor. While they are not suitable for the outdoor elements, they make fantastic centerpieces and indoor flair.
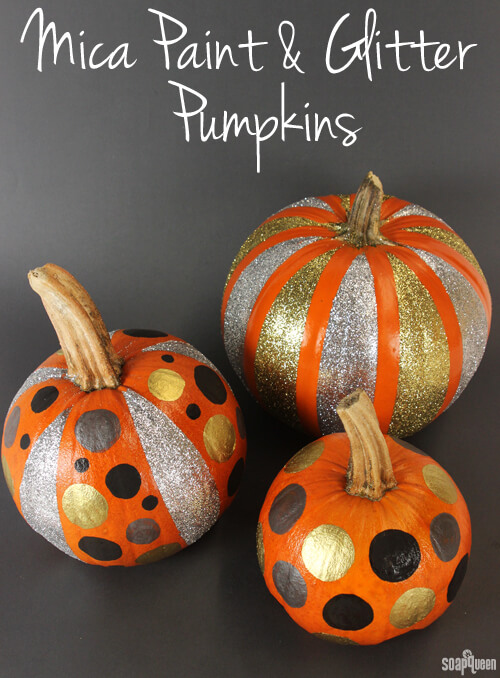 Making these pumpkins is a ton of fun, and does not involve any sharp and dangerous tools. In fact, you probably have a large majority of the necessary supplies already! The mica painted pumpkins are a great rainy day project. If you are making the glitter pumpkin you may consider crafting outside or covering your work surface. The glitter can get a little messy =)
What You’ll Need (for all three pumpkins):
Gold Nail Polish Glitter
Silver Nail Polish Glitter
Heavy Gold Mica
Black Oxide Pigment
Luster Black Mica
99% Isopropyl Alcohol
Mod Podge
Masking/painters tape
Various paint brushes

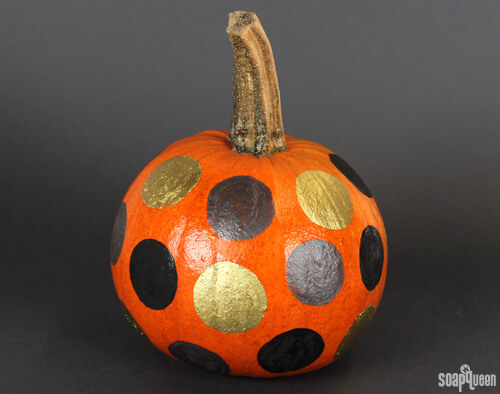
Technique One: Mica Painted Polka Dots
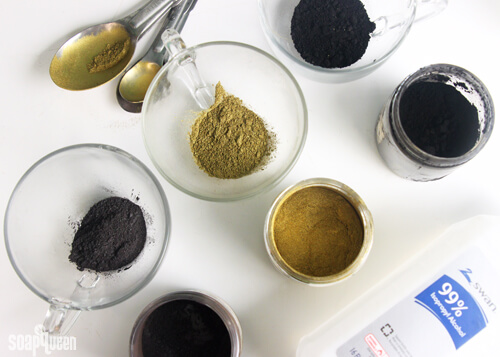 ONE: To create the mica and oxide paint, mix equal parts mica or oxide with 99% isopropyl alcohol in a small container. If necessary, use a mini mixer to stir out the clumps. How much paint you need will depend on the size and quantity of your pumpkins, but a little goes a long way!
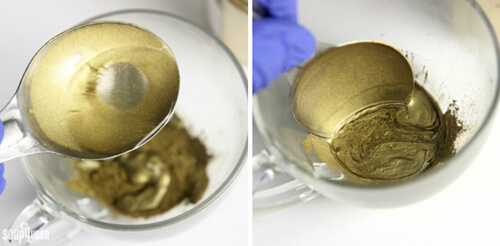 TWO: For this project, mix 1 tsp. Heavy Gold Mica, Black Oxide and Luster Black Mica with 1 tsp. 99% isopropyl alcohol. Fill a small container with alcohol to clean the brush in between colors. If necessary, wash off any dirt on the pumpkin and dry.
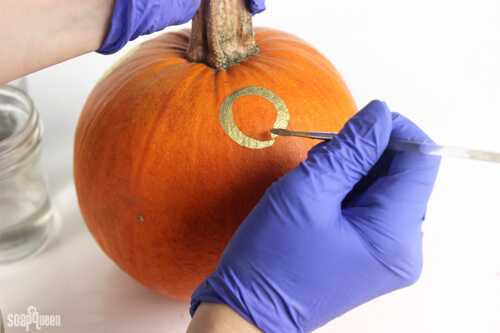
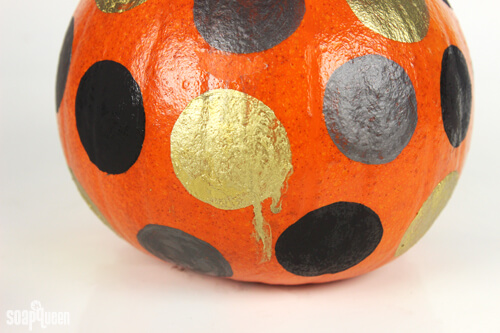
 THREE: Begin drawing polka dots on the pumpkin. Because the paint is thin, do not put too much on your brush or it may drip.
 FOUR: In between colors, dip the paint brush in a small amount of isopropyl or rubbing alcohol to clean the brush. Continue painting polka dots of various shades all over the pumpkin.
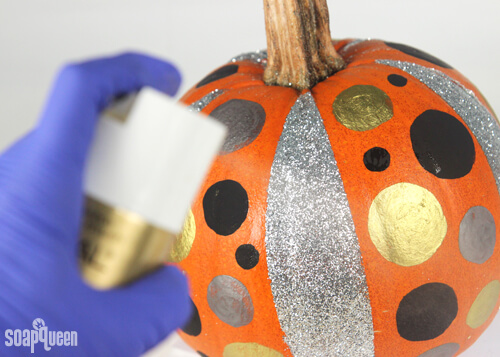
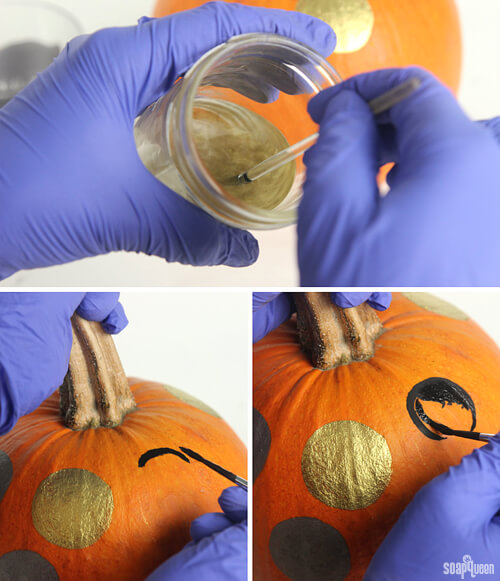 FIVE: Once happy with the design, spray the design with a thin layer of aerosol hairspray about 10 inches away from the pumpkin. Spraying with aerosol hairspray helps seal the paint, making it more resistant to smudging. It will not water proof the pumpkin.
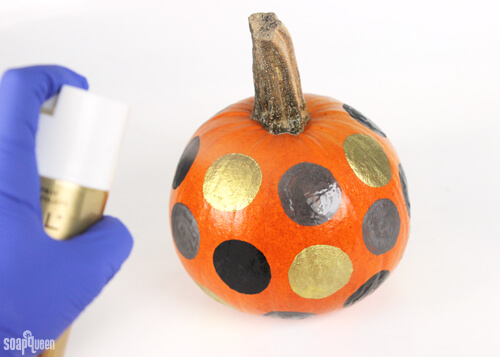 TIP: Don’t spray too much hairspray, or the paint will begin to drip! Spraying the hairspray too close to the pumpkin can also lead to dripping. If this happens, use a wet paper towel or rag to clean up the drips, and touch up any smudged paint.
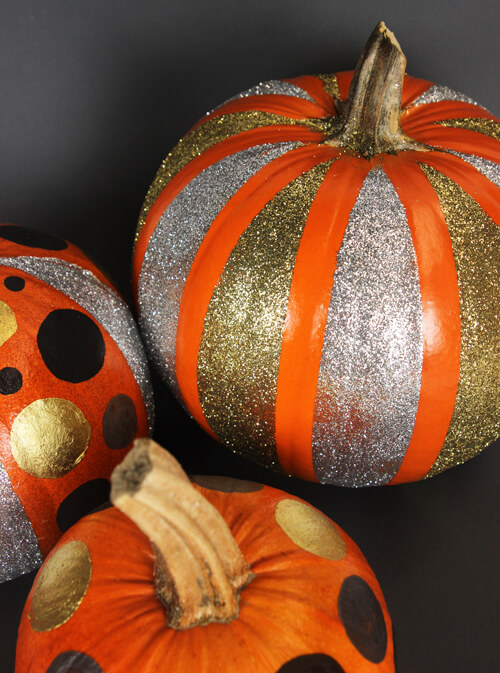
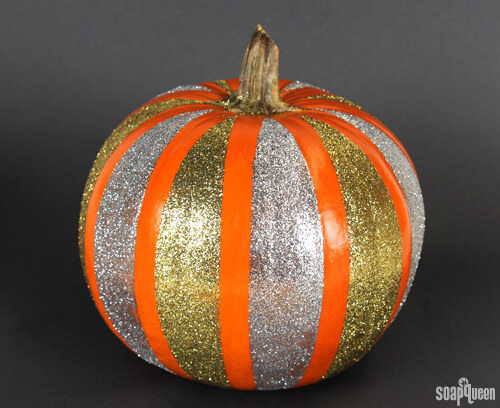
Technique Two: Glitter Stripes
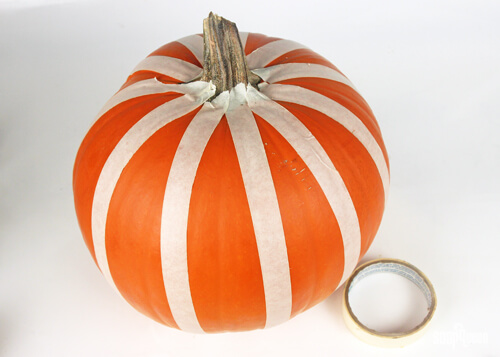
ONE: Rinse and dry your pumpkin. Using masking or painters tape, apply stripes of tape from the stem to the bottom until the entire pumpkin is covered. Applying the tape as even and straight as possible will lead to better results.
TIP: Place the pumpkin on top of newspaper or several small pieces of paper to aid in the cleanup.
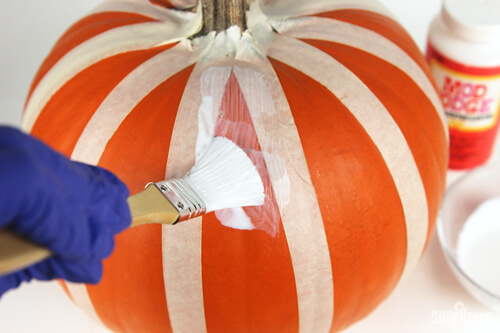
 TWO: Using a sturdy paint brush, apply Mod Podge glue to one section of pumpkin skin in between strips of tape.
 THREE: Pour gold glitter onto the glue, allowing the glitter to fall onto the sheet of paper that the pumpkin is sitting on. Continue applying the gold glitter until the entire strip is covered. Pour the excess gold glitter back into the container.
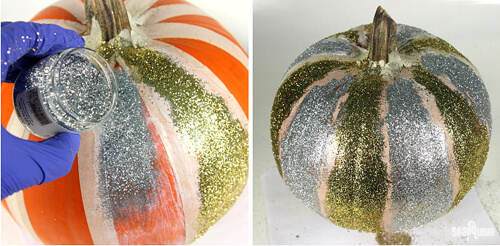
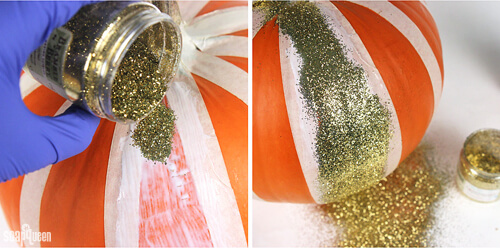 FOUR: Repeat step three with silver glitter. Continue applying gold and silver glitter until the entire pumpkin is covered.
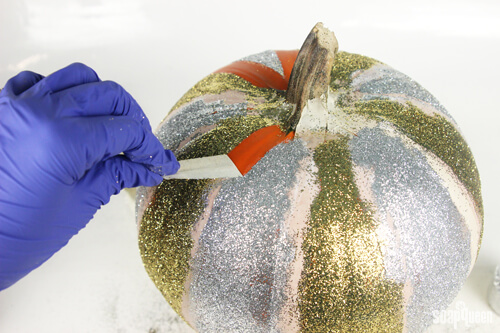
 FIVE: Gently remove the tape strips. If necessary, clean up any glitter that got under the tape.
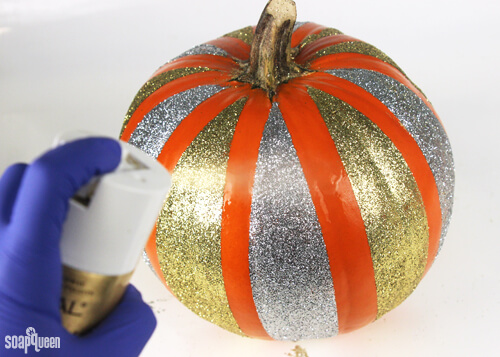
 SIX: To prevent the glitter from falling off the pumpkin, spray the entire pumpkin with aerosol hairspray. Allow to dry, and apply another coat of hairspray.
Technique Three: Mica Dots & Glitter Stripes
ONE: Apply strips of masking or painters tape from the stem of the pumpkin, to the bottom of the pumpkin. Apply Mod Podge glue to every other section of pumpkin skin with glue. Pour silver glitter onto the glue, allowing the excess glitter to fall off.
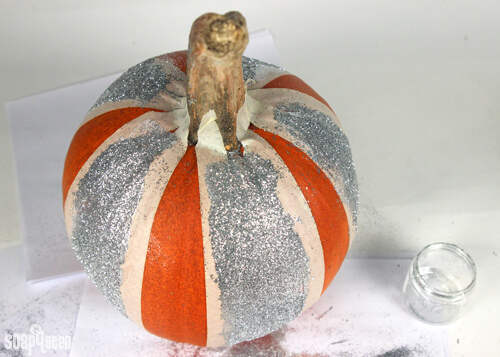
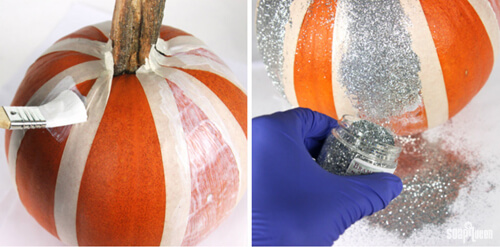 TWO: Once every other taped section of pumpkin has been covered with silver glitter, gently remove the strips of tape.
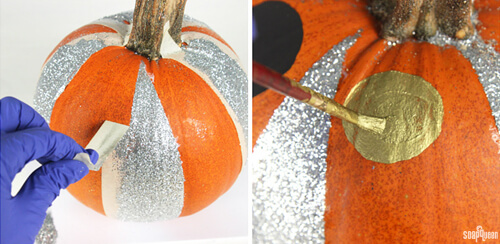
 THREE: Make mica/oxide paint using equal parts mica/oxide and 99% isopropyl alcohol or rubbing alcohol. Stir thoroughly to mix, and if necessary, use a mini mixer to remove any clumps. Begin painting dots of various sizes and colors in between the strips of silver glitter.
 FOUR: Once you’re happy with the design, spray the entire pumpkin with aerosol hairspray. Do not spray too much or too close, or the mica painting may drip (see photo above). Allow to fully dry, and apply another coat of hairspray. Allow to dry and enjoy!
 What is your favorite way to decorate pumpkins for Halloween? Of course, I’m a fan of basic carving too!