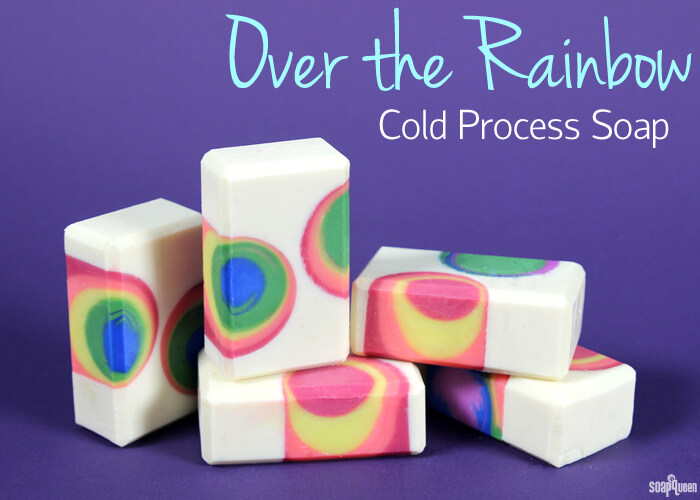
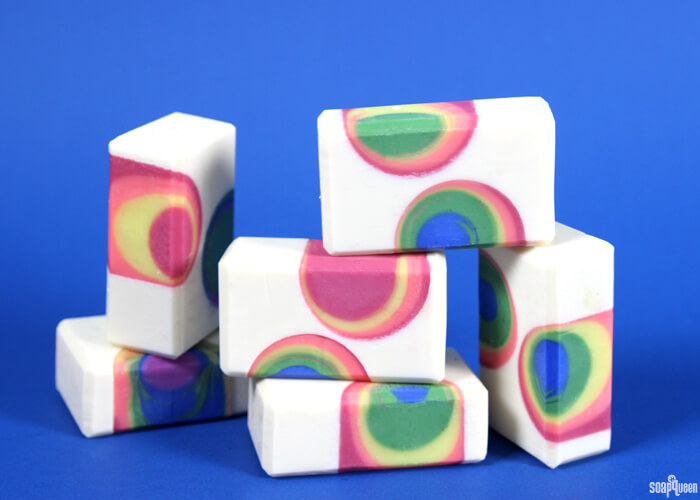
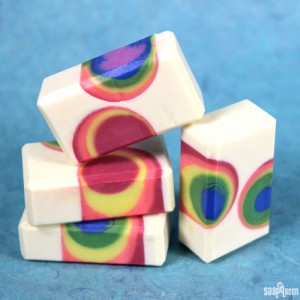
If gloomy February has you seeing grey, this Over the Rainbow Cold Process is sure to cheer you up. Made using the negative embed technique, this soap requires two steps. First, PVC pipes are inserted into the mold, and strapped down using large rubber bands. White soap is poured around the pipes and allowed to harden for three to four days. Once the pipes are removed , the holes are filled with colorful fresh soap. Made with rainbow hues and the juicy Blackberry Sage Cybilla Fragrance Oil, this project reminds me of a tropical vacation!
If you’d like to see another example of the negative embed technique, check out the Misty Maritime Moon Cold Process tutorial. For this soap, the pipes were inserted into the soap after it was poured, resulting in soap within the pipes. Both methods work extremely well, but I found the embeds were slightly easier to remove when the pipes were inserted first as shown here.
What You’ll Need:
White Base
1.7 oz. Sweet Almond Oil
1.7 oz. Cocoa Butter
8.3 oz. Coconut Oil
13.2 oz. Olive Oil
8.3 oz. Palm Oil
4.6 oz. Sodium Hydroxide Lye
10.9 oz. Distilled Water
1 oz. Blackberry Sage Fragrance Oil
Titanium Dioxide
5 Pound Mold with Sliding Bottom
Silicone Liner for 5 lb. Wood Mold
PVC Pipes
Rainbow Embeds
1.3 oz. Sweet Almond Oil
1.3 oz. Cocoa Butter
6.5 oz. Coconut Oil
10.4 oz. Olive Oil
6.5 oz. Palm Oil
3.7 oz. Sodium Hydroxide
8.6 oz. Distilled Water
Merlot Sparkle Mica
Electric Bubblegum Colorant
Tangerine Wow! Colorant
Fizzy Lemonade Colorant
Green Chrome Oxide Pigment
Ultramarine Blue Pigment
Radiant Plum Colorant
1 oz. Blackberry Sage Cybilla Fragrance Oil
Optional: 6 Easy Pour Mixing and Measuring Containers

Click here to add everything you need for this project to your Bramble Berry shopping cart!

If you’ve never made Cold Process soap before, stop here! I highly recommend checking out our FREE four part SoapQueen.tv series on Cold Process Soapmaking, especially the episode on lye safety. And if you’d rather do some reading, Bramble Berry carries a wide range of books on the topic, including my newest book, Soap Crafting. You can also checkout the digital downloads for that instant gratification factor.
SAFETY FIRST: Suit up for safe handling practices! That means goggles, gloves and long sleeves. Make sure kids, pets, and other distractions and tripping hazards are out of the house or don’t have access to your soaping space. Always soap in a well-ventilated area.
COLOR PREP: To ensure that the Titanium Dioxide blends smoothly into the soap batter, we recommend micronizing it before dispersing it in oil. Please note this is an optional step but it does help with the titanium dioxide clumping in the soap =) To micronize colorant, simply use a coffee grinder to blend the colorant to break up any clumps of color and prevent streaks of white from showing in the final soap. We like to use a coffee grinder that has a removable, stainless steel mixing area for easy cleaning. Then, disperse 2 teaspoons of the colorant into 2 tablespoons of sunflower or sweet almond oil (or any other liquid oil).
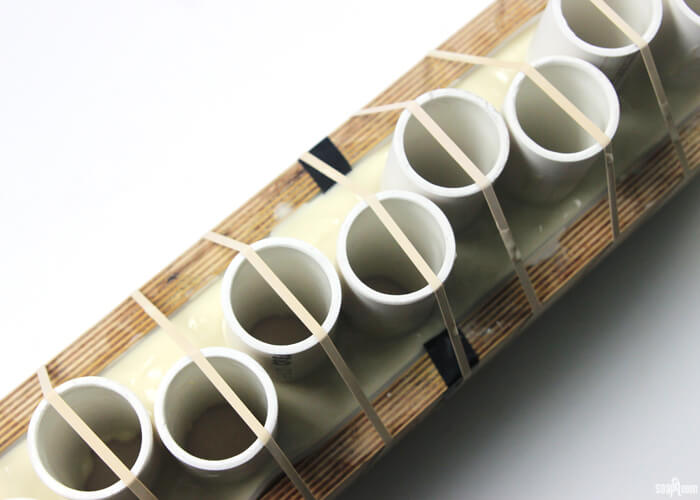
MOLD PREP: Insert PVC pipes vertically into the mold. Position the pipes throughout the mold, allowing space between each pipe and the edges of the mold. The placement of the pipes will depend on the size of pipes being used. Use large rubber bands to stretch around the mold and over the pipes in order to hold them in place. Using the rubber bands will help the pipes stay in place once the soap is poured around the pipes.
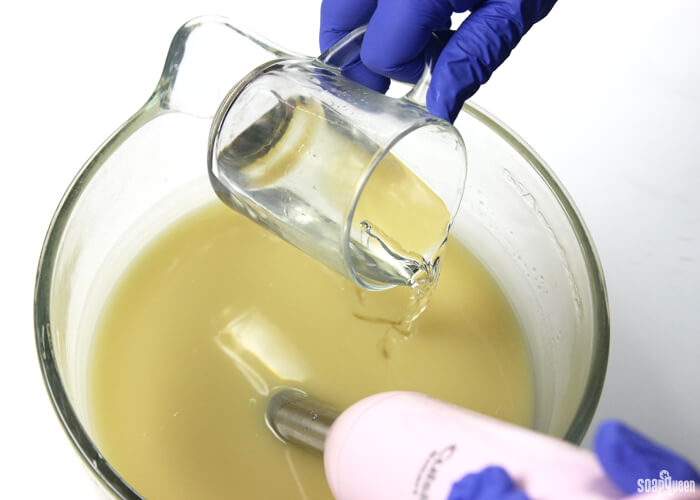
ONE: Slowly and carefully add the lye to the water and gently stir until the lye has fully dissolved and the liquid is clear. Set aside to cool.
TWO: Melt and combine the coconut oil, cocoa butter, olive oil, sweet almond oil and palm oils (remember to fully melt then mix your entire container of palm oil before portioning). Once the lye water and the oils have cooled to 130 degrees or below (and are ideally within 10 degrees of each other), add the lye water to the oils and stick blend until thin trace. If you’d like a harder bar of soap that releases faster from the mold, you can add sodium lactate to the cooled lye water. Use 1 teaspoon of sodium lactate per pound of oils in the recipe. For this recipe, you’d add about 3 tsp. sodium lactate.
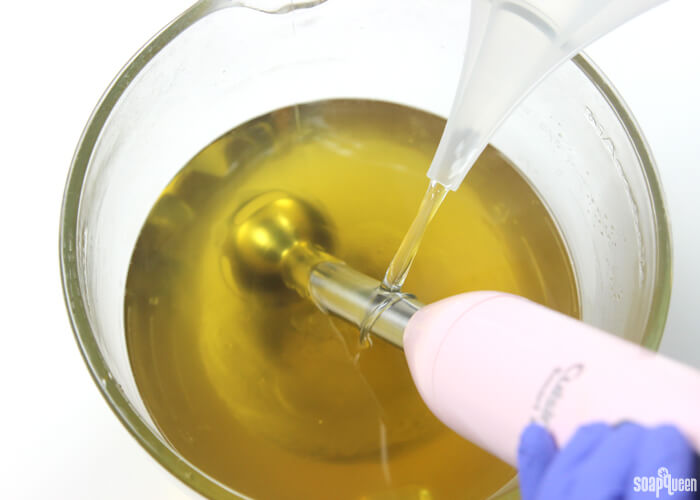 THREE: Once the batter has reached a thin trace, add 1 oz. of the Blackberry Sage Fragrance Oil and whisk in.
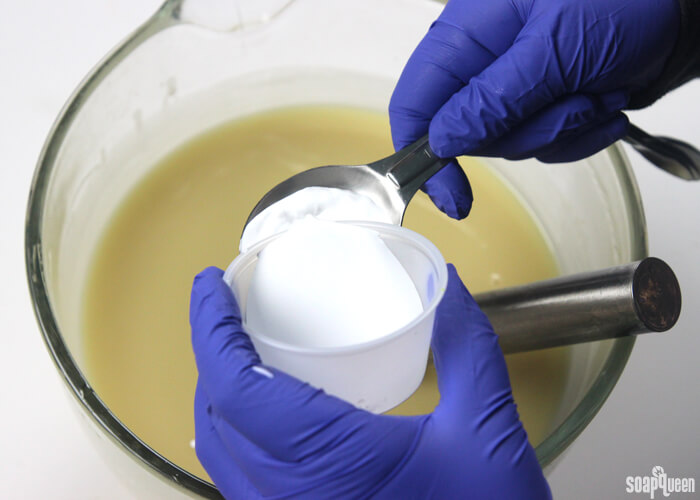
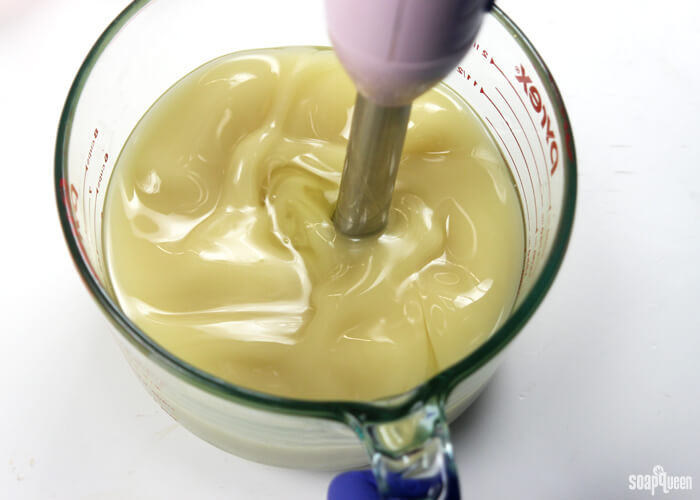
 FOUR: Add all of the dispersed Titanium Dioxide and use a whisk to combine. If necessary, stick blend the soap for another few seconds to thicken to a light-medium trace. Thickening the soap slightly will help ensure the soap does not leak into the pipes when pouring into the mold.
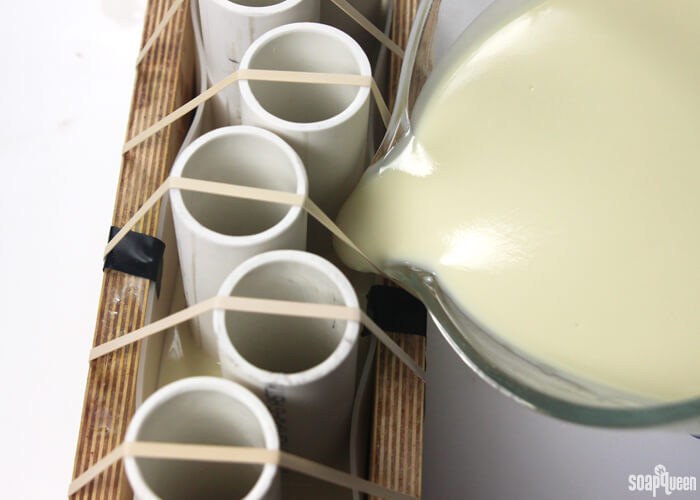
 FIVE: Slowly begin pouring the soap into the mold and around the pipes. Pour from different angles and areas in the mold to ensure the soap is evenly distributed.
TIP: Because the exact amount of soap will vary slightly depending on how large your pipes are and how many you used, have an extra mold on hand in case you have leftover soap.
 SIX: Tap the mold gently on the counter to help evenly disperse the soap. Spray with 99% isopropyl alcohol to prevent soda ash. Let soap in the mold for 3-4 days before attempting to remove the pipes. The pipes should be fairly easy to pull up and out of the soap. If not, give them more time. If after four days the pipes are still difficult to remove, place the soap into the freezer for 3-4 hours. Remove from the freezer, and attempt to remove the pipes again after a few hours. Patience is key.
Create the Embeds
Once the pipes are removed from the soap, it’s time to make the colorful soap that will fill the holes! When preparing your oils to fill the negative space, it’s important to use the same oils and percentages as the original soap. Doing so will prevent the two batches of soap from pulling away from each other once cut.
The amount of soap needed to fill the negative space may be different from this tutorial, depending on how large your pipes are and how many you use. For this negative embed technique, it can be tricky to estimate how much soap will be needed to fill the holes. One way to estimate how much soap you will need is to wait until the base soap has fully hardened. Before removing the pipes, place the entire mold on a scale and push the tare button. Pour water into one of the pipes until level with the base soap. Record this amount, and pour the water out of the mold. This weight will be about how much soap it takes to fill up one hole. Multiply by how many pipes your soap contains. This amount will be about how much soap it will take to fill up all the negative embeds. To be on the safe side you may want to make a few extra ounces and have a small mold on hand for any extra. It’s better to have a little extra than not enough!
SAFETY FIRST: Suit up for safe handling practices! That means goggles, gloves and long sleeves. Make sure kids, pets, and other distractions and tripping hazards are out of the house or don’t have access to your soaping space. Always soap in a well-ventilated area.
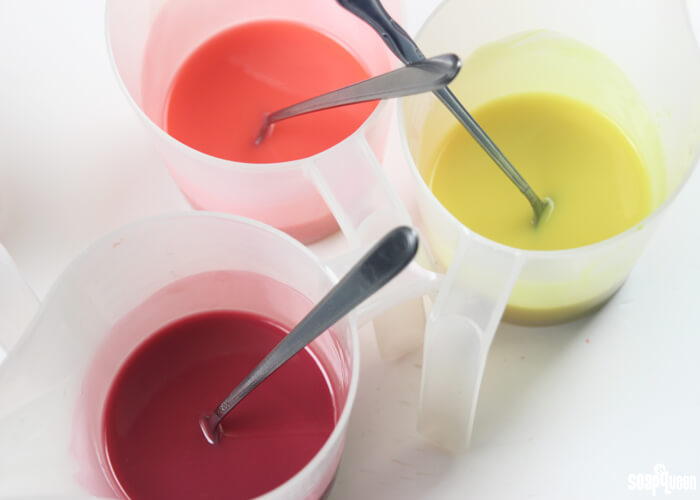
COLOR PREP: In separate containers, disperse 1 teaspoon of the Electric Bubblegum Colorant, Merlot Sparkle Mica, Tangerine Wow Colorant, Fizzy Lemonade Colorant, Chrome Green Oxide, Ultramarine Blue Oxide, and Radiant Plum Colorant into 1 tablespoon sunflower or sweet almond oil (or any other liquid oil). Use a mini mixer to get the clumps of color worked out smoothly.
ONE: Melt and combine the cocoa butter, coconut oil, olive oil, sweet almond oil and palm oils (remember to fully melt then mix your entire container of palm oil before portioning). Once the lye water and the oils have cooled to 130 ° F or below (and are ideally within 10 degrees of each other), add the lye water to the oils and stick blend until thin trace.
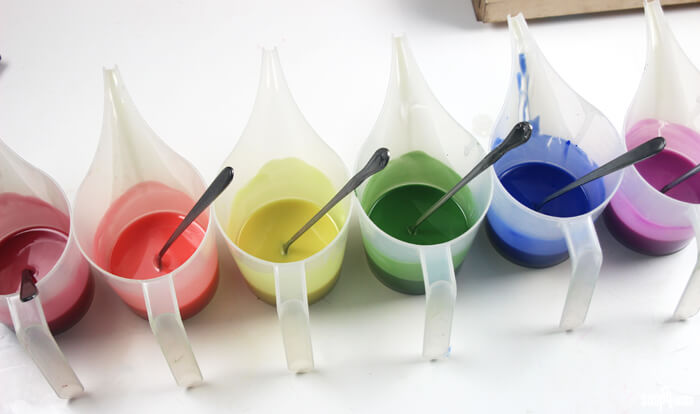
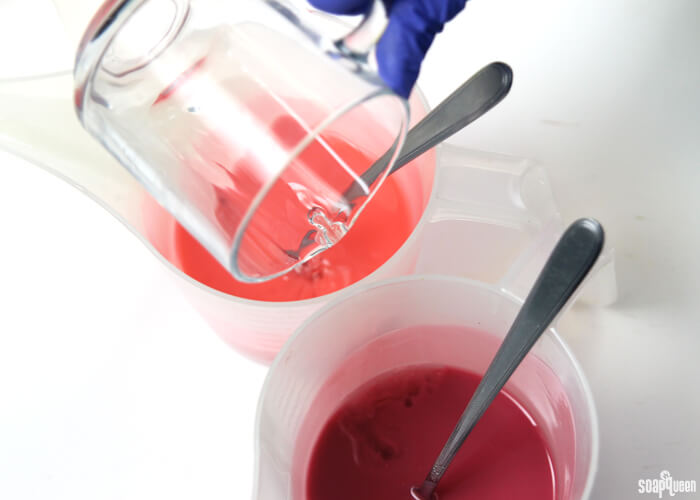
TWO: Once the soap has leached a light trace, split the soap into six small containers. Each container will contain about 200 mL of soap. Whisk in dispersed colorants per container in the following amounts:
-
- Red: .5 teaspoon Electric Bubblegum + .75 teaspoon Merlot Sparkle Mica
- Orange: 1 teaspoon Tangerine Wow Colorant
- Yellow: 2 teaspoons Fizzy Lemonade Colorant
- Green: .5 teaspoon Chrome Green Oxide
- Blue: 1 teaspoon Ultramarine Blue
- Purple: 1.5 teaspoons Radiant Plum Colorant
 THREE: Once all the colorants are thoroughly mixed in, divide 1 oz. of Blackberry Sage Fragrance Oil among the six containers (it’s okay to eyeball it!) and incorporate with a whisk.
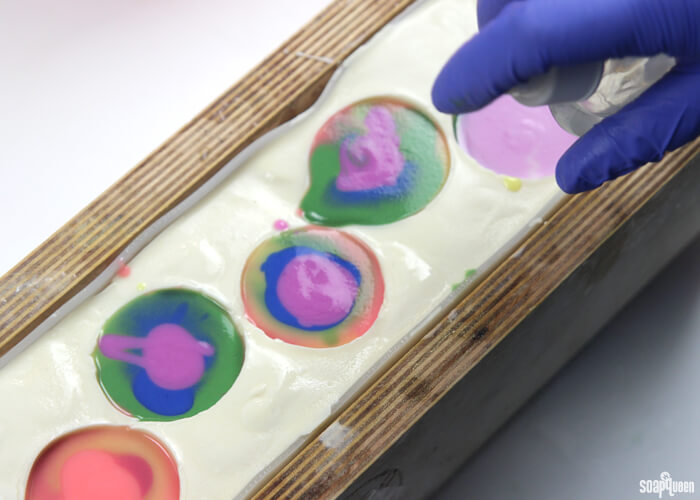
 FOUR: Begin pouring the soap into the holes in the order of red, orange, yellow, green, blue and purple. If the hole fills up before you can add all the colors that’s okay! Just continue the pattern in the next hole.
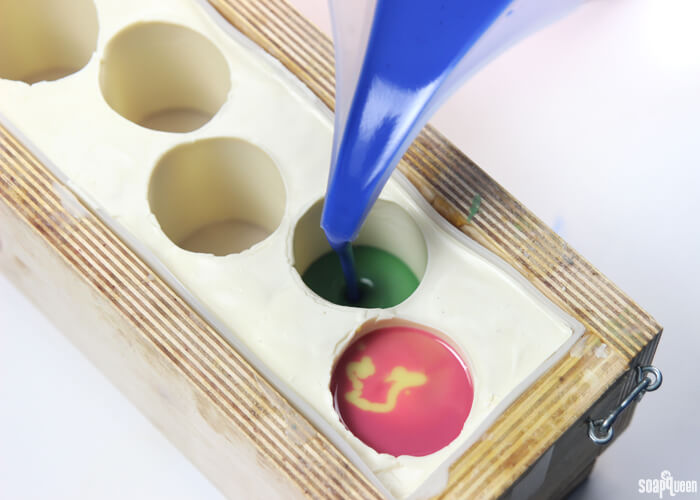
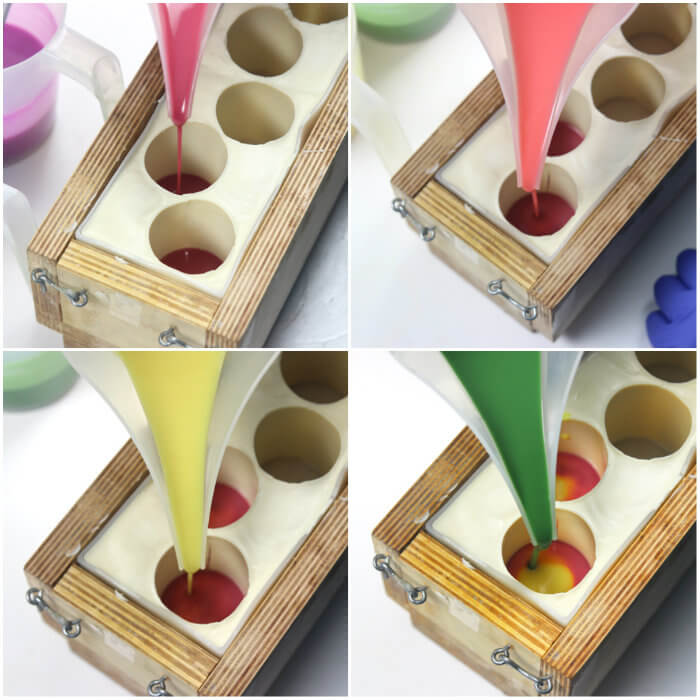 FIVE: Continue pouring all the colors until every hole is filled. Some of the negative embed space contained all six colors, while others contained only the warm hues or cool hues. When cut, both technique looks great!
 SIX: Once all the holes are filled, spray the soap with 99% isopropyl alcohol to help prevent soda ash. Unmold after 3-4 days. When it’s time to cut, you can cut the loaf in the traditional way, but in order to achieve the results shown in the photos, the bars need to be cut horizontally. If you’re not sure how to cut bars horizontally, there’s a video for that here. Allow to cure for 4-6 weeks and enjoy!
Are you craving some color during this gloomy time of year? Keep your eyes on the blog; February is full of colorful projects coming soon!
Over the Rainbow Cold Process
Ingredients
- White Base
- 1.7 oz. Sweet Almond Oil
- 1.7 oz. Cocoa Butter
- 8.3 oz. Coconut Oil
- 13.2 oz. Olive Oil
- 8.25 oz. Palm Oil
- 4.6 oz. Sodium Hydroxide Lye
- 10.9 oz. Distilled Water
- 1 oz. Blackberry Sage Fragrance Oil
- Titanium Dioxide
- 5 Pound Mold with Sliding Bottom
- Silicone Line for 5 lb. Wood Mold
- CVC Pipes
- Rainbow Embeds
- 1.3 oz. Sweet Almond Oil
- 1.3 oz. Cocoa Butter
- 6.5 oz. Coconut Oil
- 10.4 oz. Olive Oil
- 6.5 oz. Palm Oil
- 3.7 oz. Sodium Hydroxide
- 8.6 oz. Distilled Water
- Merlot Sparkle Mica
- Electric Bubblegum Colorant
- Tangerine Wow! Colorant
- Fizzy Lemonade Colorant
- Green Chrome Oxide Pigment
- Ultramarine Blue Pigment
- Radiant Plum Colorant
- 1 oz. Blackberry Sage Cybilla Fragrance Oil
- Optional: 6 Easy Pour Mixing and Measuring Containers
Instructions
- SAFETY FIRST: Suit up for safe handling practices! That means goggles, gloves and long sleeves. Make sure kids, pets, and other distractions and tripping hazards are out of the house or don’t have access to your soaping space. Always soap in a well-ventilated area.
- COLOR PREP: To ensure that the Titanium Dioxide blends smoothly into the soap batter, we recommend micronizing it before dispersing it in oil. Please note this is an optional tip but it does help with the titanium dioxide clumping in the soap =) To micronize colorant, simply use a coffee grinder to blend the colorant to break up any clumps of color and prevent streaks of white from showing in the final soap. We like to use a coffee grinder that has a removable, stainless steel mixing area for easy cleaning. Then, disperse 2 teaspoons of the colorant into 2 tablespoons of Sunflower or Sweet Almond Oil (or any other liquid oil).
- MOLD PREP: Insert PVC pipes vertically into the mold. Position the pipes throughout the mold, allowing space between each pipe and the edges of the mold. The placement of the pipes will depend on the size of pipes being used. Use large rubber bands to stretch around the mold and over the pipes in order to hold them in place. Using the rubber bands will help the pipes stay in place once the soap is poured around the pipes.
- Slowly and carefully add the lye to the water and gently stir until the lye has fully dissolved and the liquid is clear. Set aside to cool.
- Melt and combine the coconut oil, cocoa butter, olive oil, sweet almond oil and palm oils (remember to fully melt then mix your entire container of palm oil before portioning). Once the lye water and the oils have cooled to 130 degrees or below (and are ideally within 10 degrees of each other), add the lye water to the oils and stick blend until thin trace. If you’d like a harder bar of soap that releases faster from the mold, you can add sodium lactate to the cooled lye water. Use 1 teaspoon of sodium lactate per pound of oils in the recipe. For this recipe, you’d add about 3 tsp. sodium lactate.
- Once the batter has reached a light trace, add 1 oz. of the Blackberry Sage Fragrance Oil and whisk in.
- Add all of the dispersed Titanium Dioxide and use a whisk to gently combine. If necessary, stick blend the soap for another few seconds to thicken to a light/medium trace. Thickening the soap slightly will help ensure the soap does not leak into the pipes when pouring into the mold.
- Slowly begin pouring the soap into the mold and around the pipes. Pour from different angles and areas in the mold to ensure the soap is evenly distributed in the mold.
- Tap the mold gently on the counter to help evenly disperse the soap. Spray with 99% isopropyl alcohol to prevent soda ash. Let soap in the mold for 3-4 days before attempting to remove the pipes. The pipes should be fairly easy to pull up and out of the soap. If not, give them more time. If after three to four days the pipes are still difficult to remove, place the soap into the freezer for 3-4 hours. Remove from the freezer, and attempt to remove the pipes again after a few hours. Patience is key.
Create the Embeds
- SAFETY FIRST: Suit up for safe handling practices! That means goggles, gloves and long sleeves. Make sure kids, pets, and other distractions and tripping hazards are out of the house or don’t have access to your soaping space. Always soap in a well-ventilated area.
- COLOR PREP: In separate containers, disperse 1 teaspoon of the Electric Bubblegum Colorant, Merlot Sparkle Mica, Tangerine Wow Colorant, Fizzy Lemonade Colorant, Chrome Green Oxide, Ultramarine Blue Oxide, and Radiant Plum Colorant into 1 tablespoon sunflower or sweet almond oil (or any other liquid oil). Use a mini mixer to get the clumps of color worked out smoothly.
- Melt and combine the cocoa butter, coconut oil, olive oil, sweet almond oil and palm oils (remember to fully melt then mix your entire container of palm oil before portioning). Once the lye water and the oils have cooled to 130 ° F or below (and are ideally within 10 degrees of each other), add the lye water to the oils and stick blend until thin trace.
- Once the soap has leached a light trace, split the soap into six small containers. Each container will contain about 200 mL of soap. Whisk in dispersed colorants per container in the following amounts:.5 teaspoon Electric Bubblegum + .75 teaspoon Merlot Sparkle Mica, 1 teaspoon Tangerine Wow Colorant, 2 teaspoons Fizzy Lemonade, .5 teaspoon Chrome Green Oxide, 1 teaspoon Ultramarine Blue, 1.5 teaspoons Radiant Plum Colorant
- Once all the colorants are thoroughly mixed in, divide 1 oz. of Blackberry Sage Fragrance Oil among the six containers (it’s okay to eyeball it!) and incorporate with a whisk.
- Begin pouring the soap into the holes in the order of red, orange, yellow, green, blue and purple. If the hole fills up before you can add all the colors that’s okay! Just continue the pattern in the next hole.
- Continue pouring all the colors until every hole is filled. Some of the negative embed space contained all six colors, while others contained only the warm hues or cool hues. When cut, both technique looks great!
- Once all the holes are filled, spray the soap with 99% isopropyl alcohol to help prevent soda ash. Unmold after 3-4 days. When it’s time to cut, you can cut the loaf in the traditional way, but in order to achieve the results shown in the photos, the bars need to be cut horizontally. If you’re not sure how to cut bars horizontally, there’s a video for that here. Allow to cure for 4-6 weeks and enjoy!