
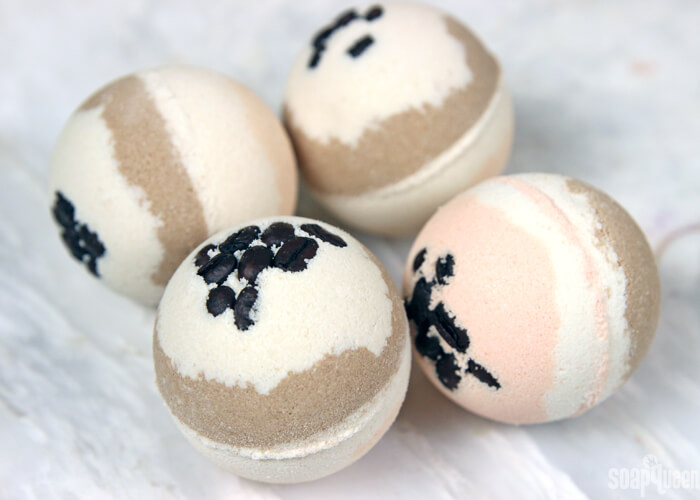
Are you in the “yea” pumpkin spice camp, or the “nay” pumpkin spice camp? While I understand the desire to hang onto summer, I’m in the “YAY!” pumpkin spice category. I just love the change of seasons and crafting with fall-inspired scents. If you’re ready to celebrate fall, these Pumpkin Spice Latte Bubble Bath Bombs are the perfect way to do so. Why just drink a Pumpkin Spice Latte when you can bathe in one? Or better yet, maybe drink one while taking a bath! 😉
These bath bombs have a lot of amazing things going on. They contain a small amount of Sodium Lauryl Sulfoacetate – SLSA in addition to the typical baking soda and citric acid mixture. The SLSA creates some bubbles in the bath in addition to fizz. If you prefer just fizz, leave out the SLSA and replace with more baking soda. Coffee butter adds a hint of coffee scent and skin-nurturing properties to the water. But wait, there’s more! Powdered Goat Milk is also in the recipe to give bath water milky properties. To help the coffee butter and the powdered colorants incorporate better in the water, I added Polysorbate 80 which can be omitted if you prefer.
What You’ll Need:
About 10-12 Bath Bomb Mold & Package
3 1/2 cups Sodium Bicarbonate (Baking Soda)
1/2 cup Sodium Lauryl Sulfoacetate – SLSA
2 cups Citric Acid
3 Tbs. Powdered Goat Milk
2 oz. Coffee Butter
6 mL Pumpkin Spice Fragrance Oil
5 mL Espresso Fragrance Oil
11 mL Polysorbate 80
Dutch Processed Cocoa Powder
Sunset Orange Mica
Witch Hazel in Spray Bottle
3 Droppers

Click here to add everything you need for this project to your Bramble Berry shopping cart!
[sq_products]
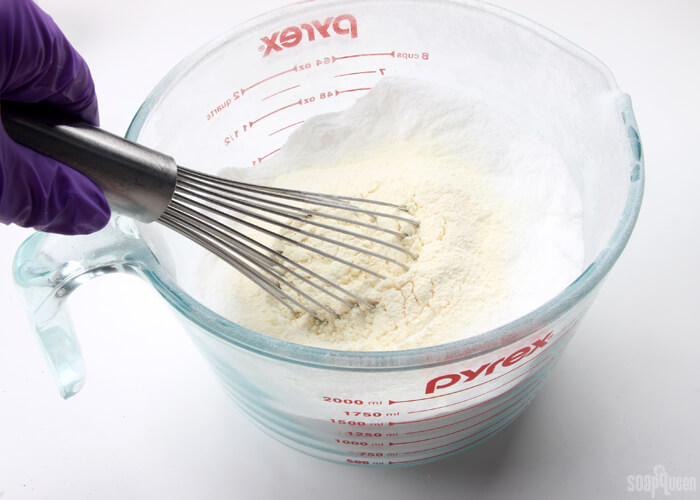
ONE: In a large bowl, mix together 3 1/2 cups of baking soda, 2 cups of citric acid, 1/2 cup SLSA and 3 tablespoons of powdered goat milk. If there are any clumps in the mixture, you can push the powder through a sifter or break up the clumps with your fingers. Citric acid has a tendency to take off nail polish, so wear gloves to protect your manicure. SLSA is extremely powdery, so make sure you are in a well-ventilated room when adding it into the mixture. You may choose to wear a dust mask to prevent sneezing!
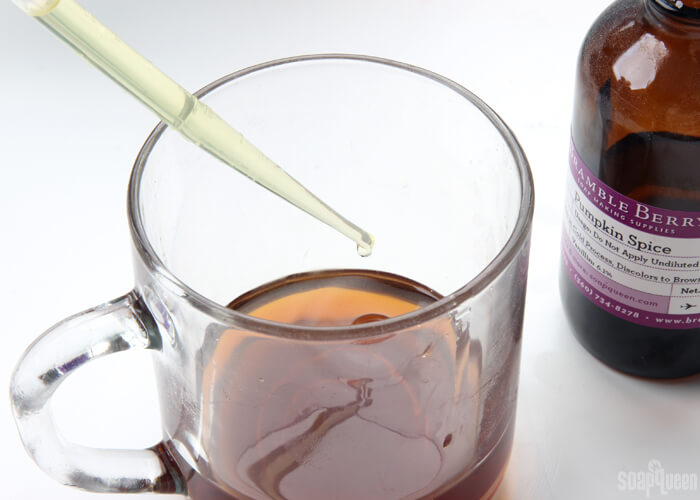
TWO: In a small heat safe container, add the 2 ounces of coffee butter. Place in the microwave and heat using 15-20 second bursts. Once completely melted, add the Pumpkin Spice Fragrance Oil, Espresso Fragrance Oil and Polysorbate 80. Use a spoon to thoroughly combine.
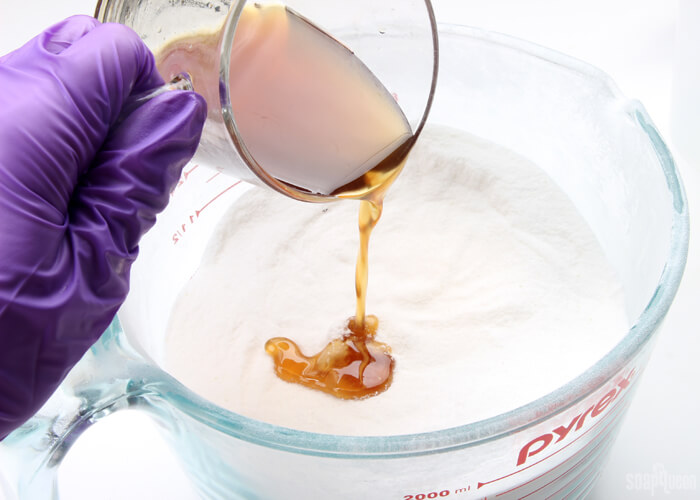
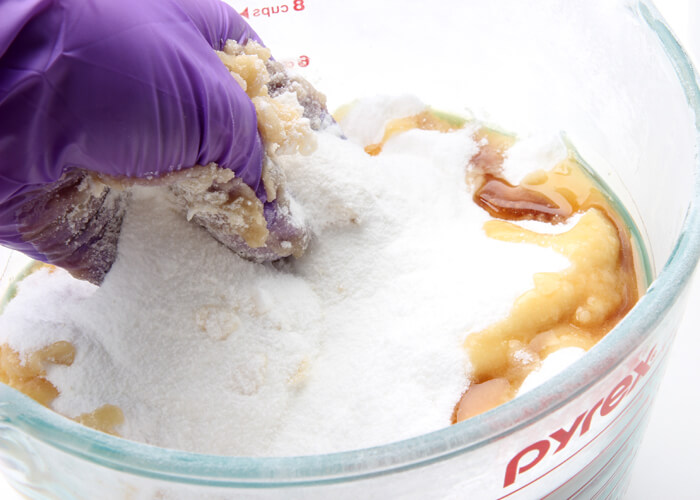
THREE: Pour the butter mixture into the dry ingredients. Use a spatula or your hands to thoroughly combine. I find it’s much easier to use your hands! =)
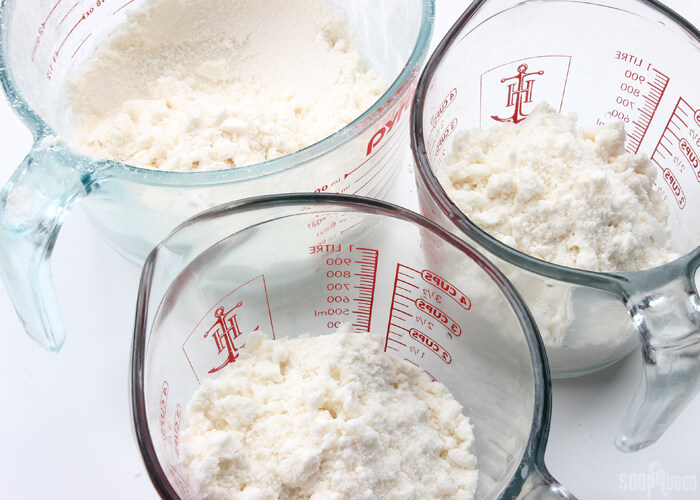
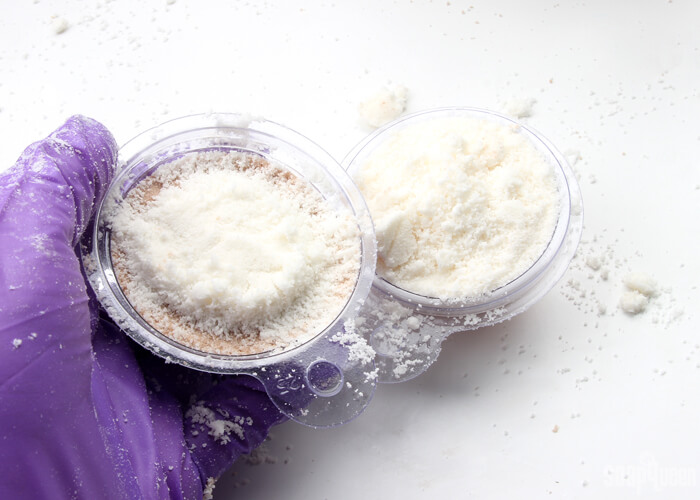
FOUR: Once all the ingredients are completely mixed, split them into three even-ish containers – it’s okay to eyeball it! I did find that I needed a little bit more of the white bath bomb mixture. If you use the same color pattern shown here, you may want to make one container slightly larger for the uncolored mixture. Just an extra handful or two of bath bomb mixture should do the trick!
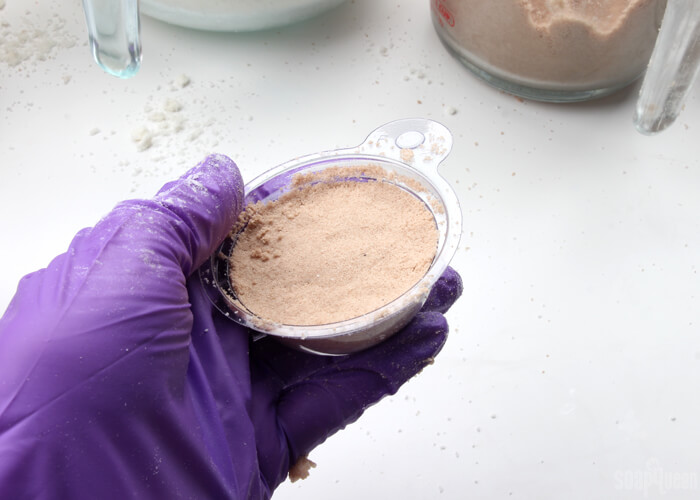
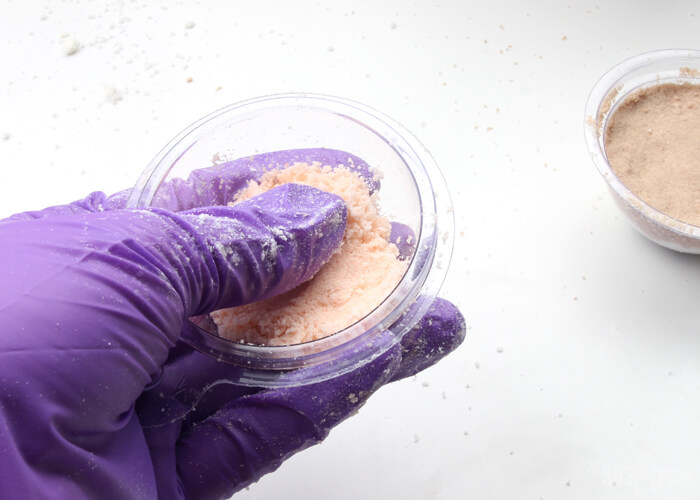
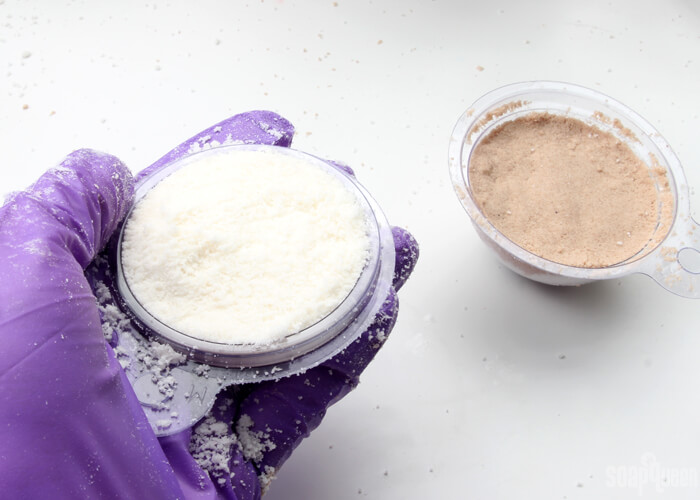
FIVE: To one of the smaller containers, add 1 tablespoon of cocoa powder and use your hands or a spoon to completely mix in. To another container, add 1/4 teaspoon of Sunset Orange Mica and use a spoon or your hands to fully mix in. Leave the other (slightly larger) container uncolored.

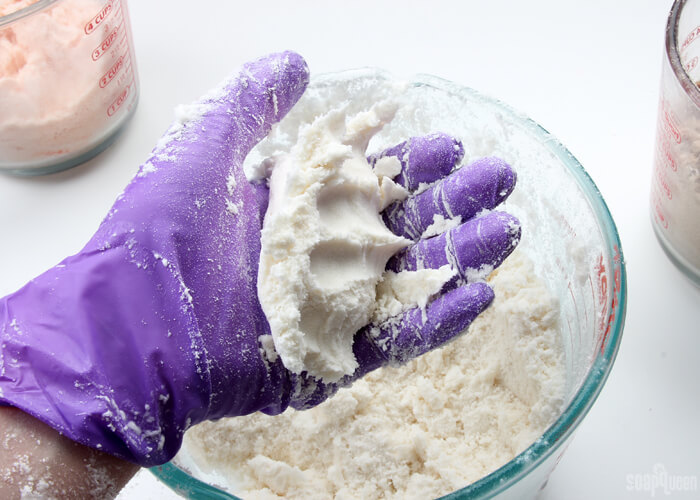
SIX: Begin spritzing each container with witch hazel, while mixing with your hands or a spatula. Continue spritzing until the mixture is a texture that holds its shape when squeezed. I recommend spritzing each container from lightest to darkest (white, orange, brown) so you don’t mix the colors together. Below, you can see that the mixture forms a ball when squeezed. This means that the mixture will hold its shape in the mold as well.
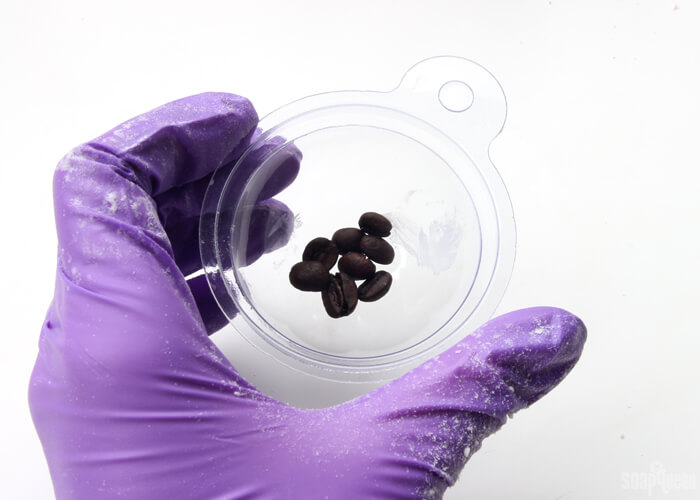
SEVEN: Place several coffee beans into the center of one of the bath bomb molds. Then, place a small amount of white bath bomb mixture on top until the mold is about half full, and gently press with your fingers. Feel free to use any color order you’d like; I just liked this one best. =)

EIGHT: Cover the white mixture with brown bath bomb mixture, and firmly press to condense. Set aside.
NINE: Place a small amount of the orange bath bomb mixture into the opposite half of the bath bomb mold, until it’s about half full. Then, place more white bath bomb mixture on top and firmly press the mixture into the mold.
TEN: Add a little extra bath bomb mixture into each half, but don’t press it down. Slightly overfilling with “loose” bath bomb mixture helps the two sides to stick together better. Match up the eyelets of each mold, and press together. To avoid any imperfections on your bath bomb, make sure to direct pressure to the edges of the mold rather than the center. Allow the bath fizzies to harden in the mold for 24 hours. Remove from the mold once you’re ready to use, place in the tub and enjoy!
Note: Because these bath bombs contain powdered goat milk that has a shelf life of about 2 months, these bath bombs also have a shelf life of about 2 months and should be used within that time frame.

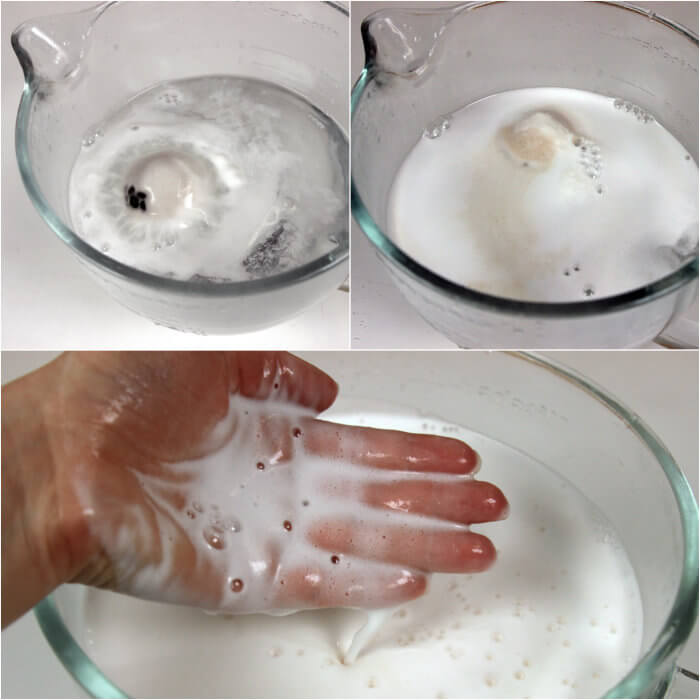
Here is an example of how these bath bombs react once introduced to water- check out the fizz and bubbles!

Pumpkin Spice Latte Bubble Bath Bomb
Ingredients
- About 12 Bath Bomb Mold & Package
- 3 1/2 cups Sodium Bicarbonate Baking Soda
- 1/2 cup Sodium Lauryl Sulfoacetate – SLSA
- 2 cups Citric Acid
- 3 Tbs. Powdered Goat Milk
- 2 oz. Coffee Butter
- 6 mL Pumpkin Spice Fragrance Oil
- 5 mL Espresso Fragrance Oil
- 11 mL Polysorbate 80
- Dutch Processed Cocoa Powder
- Sunset Orange Mica
- Witch Hazel in Spray Bottle
- 3 Droppers
Instructions
- In a large bowl, mix together 3 1/2 cups of baking soda, 2 cups of citric acid, 1/2 cup SLSA and 3 tablespoons of powdered goat milk. If there are any clumps in the mixture, you can push the powder through a sifter or break up the clumps with your fingers. Citric acid has a tendency to take off nail polish, so wear gloves to protect your manicure. SLSA is extremely powdery, so make sure you are in a well-ventilated room when adding it into the mixture. You may choose to wear a surgical mask to prevent sneezing!
- In a small heat safe container, add the 2 ounces of coffee butter. Place in the microwave and heat using 15-20 second bursts. Once completely melted, add the Pumpkin Spice Fragrance Oil, Espresso Fragrance Oil and Polysorbate 80. Use a spoon to thoroughly combine.
- Pour the butter mixture into the dry ingredients. Use a spatula or your hands to thoroughly combine. I find it’s much easier to use your hands! =)
- Once all the ingredients are completely mixed, split them into three even-ish containers. I did find that I needed a little bit more of the white bath bomb mixture. If you use the same color pattern shown here, you may want to make one container slightly larger for the uncolored mixture. Just an extra handful or two of bath bomb mixture should do the trick!
- To one of the smaller containers, add 1 tablespoon of cocoa powder and use your hands or a spoon to completely mix in. To another container, add 1/4 teaspoon of Sunset Orange Mica and use a spoon or your hands to fully mix in. Leave the other slightly larger container uncolored.
- Begin spritzing each container with witch hazel, while mixing with your hands or a spatula. Continue spritzing until the mixture is a texture that holds its shape when squeezed. I recommend spritzing each container from lightest to darkest (white, orange, brown) so you don’t mix the colors together. Below, you can see that the mixture forms a ball when squeezed. This means that the mixture will hold its shape in the mold as well.
- Place several coffee beans into the center of one of the bath bomb molds. Then, place a small amount of white bath bomb mixture on top until the mold is about half full, and gently press with your fingers. Feel free to use any color order you’d like; I just liked this one best. =)
- Cover the white mixture with brown bath bomb mixture, and firmly press to condense. Set aside.
- Place a small amount of the orange bath bomb mixture into the opposite half of the bath bomb mold, until it’s about half full. Then, place more white bath bomb mixture on top and firmly press the mixture into the mold.
- Add a little extra bath bomb mixture into each half, but don’t press it down. Slightly overfilling with “loose” bath bomb mixture helps the two sides to stick together better. Match the eyelets of each side up, and press together. To avoid any imperfections on your bath bomb, make sure to direct pressure to the edges of the mold rather than the center. Allow the bath fizzies to harden in the mold for 24 hours. Remove from the mold once you're ready to use, place in the tub and enjoy!