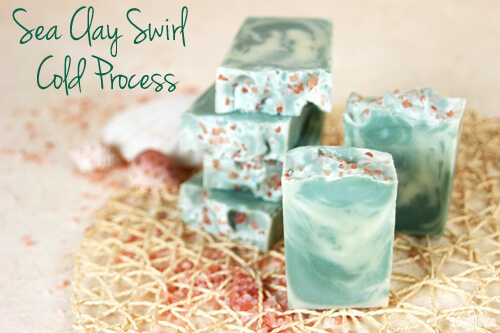
Created with sea clay, kaolin clay and pink sea salt, this soap conjures images of crystal clear waters and white-sanded beaches. In cold process soap, sea clay results in a natural grey hue, but when combined with Hydrated Chrome Green, it transforms into a soft minty green.
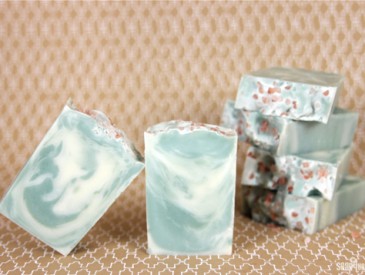
To achieve the wispy swirl, the white and green soap are swirled in one pot, then poured into the mold. This technique is referred to as an “in the pot swirl,” and is a great swirling method for beginner to intermediate soapers. To see the in the pot swirl in action, check out this Soap Queen TV video!
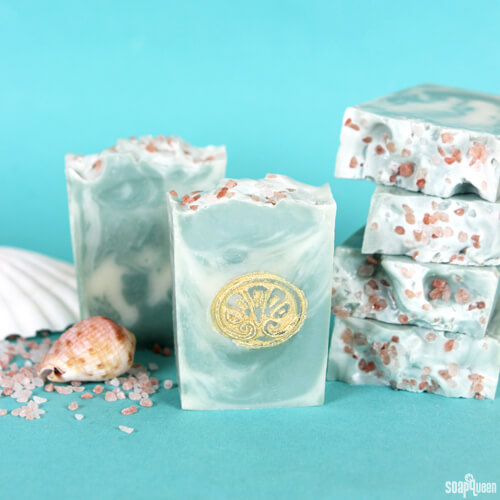
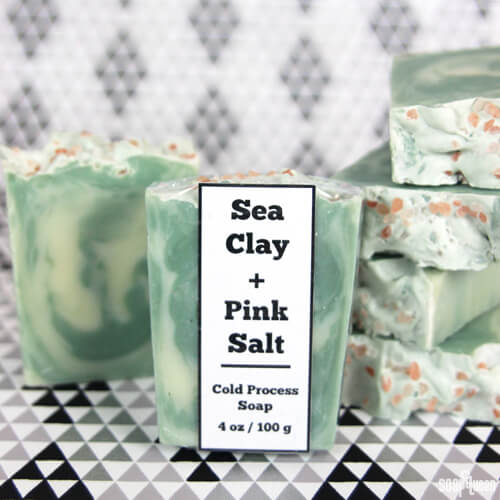
Lavender and Cedar Fragrance Oil gives this project a fantastic floral scent that is great for both men and women. As shown in the photo above, the subtle swirl makes this design a great candidate for soap stamps. If you are looking for labeling ideas, you can find a clean and modern label for this soap here. Simply print, apply to the soap and use a shrink band to keep the label in place.
What You’ll Need:
3.5 oz. Sweet Almond Oil
8.75 oz. Coconut Oil
1.75 oz. Meadowfoam Oil
8.75 oz. Olive Oil
10.5 oz. Palm Oil
1.75 oz. Shea Butter
4.9 oz. Sodium Hydroxide
11.6 oz. Distilled water
2 oz. Lavender and Cedar Fragrance Oil
Kaolin Clay
Sea Clay
Hydrated Chrome Green Pigment
Pink Sea Salt, Medium
Tall 12″ Silicone Loaf Mold

Click here to add everything you need for this project to your Bramble Berry shopping cart!
If you’ve never made Cold Process soap before, stop here! I highly recommend checking out our FREE four part SoapQueen.tv series on Cold Process Soapmaking, especially the episode on lye safety. And if you’d rather do some reading, Bramble Berry carries a wide range of books on the topic, including my newest book, Soap Crafting. You can also checkout the digital downloads for that instant gratification factor.
SAFETY FIRST: Suit up for safe handling practices! That means goggles, gloves and long sleeves. Make sure kids, pets, and other distractions and tripping hazards are out of the house or don’t have access to your soaping space. Always soap in a well-ventilated area.
COLOR PREP: Disperse 1 teaspoon of the Hydrated Chrome Green Pigment colorant into 1 tablespoon of sunflower or sweet almond oil (or any other liquid oil). Disperse 2 teaspoons of the kaolin into 2 tablespoons of distilled water, then disperse 2 teaspoons of the sea clay into 2 tablespoons of distilled water. Use a mini mixer to get clumps worked out smoothly. Prepping your colors in the beginning will allow you to work quickly and give you more time to work with your soap.
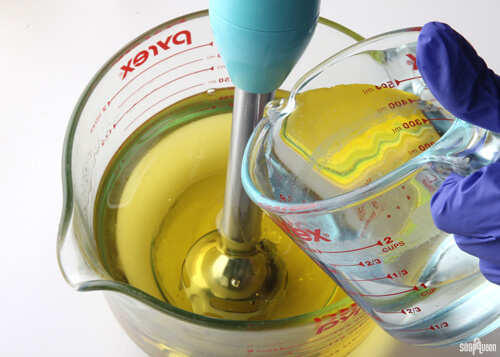
ONE: Slowly and carefully add the lye to the water and gently stir until the lye has fully dissolved and the liquid is clear. Set aside to cool.
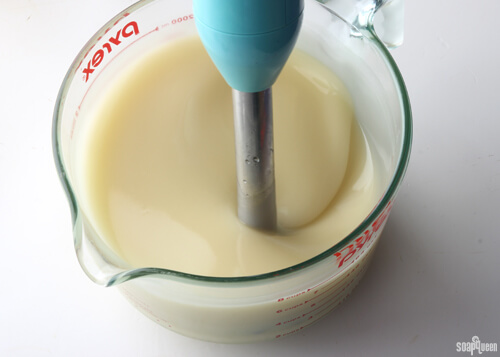
TWO: Melt and combine the coconut, olive, shea, sweet almond, meadowfoam and palm oils (remember to fully melt then mix your entire container of palm oil before portioning). Once the lye water and the oils have cooled to 130 degrees or below (and are ideally within 10 degrees of each other), add the lye water to the oils and stick blend until thin trace. If you’d like a harder bar of soap that releases faster from the mold, you can add Sodium Lactate to the cooled lye water. Use 1 teaspoon of Sodium Lactate per pound of oils in the recipe. For this recipe, you’d add about 2 teaspoons of Sodium Lactate.
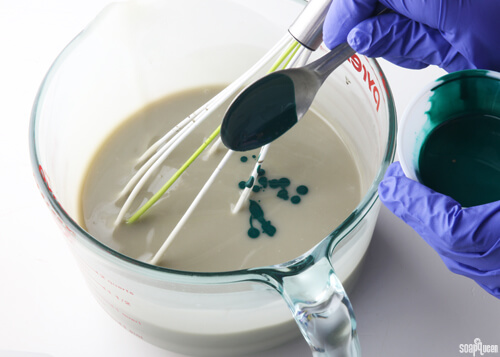
 THREE: Once the batter has reached a light trace, split the batch in half. Each container will be about 3.5 cups. To one container, add all of the dispersed sea clay and 1/2 tbs. of the dispersed Hydrated Chrome Green. Use a whisk to fully incorporate the colorants.
 FOUR: To the other container, add all the dispersed kaolin clay and use a whisk to fully incorporate.
 FIVE: Add half of the Lavender and Cedar Fragrance Oil into each container. You can eyeball it! Use a whisk to mix in.
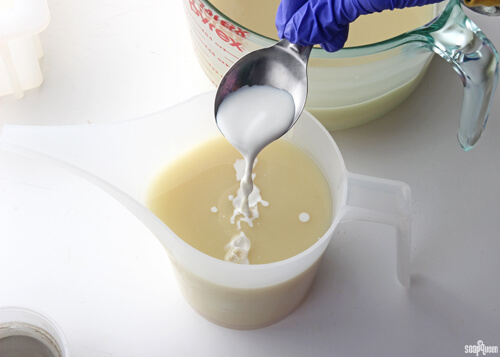
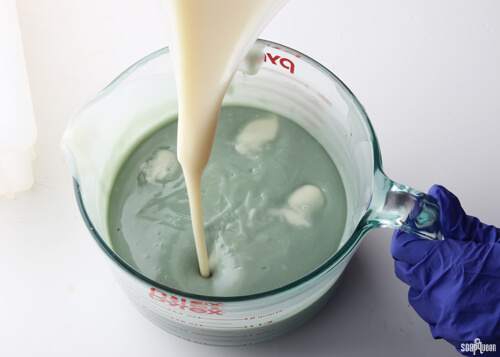
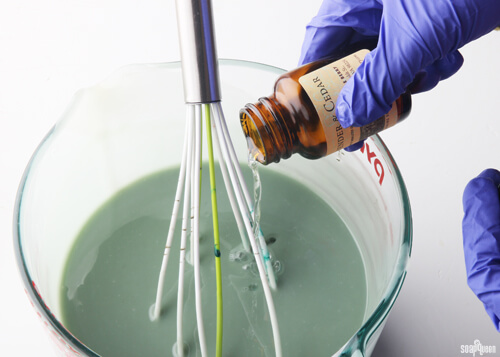 SIX: For the in-the-pot swirl, start by pouring the white-colored soap into the green-colored soap in 4 places: 12:00 o’clock, 3:00 o’clock, 6:00 o’clock, and 9:00 o’clock. Pour from a high point so the soap penetrates the entire depth of the pot, which will create a swirl throughout the soap.
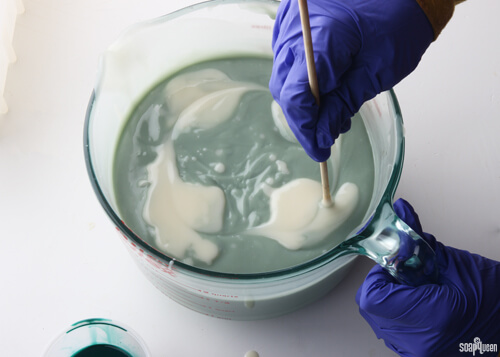
 SEVEN: Using a chopstick or dowel, swirl the soap by running the tool through each of the entry points once. Only once! You want to swirl — but not mix — the soap.
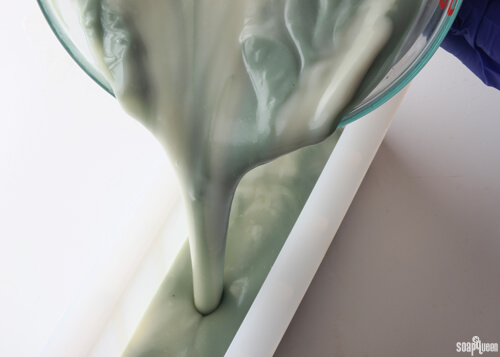
 EIGHT: Pour the swirled soap into the mold, keeping the pouring container in one place as the soap fills the mold. Tamp the mold on the tabletop to eliminate any air bubbles.
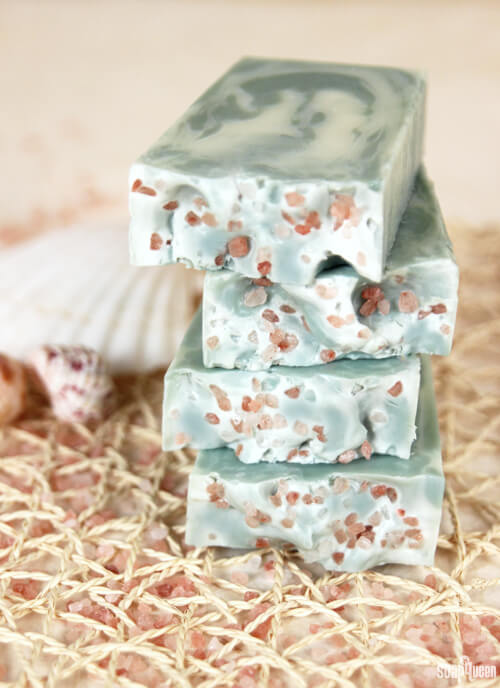
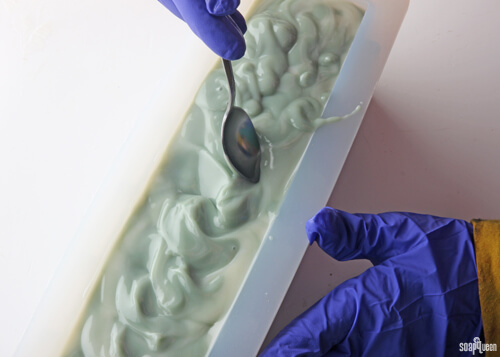
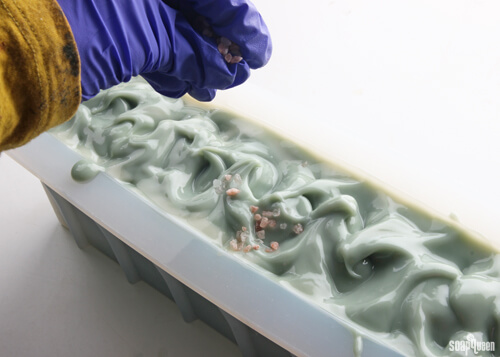
 NINE: Use a spoon to create peaks and texture on top. Once you’re happy with the texture, garnish the top of the soap with pink sea salt. Spray with 99% isopropyl alcohol to prevent soda ash.
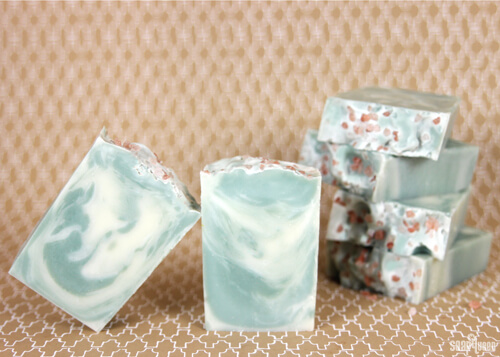
 TEN: Unmold the soap after 3-4 days and allow to cure for 4-6 weeks. When you’re ready to cut this soap, turn it on its side to avoid pulling salt through your soap and accidentally creating deep drag marks. Enjoy!
What is your favorite ways to use clay in your projects? There are several more clay projects coming up, so keep your eyes out for them! =)
Sea Clay Swirl Cold Process
Ingredients
- 3.5 oz. Sweet Almond Oil
- 8.75 oz. Coconut Oil
- 1.75 oz. Meadowfoam Oil
- 8.75 oz. Olive Oil
- 10.5 oz. Palm Oil
- 1.75 oz. Shea Butter
- 4.9 oz. Sodium Hydroxide
- 11.6 oz. Distilled water
- 2 oz. Lavender and Cedar Fragrance Oil
- Kaolin Clay
- Sea Clay
- Hydrated Chrome Green Pigment
- Pink Sea Salt Medium
- Tall 12″ Silicone Loaf Mold
Instructions
- SAFETY FIRST: Suit up for safe handling practices! That means goggles, gloves and long sleeves. Make sure kids, pets, and other distractions and tripping hazards are out of the house or don’t have access to your soaping space. Always soap in a well-ventilated area.
- COLOR PREP: Disperse 1 teaspoon of the Hydrated Chrome Green Pigment colorant into 1 tablespoon of sunflower or sweet almond oil (or any other liquid oil). Disperse 2 teaspoons of the kaolin into 2 tablespoons of distilled water, then disperse 2 teaspoons of the sea clay into 2 tablespoons of distilled water. Use a mini mixer to get clumps worked out smoothly. Prepping your colors in the beginning will allow you to work quickly and give you more time to work with your soap.
- Slowly and carefully add the lye to the water and gently stir until the lye has fully dissolved and the liquid is clear. Set aside to cool.
- Melt and combine the coconut, olive, shea, sweet almond, meadowfoam and palm oils (remember to fully melt then mix your entire container of palm oil before portioning).Once the lye water and the oils have cooled to 130 degrees or below (and are ideally within 10 degrees of each other), add the lye water to the oils and stick blend until thin trace. If you’d like a harder bar of soap that releases faster from the mold, you can add Sodium Lactate to the cooled lye water. Use 1 teaspoon of Sodium Lactate per pound of oils in the recipe. For this recipe, you’d add about 2 tsp. Sodium Lactate.
- Once the batter has reached a light trace, split the batch in half. Each container will be about 3.5 cups. To one container, add all of the dispersed sea clay and 1/2 tbs. of the dispersed Hydrated Chrome Green. Use a whisk to fully incorporate the colorants.
- To the other container, add all the dispersed kaolin clay and use a whisk to fully incorporate.
- Add half of the Lavender and Cedar Fragrance Oil into each container. You can eyeball it! Use a whisk to mix in.
- For the in-the-pot swirl, start by pouring the white-colored soap into the green-colored soap in 4 places: 12:00 o’clock, 3:00 o’clock, 6:00 o’clock, and 9:00 o’clock. Pour from a high point so the soap penetrates the entire depth of the pot, which will create a swirl throughout the soap.
- Using a chopstick or dowel, swirl the soap by running the tool through each of the entry points once. Only once! You want to swirl — but not mix — the soap.
- Pour the swirled soap into the mold, keeping the pouring container in one place as the soap fills the mold. Tamp the mold on the tabletop to eliminate any air bubbles.
- Use a spoon to create peaks and texture on top. Once you’re happy with the texture, garnish the top of the soap with pink sea salt. Spray with 99% isopropyl alcohol to prevent soda ash.
- Unmold the soap after 3-4 days and allow to cure for 4-6 weeks. When you’re ready to cut this soap, turn it on its side to avoid pulling petals or orange peels through your soap and accidentally creating deep drag marks. Enjoy!