Labor Day weekend is right around the corner, and once it’s over…fall is here! Okay, the official first day of fall is actually September 22nd, but Labor Day weekend feels like the last “hurrah” of summer, don’t you think? While summer still has a few weeks left, now is the time to create cold process soap for fall. Soap will be fully cured in 4-6 weeks, which puts us right around the beginning of October. That’s the perfect time for some pumpkin spice soap! If you’re feeling extra festive, you could actually make this soap while sipping a Pumpkin Spice Latte, which hit Starbucks today.

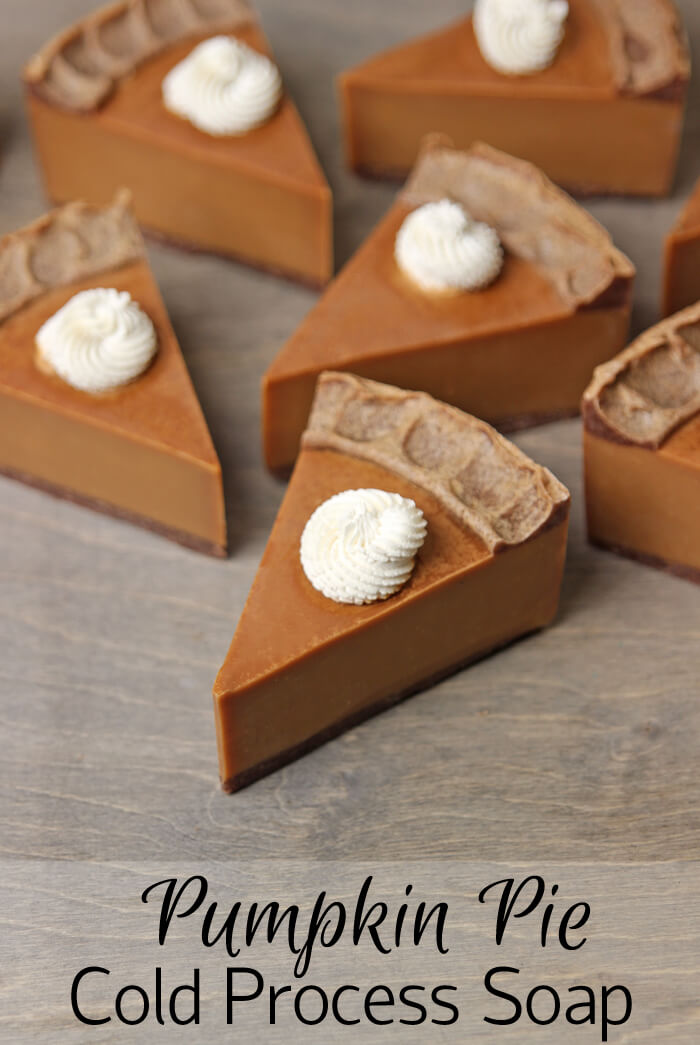
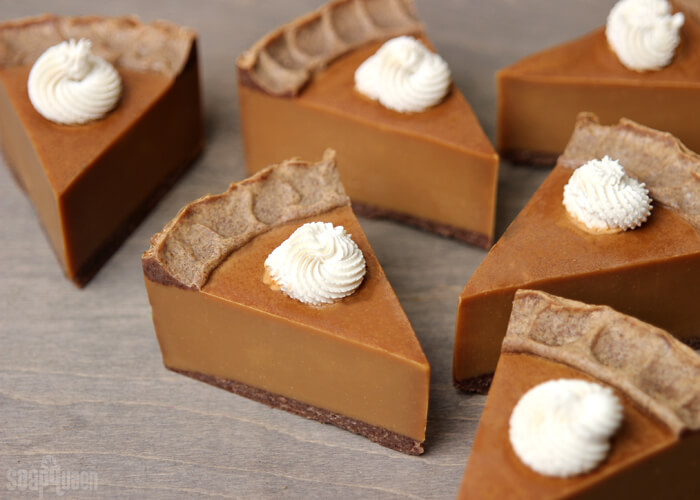
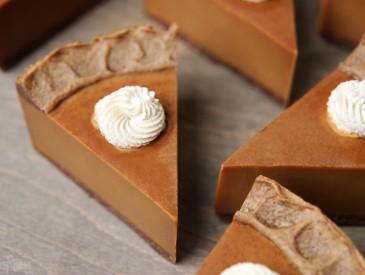
This Pumpkin Pie Cold Process Soap was inspired by the classic fall dessert. The Cake Pan Silicone Mold creates a realistic pie shape once cut into slices. Walnut shells are added to the soap for the bottom crust layer, and is also piped on top for a crimped crust appearance. The majority of the soap is colored with Sunset Orange Mica and Yellow Oxide Pigment for an orange hue. I made the orange brighter to account for fragrance discoloration from the Pumpkin Spice Fragrance Oil. The photos shown here are after several weeks of discoloration and the soap will not become darker. If you want a lighter color, you can add some dispersed titanium dioxide to help counter the discoloration. You can also use less fragrance oil, or a fragrance oil that does not discolor.
The “whipped cream” is piped on very last. By this time, the white soap will be quite firm and pipeable. Just be sure to not put the Pumpkin Spice Fragrance Oil into the white soap! You will most likely have some white soap leftover. I recommend piping extra roses or “dollops” onto parchment or freezer paper to use on top of other projects.
What You’ll Need:
Cake Pan Silicone Mold
2 Disposable Frosting Bags
4B Frosting Tip
2 oz. Cocoa Butter
11.3 oz. Coconut Oil
10.3 oz. Palm Oil
1 oz. Pumpkin Seed Oil
12.3 oz. Rice Bran Oil
4.1 oz. Sweet Almond Oil
5.7 oz. Sodium Hydroxide Lye
13.5 oz. Distilled Water
2 oz. Pumpkin Spice Fragrance Oil
Titanium Dioxide
Sunset Orange Mica
Copper Sparkle Mica
Yellow Oxide Pigment
Walnut Shells
 Click here to add everything you need for this project to your Bramble Berry shopping cart!
[sq_products]
SAFETY FIRST: Suit up for safe handling practices! That means goggles, gloves and long sleeves. Make sure kids, pets, and other distractions and tripping hazards are out of the house or don’t have access to your soaping space. Always soap in a well-ventilated area.
COLOR PREP: To ensure that the Titanium Dioxide blends smoothly into the soap batter, we recommend micronizing it before dispersing it in oil. Please note this is an optional tip but it does help with the titanium dioxide clumping in the soap. To micronize colorant, simply use a coffee grinder to blend the colorant to break up any clumps of color and prevent streaks of white from showing in the final soap. We like to use a coffee grinder that has a removable, stainless steel mixing area for easy cleaning. Then, disperse 2 teaspoons of the colorant into 2 tablespoons of sunflower or sweet almond oil (or any other liquid oil). Then in separate containers, disperse 1/2 teaspoon Copper Sparkle Mica and 1/2 teaspoon Yellow Oxide into 1/2 tablespoon of lightweight liquid oil. Disperse 1 teaspoon Sunset Orange Mica into 1 tablespoon lightweight liquid oil. Have 3 tablespoons of walnut shells nearby.
FRAGRANCE PREP: Measure 2 ounces of Pumpkin Spice Fragrance Oil into a glass, fragrance oil safe container. Set aside.
ONE: Slowly and carefully add the lye to the water and gently stir until the lye has fully dissolved and the liquid is clear. Set aside to cool.
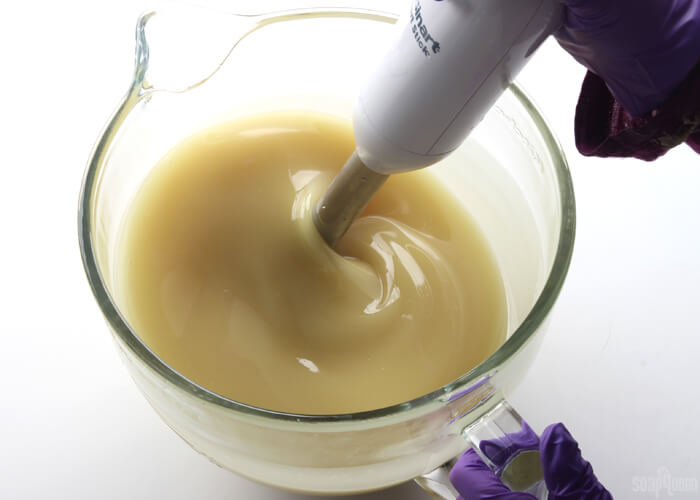
TWO: Melt and combine the cocoa butter, pumpkin seed oil, sweet almond oil, rice bran oil, coconut oil and palm oil (remember to fully melt then mix your entire container of palm oil before portioning). Once the lye water and the oils have cooled to 130 degrees or below (and are ideally within 10 degrees of each other), add the lye water to the oils and stick blend until thin trace. If you’d like a harder bar of soap that releases faster from the mold, you can add sodium lactate to the cooled lye water. Use 1 teaspoon of sodium lactate per pound of oils in the recipe. For this recipe, you’d add about 2.5 teaspoons sodium lactate.

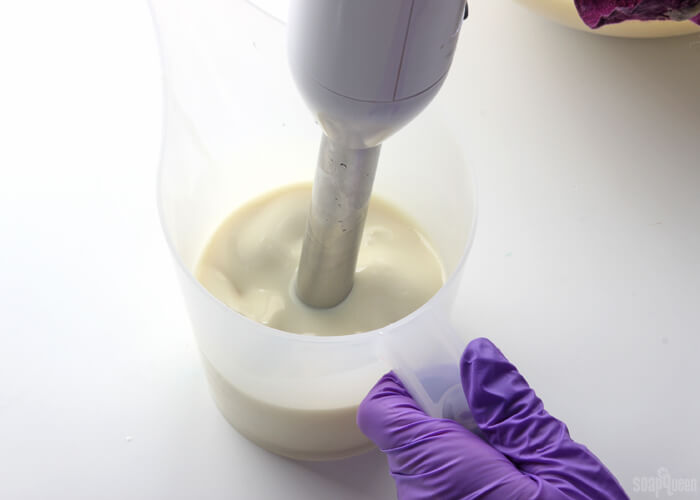
 THREE: Once the soap is at a thin trace, split off about 200-300 mL into a separate container. Add all the dispersed titanium dioxide and use the stick blender to mix in the colorant. Set aside. This will be the white topping, so don’t add any fragrance oil to this soap.
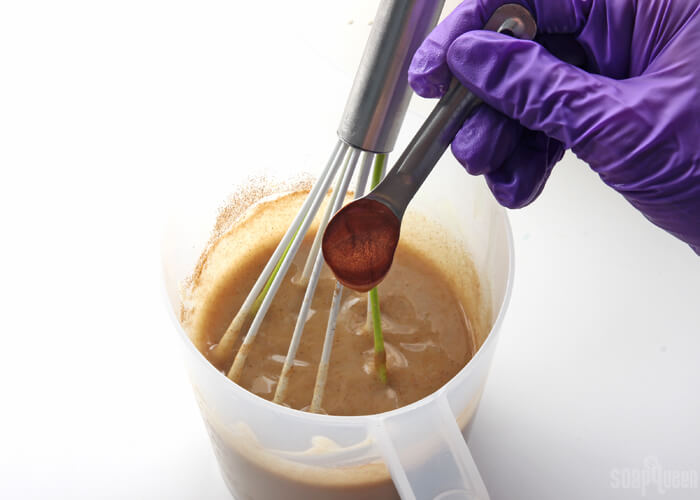
FOUR: Split off about 500 mL of soap into a separate container and add 3 tablespoons of walnut shells and 1/4 teaspoon dispersed Copper Sparkle Mica. Use a whisk to mix in the colorants. Add a small amount of the Pumpkin Spice Fragrance Oil (it’s okay to eyeball it) and mix in with the whisk.
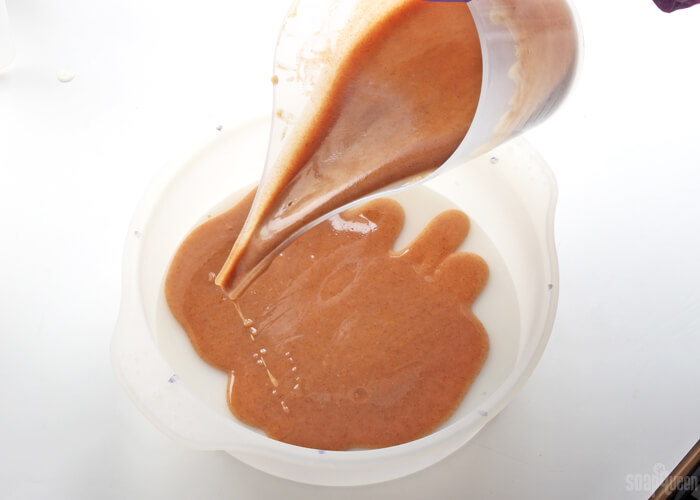
FIVE: Pour about half of the walnut shell soap evenly into the Cake Pan Silicone Mold. Tap it on the counter to help disperse it evenly throughout the bottom. Set the remaining soap aside, it will be used for the crust on top.
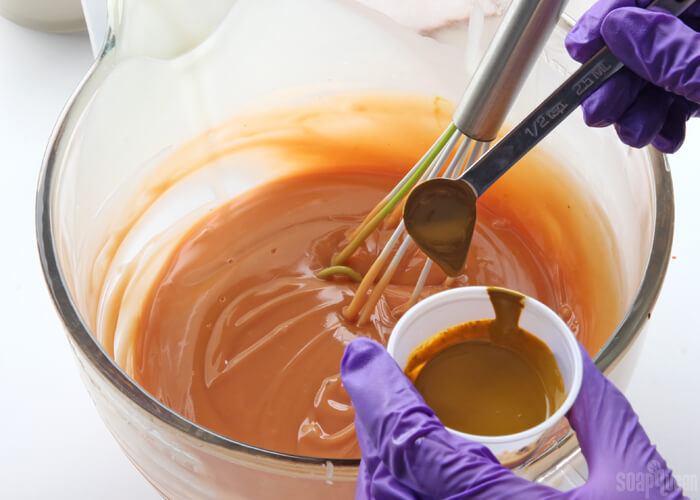
SIX: To the remaining soap, add all of dispersed Sunset Orange Mica and 1 teaspoon of the dispersed yellow mica. Add the remaining fragrance oil and use a whisk to fully stir in the colorants and fragrance oil.
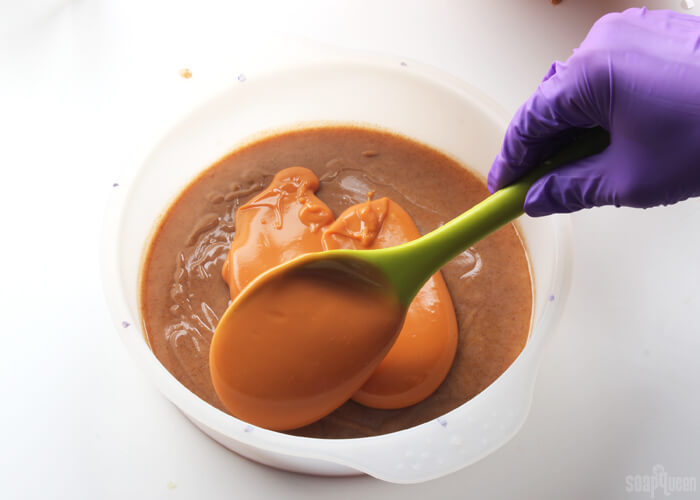
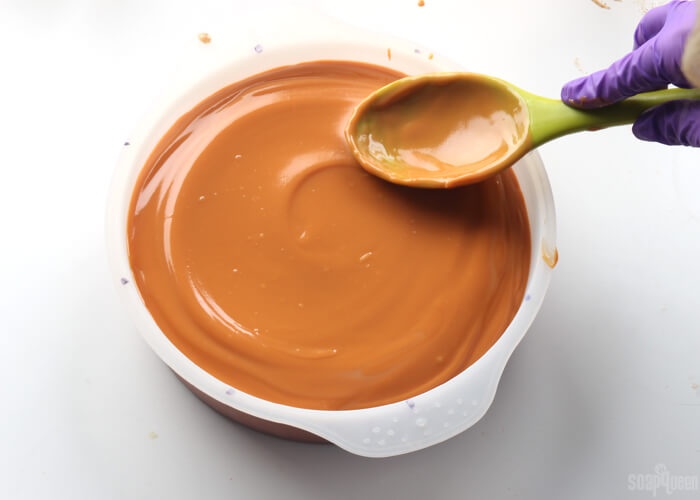
SEVEN: Carefully spoon the orange soap on top of the “crust” layer of soap. Be careful to not allow the orange soap to break through the “crust” layer. Once the layer below has been covered, carefully pour the remaining soap into the mold and tap down firmly to help get rid of bubbles. Use a spoon or spatula to help smooth the top.
EIGHT: Place the remaining brown “crust” soap into a disposable piping bag. Cut the tip off the bag and begin piping the soap around the edges of the mold. Don’t worry about making it perfect at this point. =)
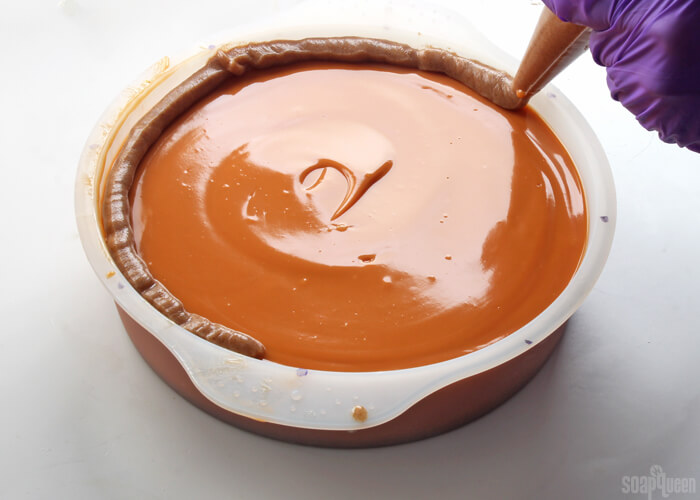
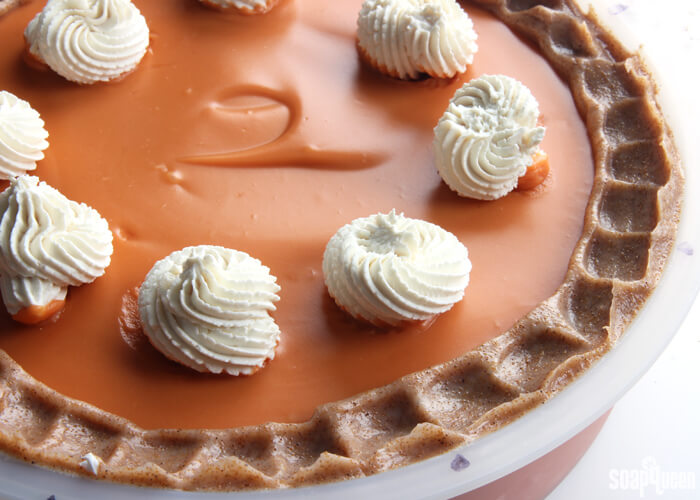
NINE: Once you have gone all along the edge of the mold with the brown soap, use a spoon to create a crust-like texture.

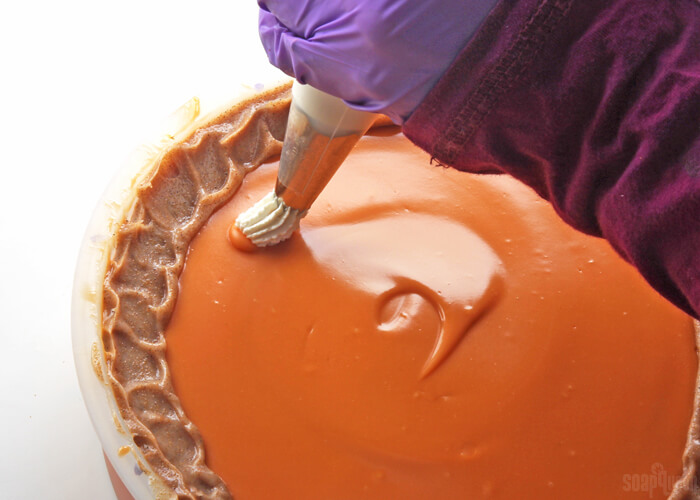
TEN: Cut the tip off the other disposable frosting bag and place the frosting tip inside. Fill the bag with the white soap, and pipe eight little dollops in the center of where each slice will be. You will have some extra soap, depending on how big the dollops are. I piped the extra soap onto wax paper to use as toppings for another project.
ELEVEN: Spritz the top of the soap with 99% isopropyl alcohol to prevent soda ash. Allow the soap to harden in the mold for 1-2 days. Carefully remove from the mold, and cut into slices. Allow the soap to cure for 4-6 weeks and enjoy!
Pumpkin Pie Cold Process Soap Tutorial
Ingredients
- Cake Pan Silicone Mold
- 2 Disposable Frosting Bags
- 4 B Frosting Tip
- 2 oz. Cocoa Butter
- 11.3 oz. Coconut Oil
- 10.3 oz. Palm Oil
- 1 oz. Pumpkin Seed Oil
- 12.3 oz. Rice Bran Oil
- 4.1 oz. Sweet Almond Oil
- 5.7 oz. Sodium Hydroxide Lye
- 13.5 oz. Distilled Water
- 2 oz. Pumpkin Spice Fragrance Oil
- Titanium Dioxide
- Sunset Orange Mica
- Copper Sparkle Mica
- Yellow Oxide Pigment
- Walnut Shells
Instructions
SAFETY FIRST: Suit up for safe handling practices! That means goggles, gloves and long sleeves. Make sure kids, pets, and other distractions and tripping hazards are out of the house or don’t have access to your soaping space. Always soap in a well-ventilated area.
COLOR PREP: To ensure that the Titanium Dioxide blends smoothly into the soap batter, we recommend micronizing it before dispersing it in oil. Please note this is an optional tip but it does help with the titanium dioxide clumping in the soap. To micronize colorant, simply use a coffee grinder to blend the colorant to break up any clumps of color and prevent streaks of white from showing in the final soap. We like to use a coffee grinder that has a removable, stainless steel mixing area for easy cleaning. Then, disperse 2 teaspoons of the colorant into 2 tablespoons of sunflower or sweet almond oil (or any other liquid oil). Then in separate cotnainers, disperse 1/2 teaspoon Copper Sparkle Mica and 1/2 teaspoon Yellow Oxide into 1/2 tablespoon of lightweight liquid oil. Disperse 1 teaspoon Sunset Orange Mica into 1 tablespoon lightweight liquid oil. Have 3 tablespoons of walnut shells nearby.
FRAGRANCE PREP: Measure 2 ounces of Pumpkin Spice Fragrance Oil into a glass, fragrance oil safe container. Set aside.
- Slowly and carefully add the lye to the water and gently stir until the lye has fully dissolved and the liquid is clear. Set aside to cool.
- Melt and combine the cocoa butter, pumpkin seed oil, sweet almond oil, rice bran oil, coconut oil and palm oil (remember to fully melt then mix your entire container of palm oil before portioning). Once the lye water and the oils have cooled to 130 degrees or below (and are ideally within 10 degrees of each other), add the lye water to the oils and stick blend until thin trace. If you’d like a harder bar of soap that releases faster from the mold, you can add sodium lactate to the cooled lye water. Use 1 teaspoon of sodium lactate per pound of oils in the recipe. For this recipe, you’d add about 2.5 teaspoons sodium lactate.
- Once the soap is at a thin trace, split off about 200-300 mL into a separate container. Add all the dispersed titanium dioxide and use the stick blender to mix in the colorant. Set aside. This will be the white topping, so don't add any fragrance oil to this soap.
- Split off about 500 mL of soap into a separate container and add 3 tablespoons of walnut shells and 1/4 teaspoon dispersed Copper Sparkle Mica. Use a whisk to mix in the colorants. Add a small amount of the Pumpkin Spice Fragrance Oil (it's okay to eyeball it) and mix in with the whisk.
- Pour about half of this soap evenly into the Cake Pan Silicone Mold. Tap it on the counter to help disperse it evenly throughout the bottom. Set the remaining soap aside, it will be used for the crust on top.
- To the remaining soap, add all of dispersed Sunset Orange Mica and 1 teaspoon of the dispersed yellow mica. Add the remaining fragrance oil, and use a whisk to fully stir in the colorants and fragrance oil.
- Carefully spoon the orange soap on top of the “crust” layer of soap. Be careful to not allow the orange soap to break through the “crust” layer. Once the layer below has been covered, carefully pour the remaining soap into the mold and tap down firmly to help get rid of bubbles. Use a spoon or spatula to help smooth the top.
- Place the remaining brown “crust” soap into a disposable piping bag. Cut the tip off the bag, and begin piping the soap around the edges of the mold. Don’t worry about making it perfect at this point!
- Cut the tip off the other disposable frosting bag, and place the frosting tip inside. Fill the bag with the white soap, and pipe eight little dollops in the center of where each slice will be. You will have some extra soap, depending on how big the dollops are. I piped the extra soap onto wax paper to use as toppings for another project.
- Spritz the top of the soap with 99% isopropyl alcohol to avoid soda ash. Allow the soap to harden in the mold for 1-2 days. Carefully remove from the mold, and cut into slices. Allow the soap to cure for 4-6 weeks and enjoy!