
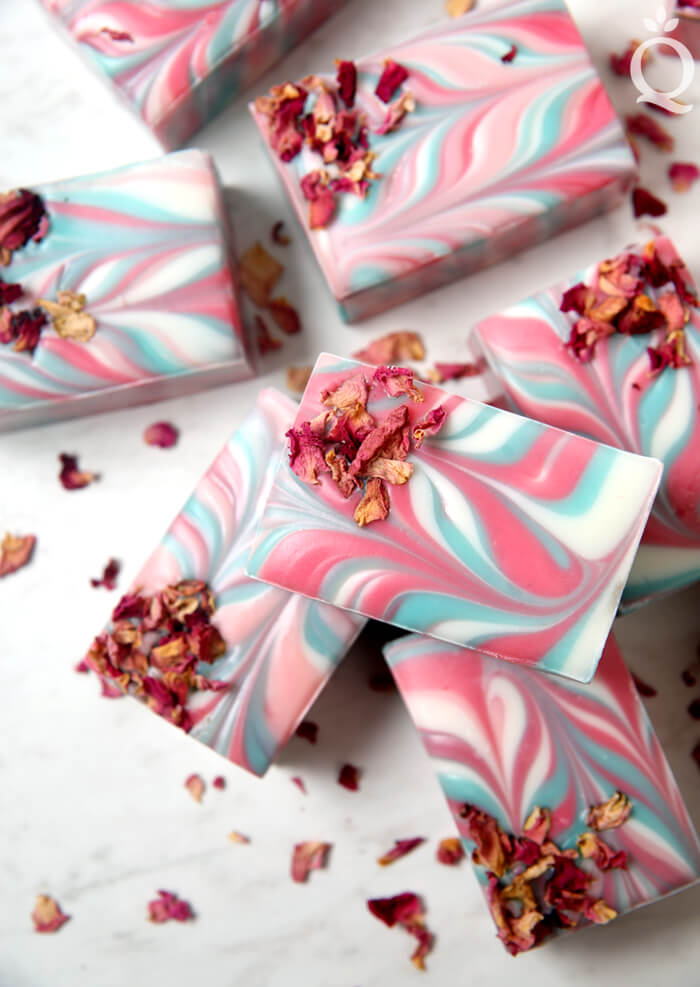
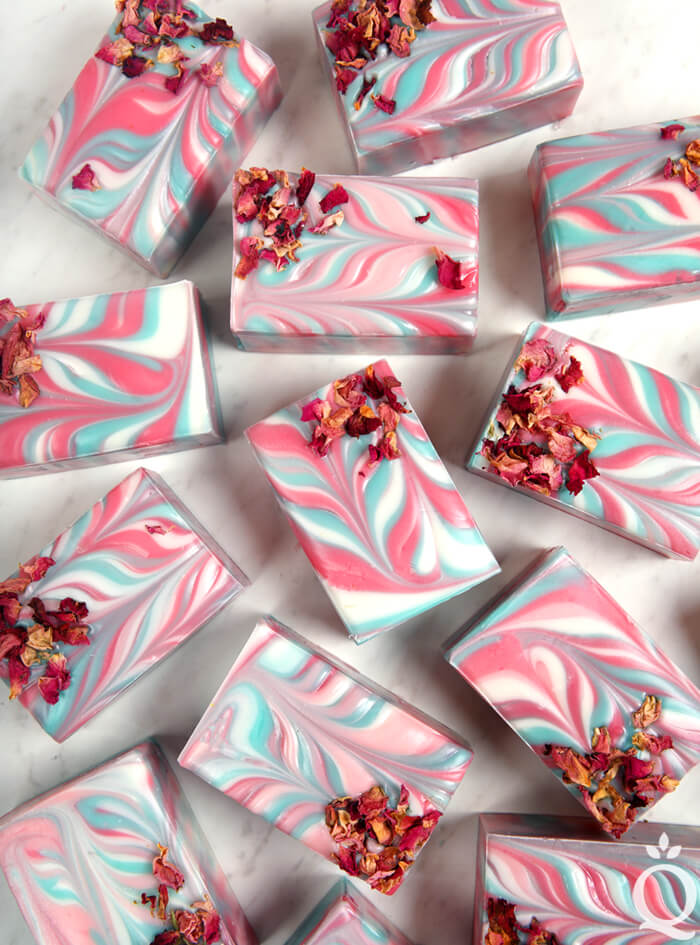
Floral fragrances are notorious for accelerating in cold process soap. This can make it tricky to use them in swirled designs, but it doesn’t make it impossible. These bars are scented with Wild Rose Fragrance Oil, which does accelerate. The key to combating the acceleration is working quickly, using plenty of slow-moving oils, and having a good understanding of trace.
The Wild Rose Fragrance Oil is part of our Modern Floral Collection, which includes four new scents, extracts, dried botanicals, and more. Click here to see all the new products.
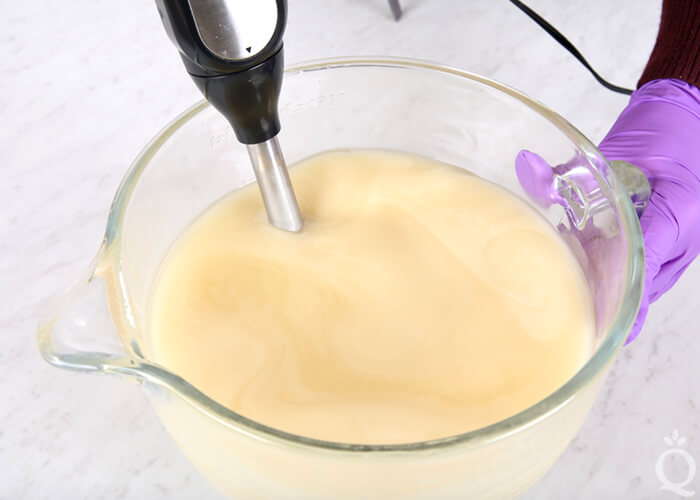
This design requires a thin to medium trace – you need time to pour the soap into the mold and swirl the colors together. Stick blending causes the soap to thicken more quickly, so use it very sparingly in this project. Use a whisk to mix in the colorants and add the fragrance oil right before pouring.
If you’ve never tried a swirled design like this before, you may want to attempt it with a non-accelerating fragrance oil. Baby’s Breath Fragrance Oil or Daisy Chain Fragrance Oil are great options.
What You Need:
18 Bar Birchwood Mold
Silicone Liner for 18 Bar Mold
2 oz. Castor Oil (3%)
16.3 oz. Coconut Oil (25%)
20.8 oz. Olive Oil (32%)
13 oz. Palm Oil (20%)
6.5 oz. Sunflower Oil (10%)
6.5 oz. Sweet Almond Oil (10%)
9.1 oz. Sodium Hydroxide Lye
21.5 oz. Distilled Water
4 oz. Wild Rose Fragrance Oil
Rose Pearl Mica
Shamrock Green Mica
Titanium Dioxide
Pink Rose Petals
If you’ve never made cold process soap before, stop here. We highly recommend checking out our FREE four part SoapQueen.tv series on cold process soapmaking, especially the episode on lye safety. And if you’d rather do some reading, Bramble Berry carries a wide range of books on the topic, including Pure Soapmaking. You can also check out the digital downloads for that instant gratification factor.
FRAGRANCE PREP: Measure 4 ounces of Wild Rose Fragrance Oil into a small glass container and set aside.
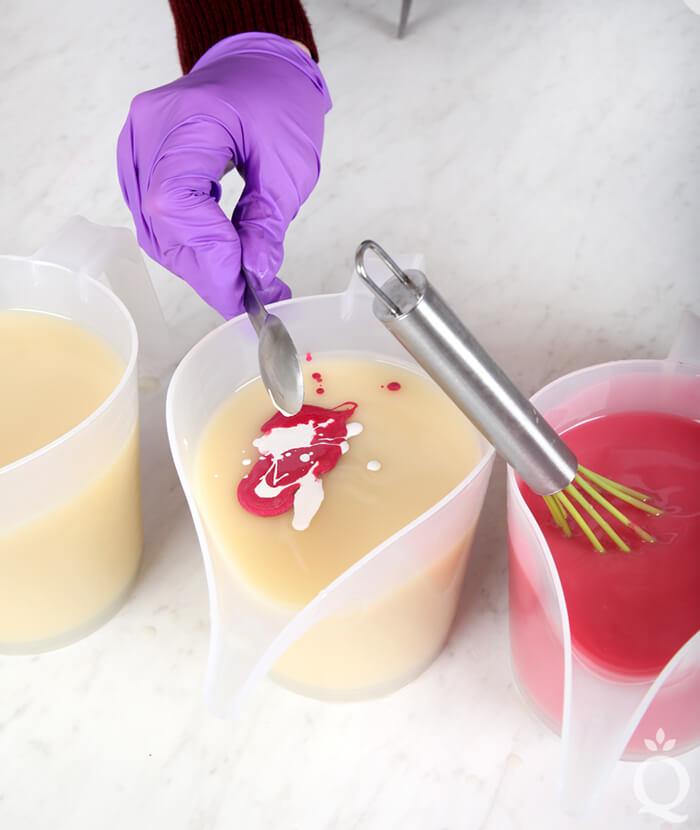
COLORANT PREP: Disperse 2 teaspoons of the titanium dioxide into 2 tablespoons of sunflower or sweet almond oil (or any other liquid oil). Use a mini mixer to get rid of any clumps. In separate containers, mix 1 teaspoon of Shamrock Green into 1 tablespoon lightweight liquid oil. Finally, mix 1 teaspoon of Rose Pearl Mica into 1 tablespoon lightweight liquid oil. Use a mini mixer to get rid of any clumps. Have the pink rose petals nearby.
Optional: To ensure the titanium dioxide blends smoothly into the soap batter, we recommend micronizing it before dispersing it in oil. Use a coffee grinder to break up any clumps of color and prevent streaks of white from showing in the final soap. We like to use a coffee grinder that has a removable stainless steel mixing area for easy cleaning.
SAFETY FIRST: Suit up for safe handling practices. That means goggles, gloves, and long sleeves. Make sure kids, pets, other distractions, and tripping hazards are out of the house or don’t have access to your soaping space. Always soap in a well-ventilated area.
ONE: Slowly and carefully add 9.1 ounces of lye to 21.5 ounces of water and gently stir until the lye has fully dissolved and the liquid is clear. Set aside to cool. If you’d like a harder bar of soap that releases faster from the mold, you can add sodium lactate to the cooled lye water. Use 1 teaspoon of sodium lactate per pound of oils in the recipe. For this recipe, you’d add 4 teaspoons sodium lactate.
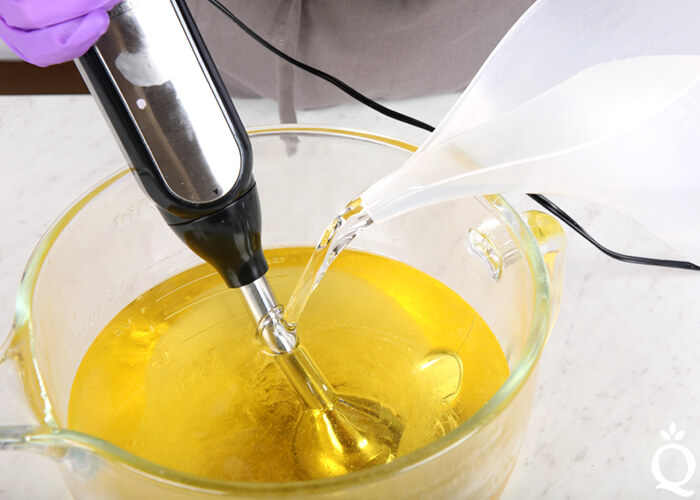
TWO: Melt and combine 2 ounces of castor oil, 16.3 ounces of coconut oil, 20.8 ounces of olive oil, 13 ounces of palm oil, 6.5 ounces of sunflower oil, and 6.5 ounces of sweet almond oil (remember to fully melt then mix your entire container of palm oil before portioning). Once the lye water and the oils have cooled to 130 degrees F or below (and are ideally within 10 degrees of each other), add the lye water to the oils and stick blend the mixture to a very thin trace.
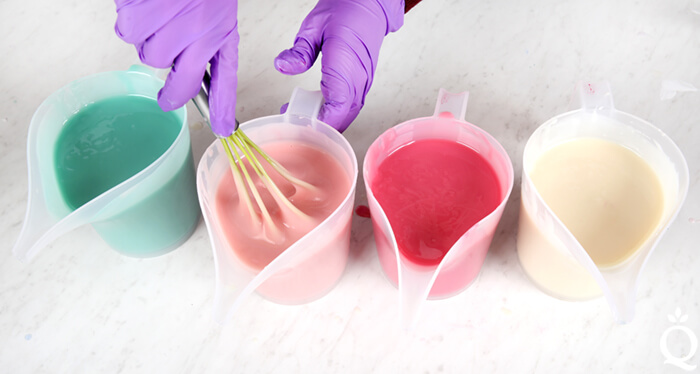
THREE: Split the soap into four equal containers – each one will hold about 700 mL. Add the following amounts of dispersed colorants to each container and use a whisk to fully incorporate.
- Container A (white): 1 Tbsp. dispersed titanium dioxide
- Container B (light pink): 1 tsp. dispersed titanium dioxide + 1/2 tsp. dispersed Rose Pearl Mica
- Container C (pink): 2 tsp. dispersed Rose Pearl Mica
- Container D (green): 1 tsp. dispersed Shamrock Green Mica
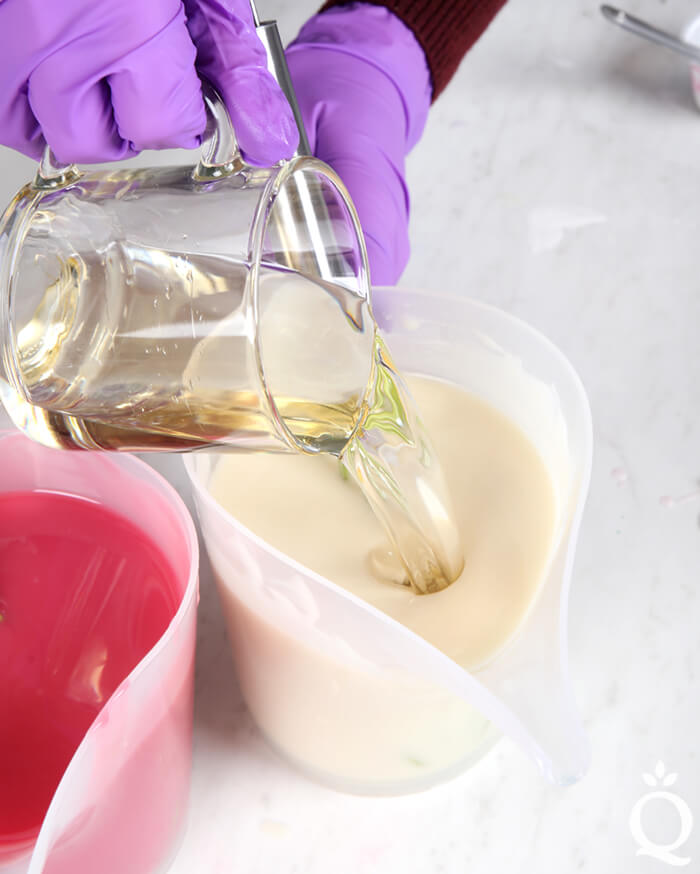
FOUR: Add the fragrance equally between each container (it’s okay to eyeball it) and use a whisk to fully mix in.
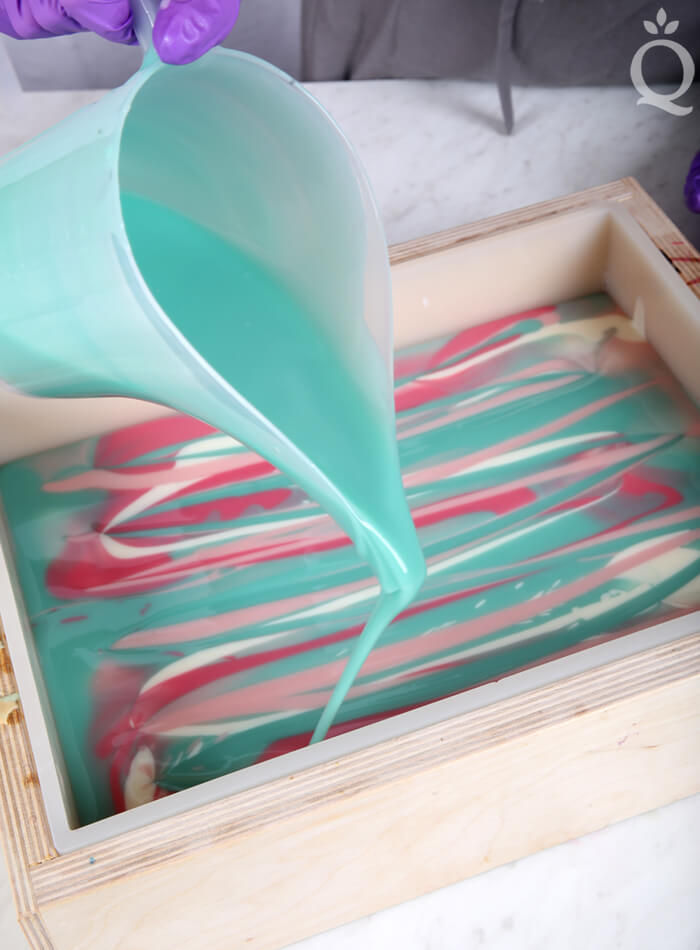
FIVE: Pour some of the first color (it doesn’t matter which) into the mold in long S-curves lengthwise. Pour some of a different color in the mold, still going lengthwise. Continue pouring alternate colors lengthwise into the mold.
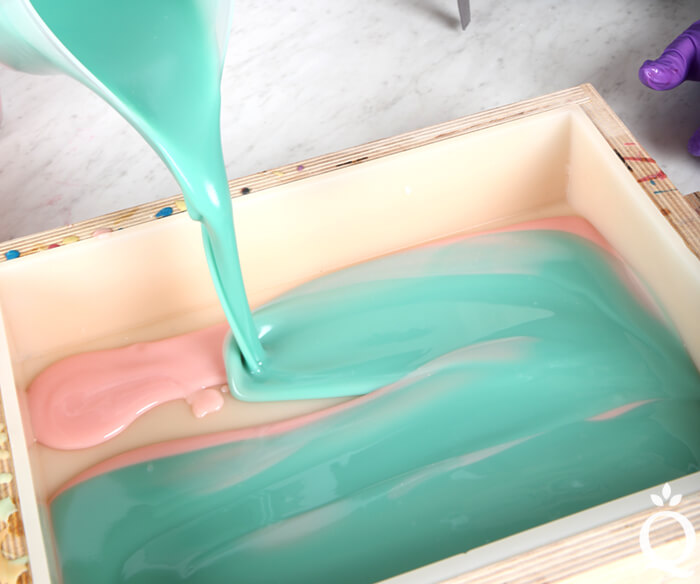
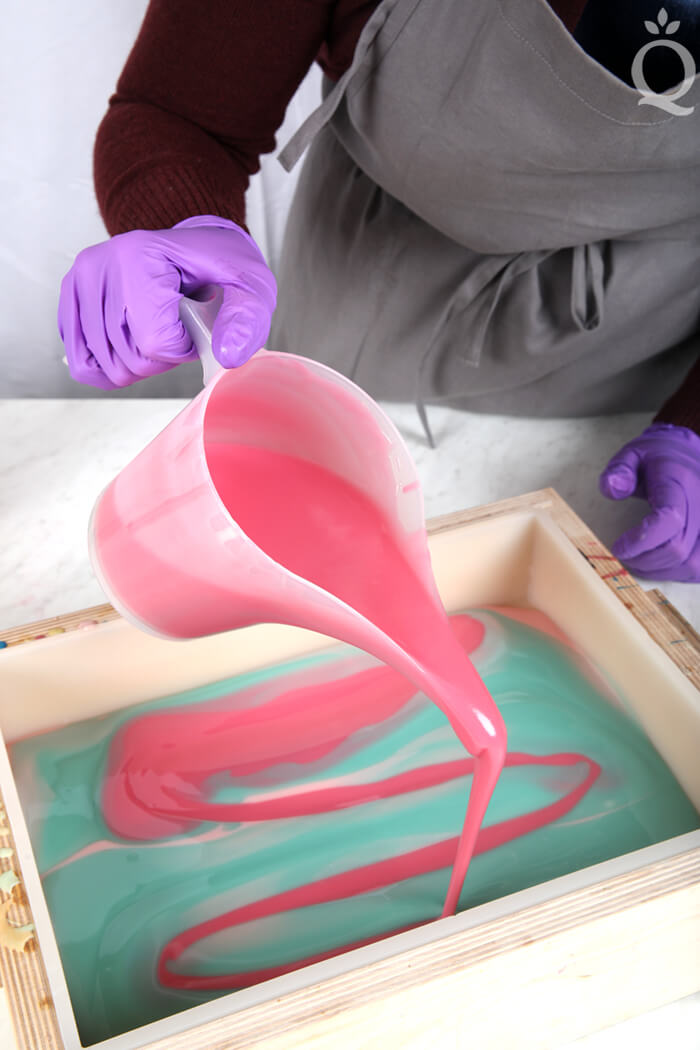
SIX: For the first few passes of color, the order doesn’t really matter. Once the mold is about halfway full, take more care to differentiate the colors to make a more distinct pattern when you swirl them. Once you get to the top of the soap, pour so that each color is showing.
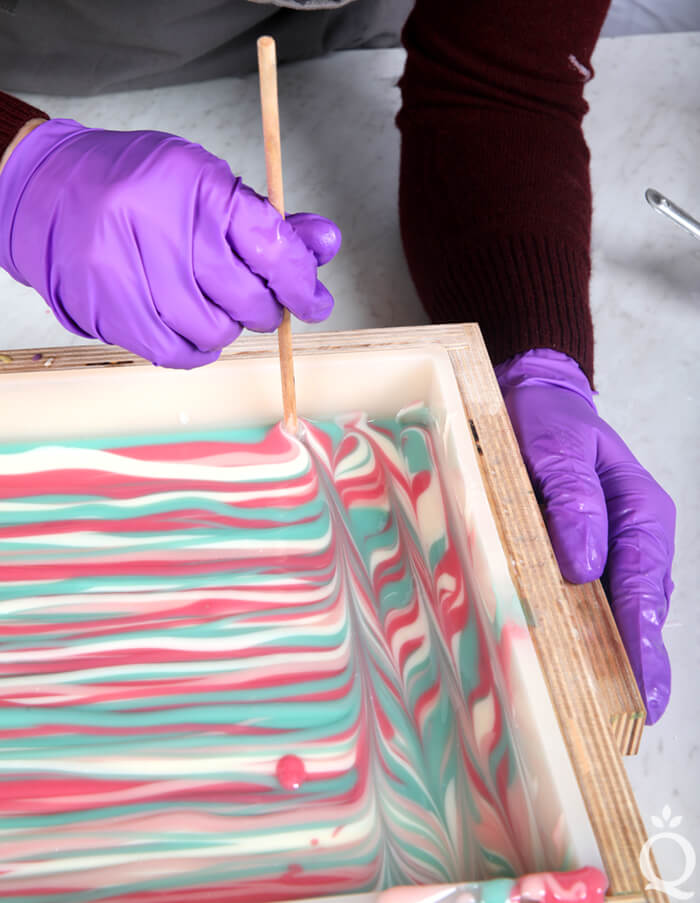
SEVEN: Once all the soap is in the mold, tap the mold firmly on the counter to get rid of bubbles. Insert a chopstick or dowel into the very top of the soap and drag the tool so that it crosses the lines created by the soap. Continue this S-curve pattern down the length of the mold until the entire soap has been swirled.

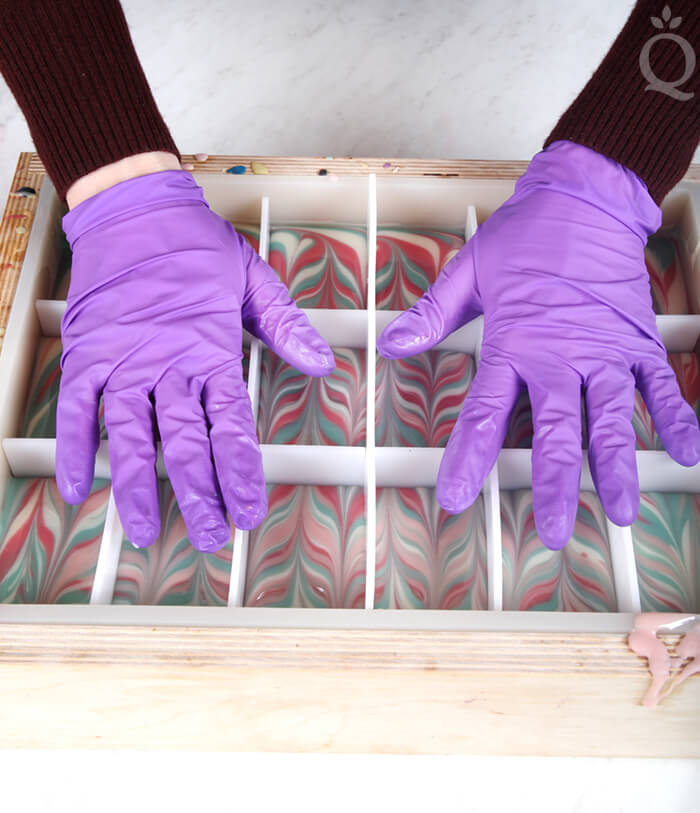
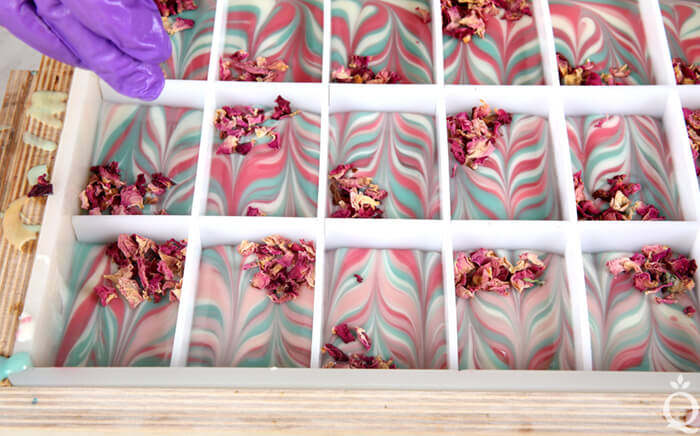
EIGHT: Insert the dividers into the soap so that the dividers reach the bottom of the mold in every section. This drags the design down the sides of the bars. If you prefer to cut your bars, you can skip this step.
NINE: Sprinkle pink rose petals into one corner of each bar. With gloved hands, gently press the pink rose petals into the soap to help them stick. Spritz the top of the soap with 99% isopropyl alcohol to prevent soda ash. Cover the mold to insulate and promote gel phase. Gel phase helps the colors of this soap pop and it helps the bars release from the dividers faster and more easily. If you live in a very cold climate, place the mold on a heating pad set to medium for about 30 minutes to help raise the temperature and promote gel phase.
TEN: Allow the soap to stay in the mold for 2-3 days. To remove, pull the silicone mold out from the wood mold. Then pull away the sides of the silicone mold to break the airlock. Push the soap from the bottom to release. If the bottom of the soap is still quite soft, allow the soap to harden upside down in the dividers for one day.
Once firm enough to handle, gently remove the soap from the dividers. To prevent tearing, do not pull the dividers. Push the soap down, or slide the dividers up or down to remove the soap without tearing. This video shows that process in more detail. Allow the soap to cure for 4-6 weeks, and enjoy.
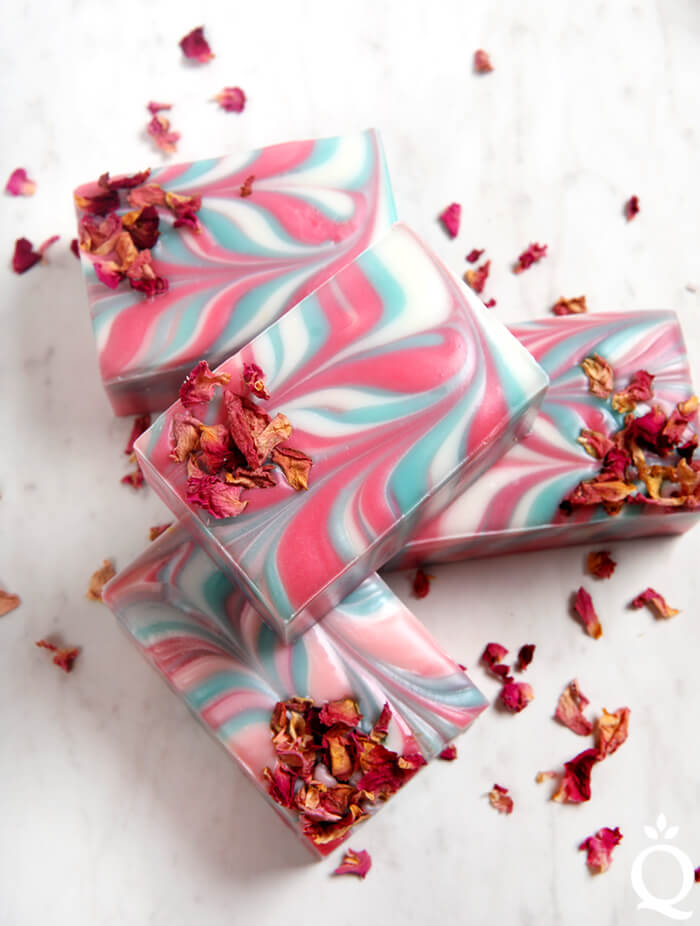

Wild Rose Cold Process Soap Tutorial
Ingredients
- 18 Bar Birchwood Mold
- Silicone Liner for 18 Bar Mold
- 2 oz. Castor Oil 3%
- 16.3 oz. Coconut Oil 25%
- 20.8 oz. Olive Oil 32%
- 13 oz. Palm Oil 20%
- 6.5 oz. Sunflower Oil 10%
- 6.5 oz. Sweet Almond Oil 10%
- 9.1 oz. Sodium Hydroxide Lye
- 21.5 oz. Distilled Water
- 4 oz. Wild Rose Fragrance Oil
- Rose Pearl Mica
- Shamrock Green Mica
- Titanium Dioxide
- Pink Rose Petals
Instructions
FRAGRANCE PREP: Measure 4 ounces of Wild Rose Fragrance Oil into a small glass container and set aside.
- COLORANT PREP: Disperse 2 teaspoons of the titanium dioxide into 2 tablespoons of sunflower or sweet almond oil (or any other liquid oil). Use a mini mixer to get rid of any clumps. In separate containers, mix 1 teaspoon of Shamrock Green into 1 tablespoon lightweight liquid oil. Finally, mix 1 teaspoon of Rose Pearl Mica into 1 tablespoon lightweight liquid oil. Use a mini mixer to get rid of any clumps. Have the pink rose petals nearby. Optional: To ensure the titanium dioxide blends smoothly into the soap batter, we recommend micronizing it before dispersing it in oil. Use a coffee grinder to break up any clumps of color and prevent streaks of white from showing in the final soap. We like to use a coffee grinder that has a removable stainless steel mixing area for easy cleaning.
SAFETY FIRST: Suit up for safe handling practices. That means goggles, gloves, and long sleeves. Make sure kids, pets, other distractions, and tripping hazards are out of the house or don’t have access to your soaping space. Always soap in a well-ventilated area.
- Slowly and carefully add 9.1 ounces of lye to 21.5 ounces of water and gently stir until the lye has fully dissolved and the liquid is clear. Set aside to cool. If you’d like a harder bar of soap that releases faster from the mold, you can add sodium lactate to the cooled lye water. Use 1 teaspoon of sodium lactate per pound of oils in the recipe. For this recipe, you’d add 4 teaspoons sodium lactate.
- Melt and combine 2 ounces of castor oil, 16.3 ounces of coconut oil, 20.8 ounces of olive oil, 13 ounces of palm oil, 6.5 ounces of sunflower oil, and 6.5 ounces of sweet almond oil (remember to fully melt then mix your entire container of palm oil before portioning). Once the lye water and the oils have cooled to 130 degrees F or below (and are ideally within 10 degrees of each other), add the lye water to the oils and stick blend the mixture to a very thin trace.
- Split the soap into four equal containers – each one will hold about 700 mL. Add the following amounts of dispersed colorants to each container and use a whisk to fully incorporate.Container A (white): 1 Tbsp. dispersed titanium dioxideContainer B (light pink): 1 tsp. dispersed titanium dioxide + 1/2 tsp. dispersed Rose Pearl MicaContainer C (pink): 2 tsp. dispersed Rose Pearl MicaContainer D (green): 1 tsp. dispersed Shamrock Green Mica
- Add the fragrance equally between each container (it’s okay to eyeball it) and use a whisk to fully mix in.
- Pour some of the first color (it doesn’t matter which) into the mold in long S-curves lengthwise. Pour some of a different color in the mold, still going lengthwise. Continue pouring alternate colors lengthwise into the mold.
- For the first few passes of color, the order doesn’t really matter. Once the mold is about halfway full, take more care to differentiate the colors to make a more distinct pattern when you swirl them. Once you get to the top of the soap, pour so that each color is showing.
- Once all the soap is in the mold, tap the mold firmly on the counter to get rid of bubbles. Insert a chopstick or dowel into the very top of the soap and drag the tool so that it crosses the lines created by the soap. Continue this S-curve pattern down the length of the mold until the entire soap has been swirled.
- Insert the dividers into the soap so that the dividers reach the bottom of the mold in every section. This drags the design down the sides of the bars. If you prefer to cut your bars, you can skip this step.
- Sprinkle pink rose petals into one corner of each bar. With gloved hands, gently press the pink rose petals into the soap to help them stick. Spritz the top of the soap with 99% isopropyl alcohol to prevent soda ash. Cover the mold to insulate and promote gel phase. Gel phase helps the colors of this soap pop and it helps the bars release from the dividers faster and more easily. If you live in a very cold climate, place the mold on a heating pad set to medium for about 30 minutes to help raise the temperature and promote gel phase.
- Allow the soap to stay in the mold for 2-3 days. To remove, pull the silicone mold out from the wood mold. Then pull away the sides of the silicone mold to break the airlock. Push the soap from the bottom to release. If the bottom of the soap is still quite soft, allow the soap to harden upside down in the dividers for one day. Once firm enough to handle, gently remove the soap from the dividers. To prevent tearing, do not pull the dividers. Push the soap down, or slide the dividers up or down to remove the soap without tearing. Allow the soap to cure for 4-6 weeks, and enjoy.