This week in the Bramble Business Series we are going to talk about one of the easiest ways to market your business — setting up a Facebook business page. In this post, you will get a quick introductory tutorial on how to create your Facebook business page and more about how you can use your business page to showcase your products. If you’ve missed the first post in our series, How to set up an Etsy Shop, be sure to check it out and learn how to set up an online storefront through Etsy. Have any tips or tricks of your own to share with us? Leave a comment below.
A Facebook business page is an easy and free way to represent your business online and put your products in front of future and potential clients. On Facebook, you can create a Business Page here. Now get ready to follow along as we walk you through how to set it up step-by-step! (P.S. Already have a Facebook Page? Skip over to our post about Facebook Best Practices to learn how to manage it effectively!)
ONE. Congrats! You’ve chosen to create a business page and we are here to guide you through it. Make sure you are on your own Facebook account before clicking the link HERE to make your own page. While all the pages you create on Facebook will be attached to your personal account, there are privacy settings that you can set up to make sure your personal information isn’t attached to your business page.
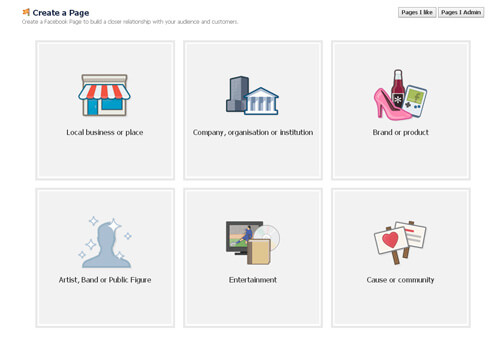
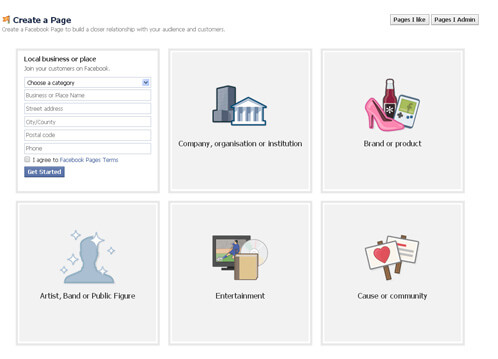
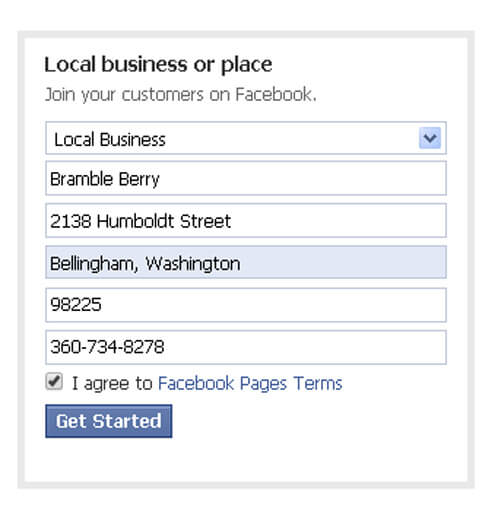
TWO. At this point, you can choose what type of page you will be creating. For the ease of this tutorial, we’ll go with the first choice that most (if not all) of you will be using. Click on the first square with the image of the storefront that reads ‘Local business or place’. From here, fill out the necessary information — the category (small or local business), your business name, the address of your business as well as your city and postal code. The phone number is not required, but can be useful if you want to provide your customers with any sort of customer service. Once you’ve filled out the proper information, make sure to check the little box that says you agree to the Facebook Pages Terms and click the blue button to Get Started!
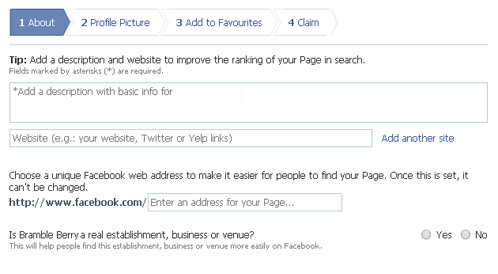
THREE. Now you get to fill out some the basic information about your business. In the about section, you will include a clear and concise description of your business and the products you are selling. If you already have a Website, Pinterest, Twitter, Blog or Instagram, you can add it in this section as well. Make sure all links are spelled correctly as you wouldn’t want a customer to click on your store or blog link if the URL is incorrect or missing.
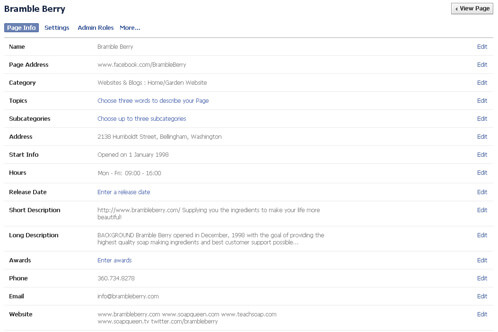
Choose a name for your Facebook page, but remember: just like your Etsy shop, this name cannot be changed and you want it to be something that you’ll be happy with several years down the road. Once you’ve chosen your page name, the URL to your personal business page will read www.facebook.com/yourpagenamehere. For an example, notice the URL of the Soap Queen and Bramble Berry Facebook Pages: www.facebook.com/soapcrafting and www.facebook.com/BrambleBerry.
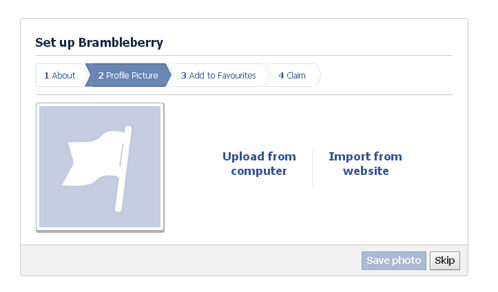
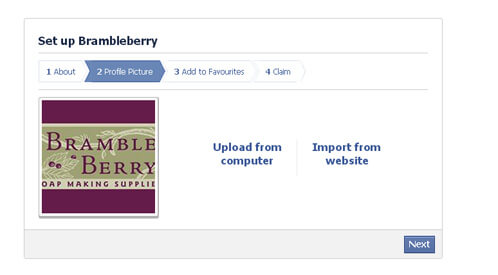
FOUR. You are almost done! This next part is actually one of my favorites — adding business images! You can choose a ‘profile’ picture for your page, which could be something like a logo or graphic to represent your business. You want to make it easily recognizable, brand-able and make sure you use your own images (anything that has a copyright cannot be used here). Be sure to run your profile by family and friends to get their feedback, they are great resource. Choose and upload the photo and that you would like to represent your profile picture and click next.
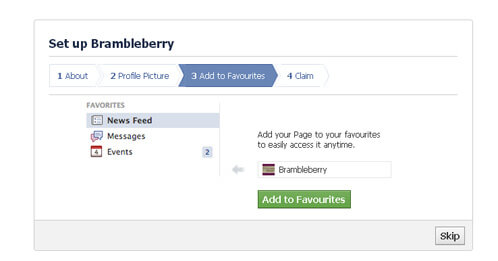
FIVE. (OPTIONAL) This second to last step is completely optional, but I suggest doing it so you will always have easy access to your Facebook page if you’re on a mobile app or a PC. If you would like to add your newly created page to your favorites, just click that big green button. If not, you can skip this step and add it at a later time.
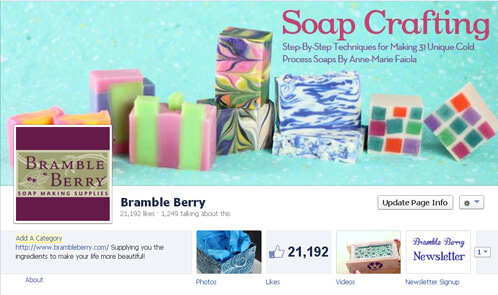
SIX. You are done! Finish up the last step of the process by claiming your page and authorizing yourself to represent your business. Now comes the fun part of customizing your Facebook page with the graphics, imagery and words you want to use to represent your business. Don’t forget to add information to your About Page so that potential customers can learn more about who you are and what you do. You can even add related websites and social media platforms in this section. Remember to choose a cover photo that represents your brand and showcases your products and services as this will be the first thing people will see when they visit your page. To get inspiration for your photos and page setup, check out the fun soapy pages Bramble Berry has liked here.
About Facebook Business Pages
- Personal Pages Versus Business Pages. I highly encourage you to create a Facebook Page for your business as Facebook’s terms of service actually prohibit using your personal profile for your own commercial gain as well as creating more than one personal profile. In fact, when I was first starting out on FB years ago, I made that rookie mistake and tried using a personal page to sell Bramble Berry products. Because of this, I had my page shut-down and had to start over. This is something you should avoid! Having a business page gives you more freedom to offer your products for sale as well as hosting contests and giveaways.
- Followers. Followers or ‘fans’ are an integral part of growing your business on Facebook. You grow fans by offering products people want, sharing images people enjoy, blog posts or other relevant or interesting links related to your industry. One thing I don’t suggest is ‘buying’ your likes. This is a very unethical practice and won’t actually show how many true fans you have. Grow your business organically and working hard to get each and every ‘like’ helps you build a truly loyal customer base.
- Analytics. You have a place to share your photos, blog posts and products on Facebook, the web’s largest social media sharing site. Facebook has also introduced these snazzy new analytics so you can track followers and likes over time, see what posts get the most attention and more.
Now that you’ve got a Page, you’ve got to run it! For tips on how to keep customers coming back again and again and to make your page a hub of activity, check out our Facebook Best Practices post. Happy Facebooking!